Tiny Radish
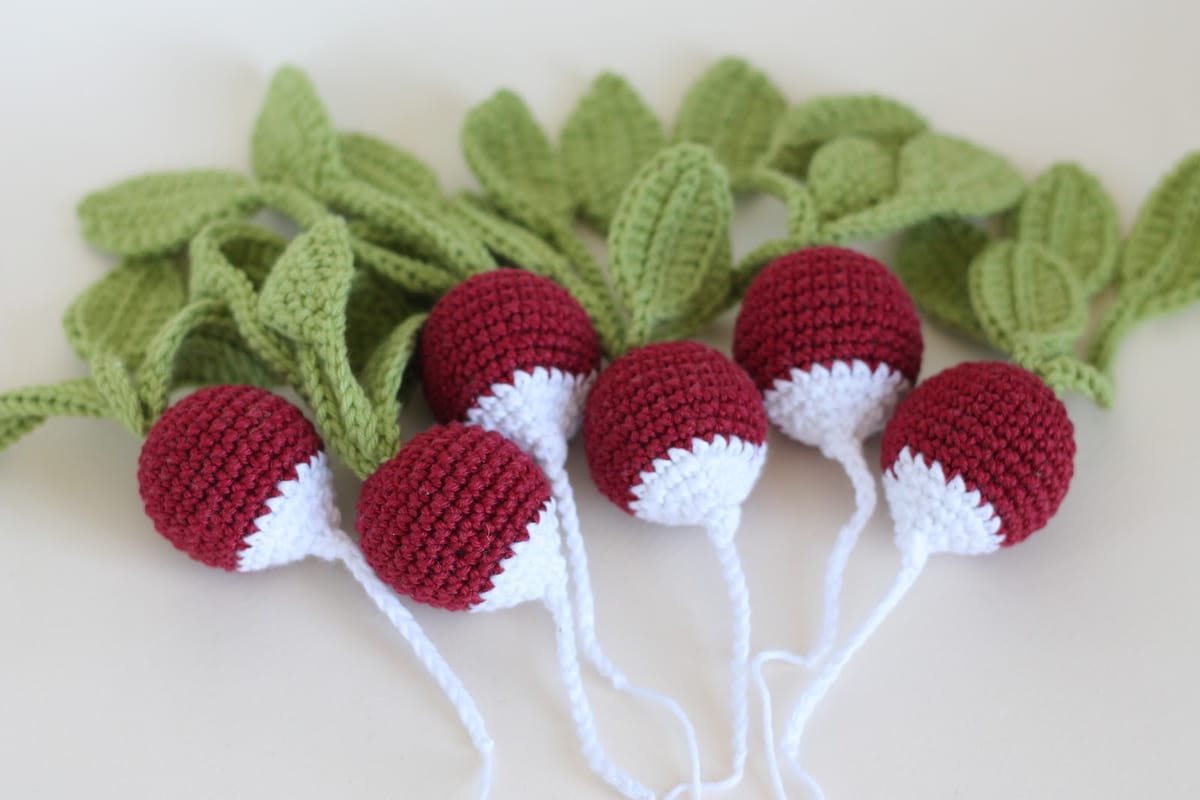
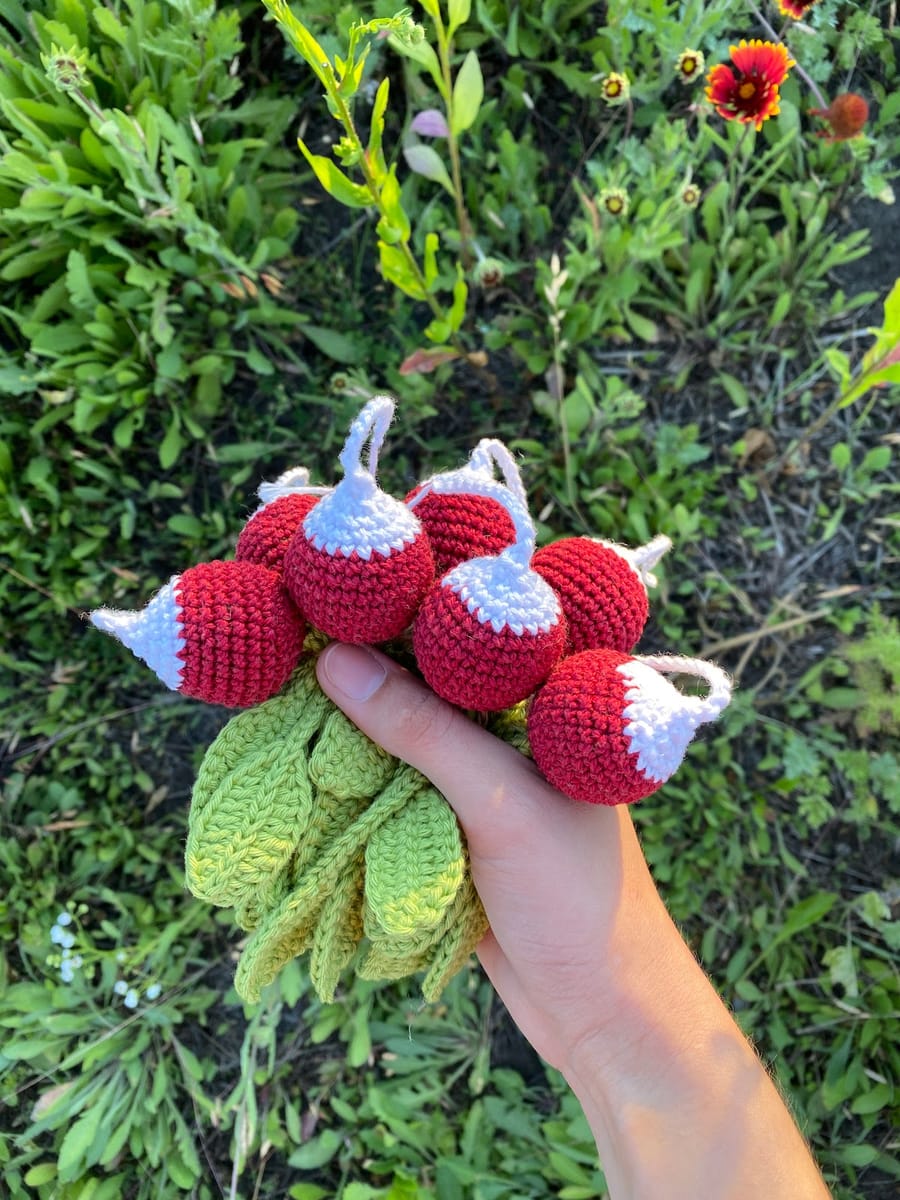
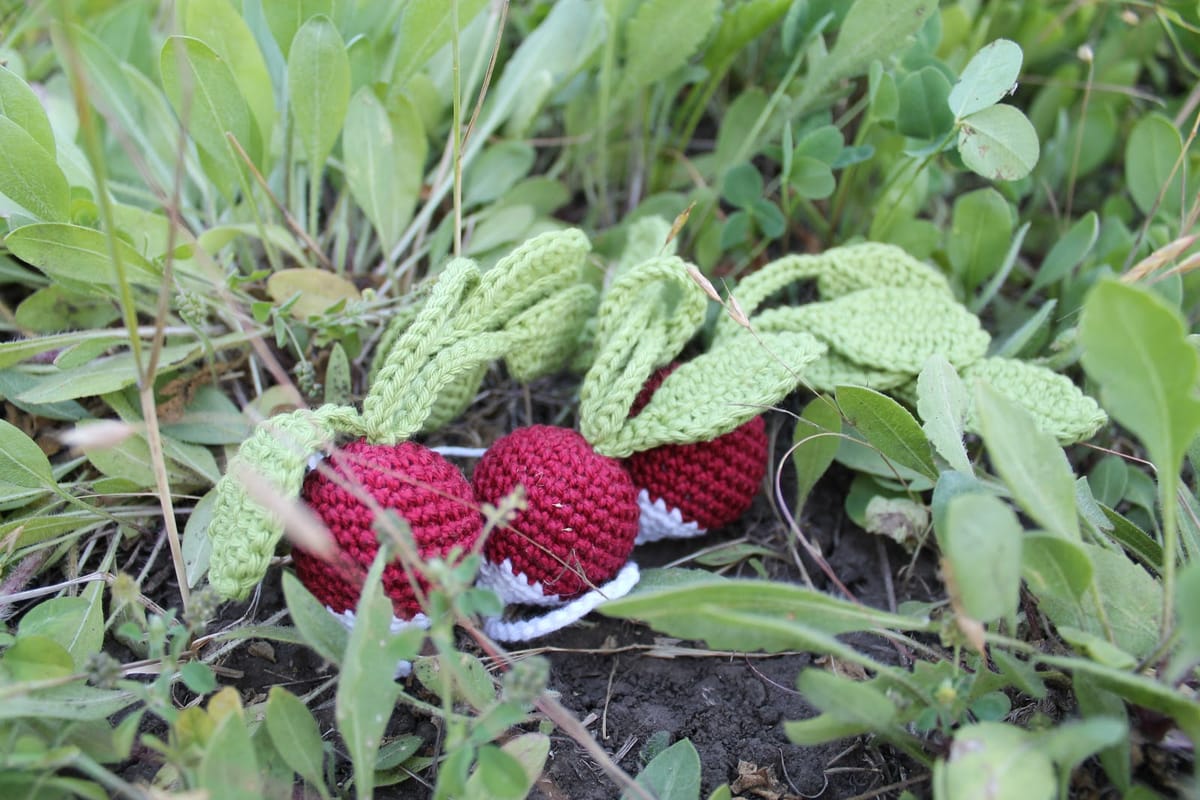
A tiny crochet radish with leafy green tops — a quick, detailed tutorial in DK cotton.
Hello! Welcome to my blog full of the free crochet and amigurumi patterns!
On this page, you find a very detailed and easy to follow tutorial for the crochet radish.
Abbreviations
The pattern is written in English, using US terminology.
ch - chain
sc - single crochet
sl st - slip stitch
inc - increase
dec - (invisible) decrease
hdc - half double crochet
dc - double crochet
You should know how to crochet: chains, slip stitches, single crochet stitches, increases and decreases, half double crochet and double crochet stitches, how to crochet in rounds.
Main detail
Start crochet with red yarn.
RND 1: Ch 2, 6 sc in second ch from a hook [6] /pic.1-2/
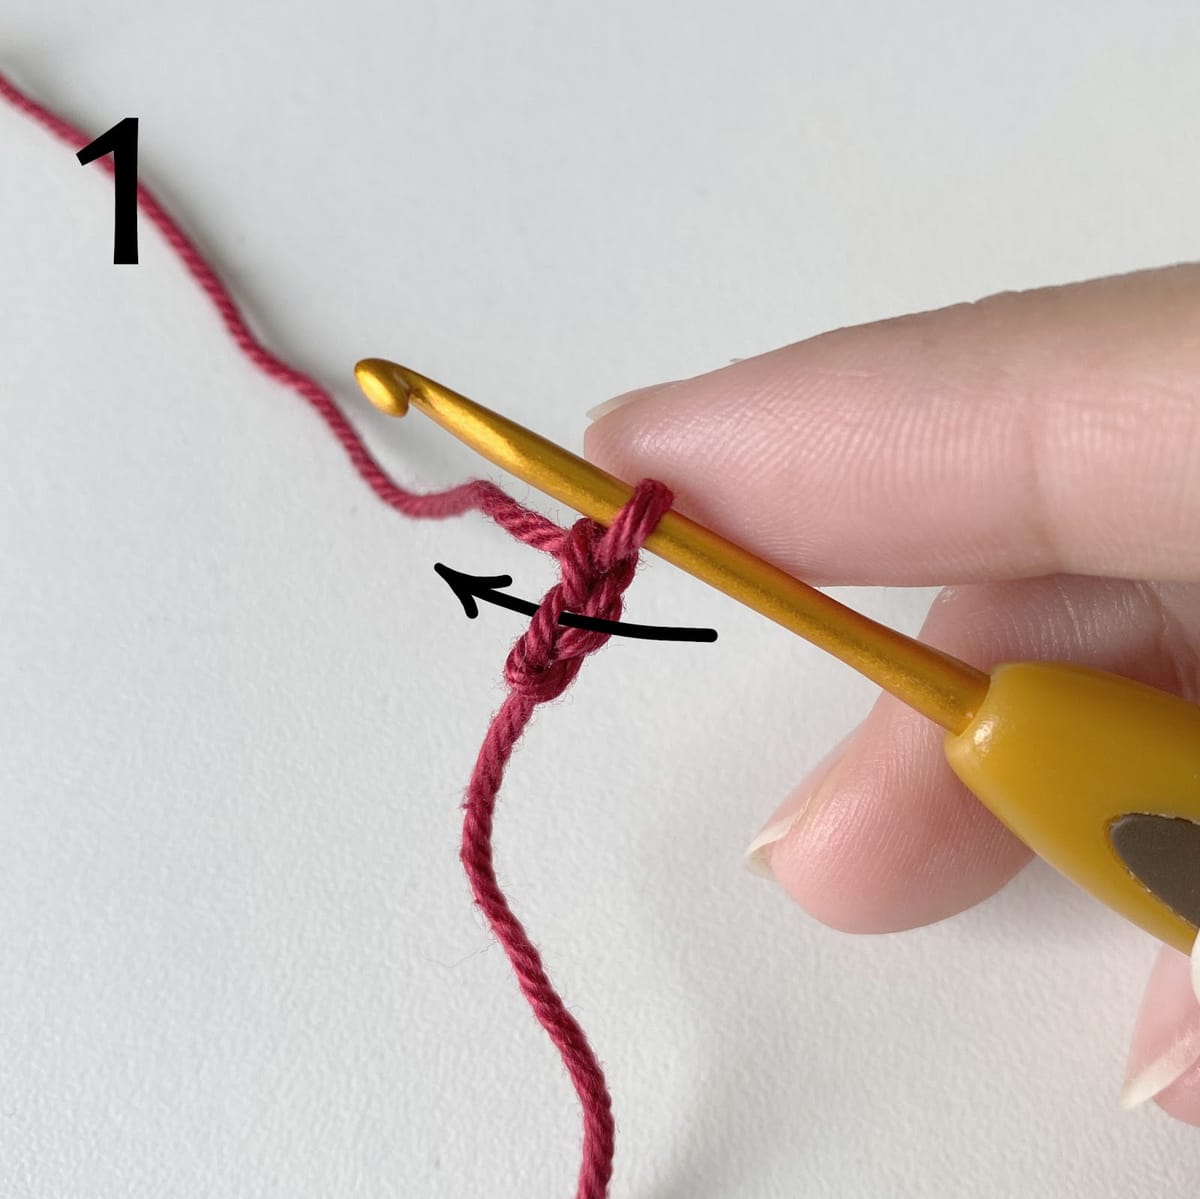
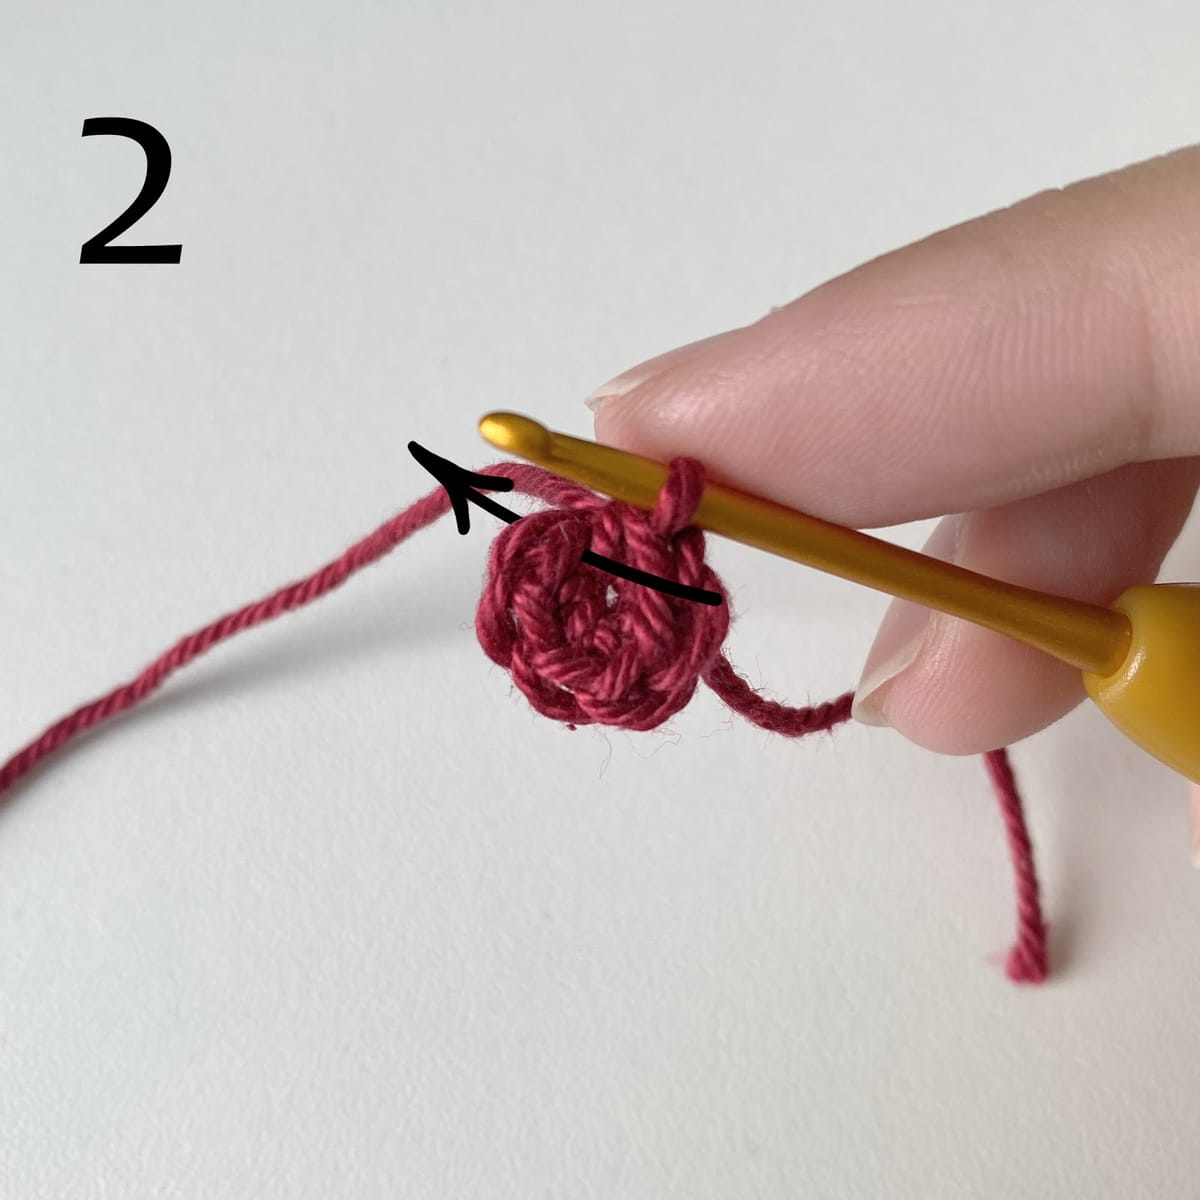
RND 2: inc in next 6 st [12] /pic.3/
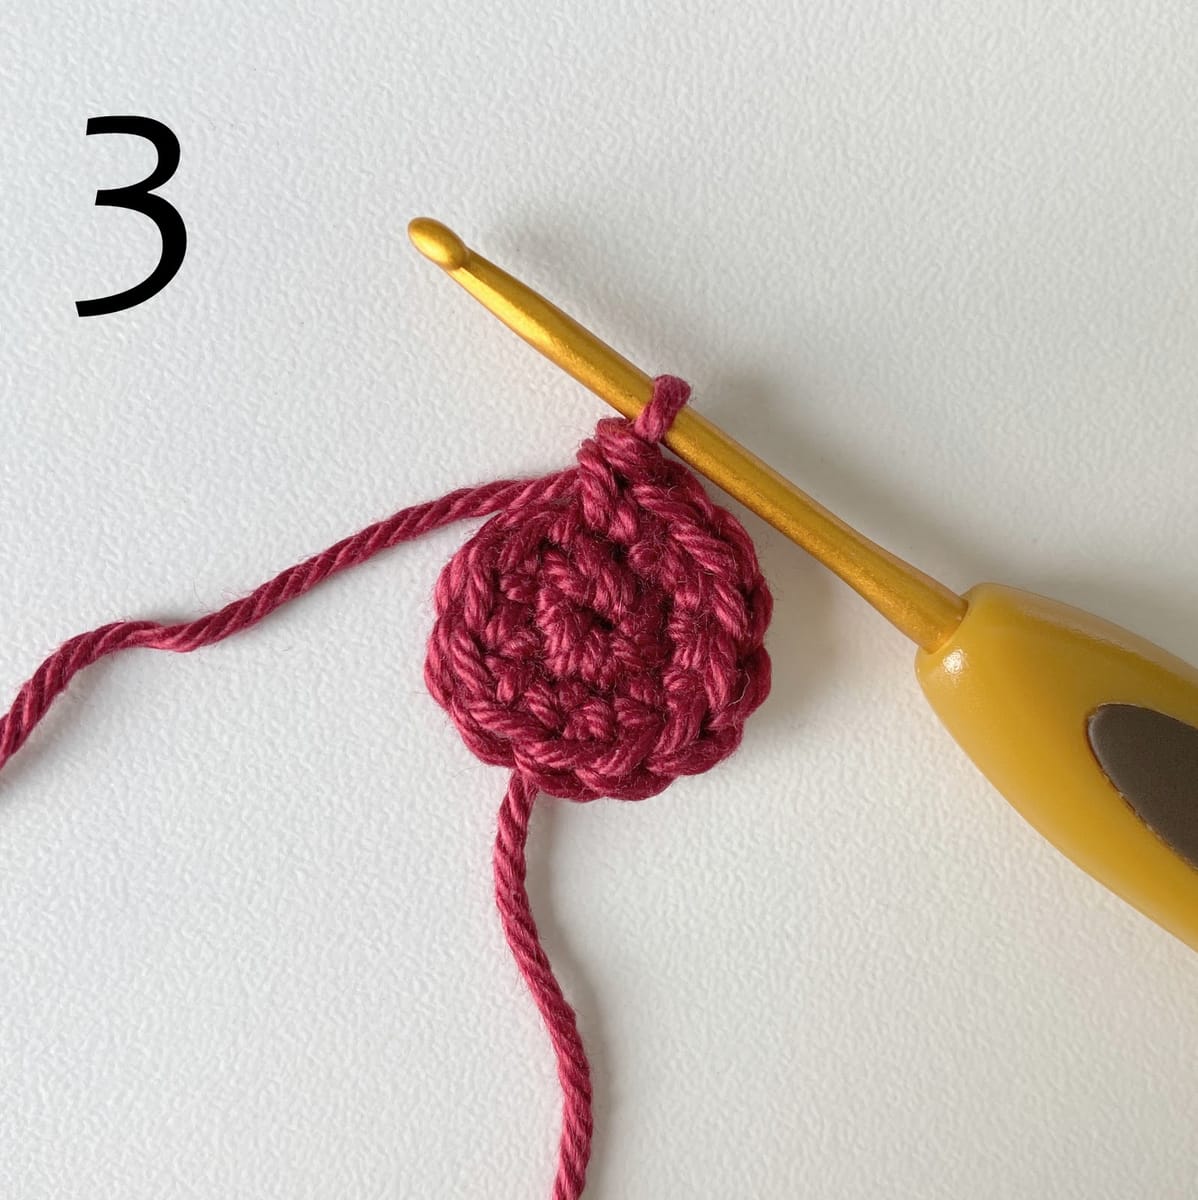
RND 3: (sc in next st, inc in next st) * repeat 6 times [18] /pic.4/
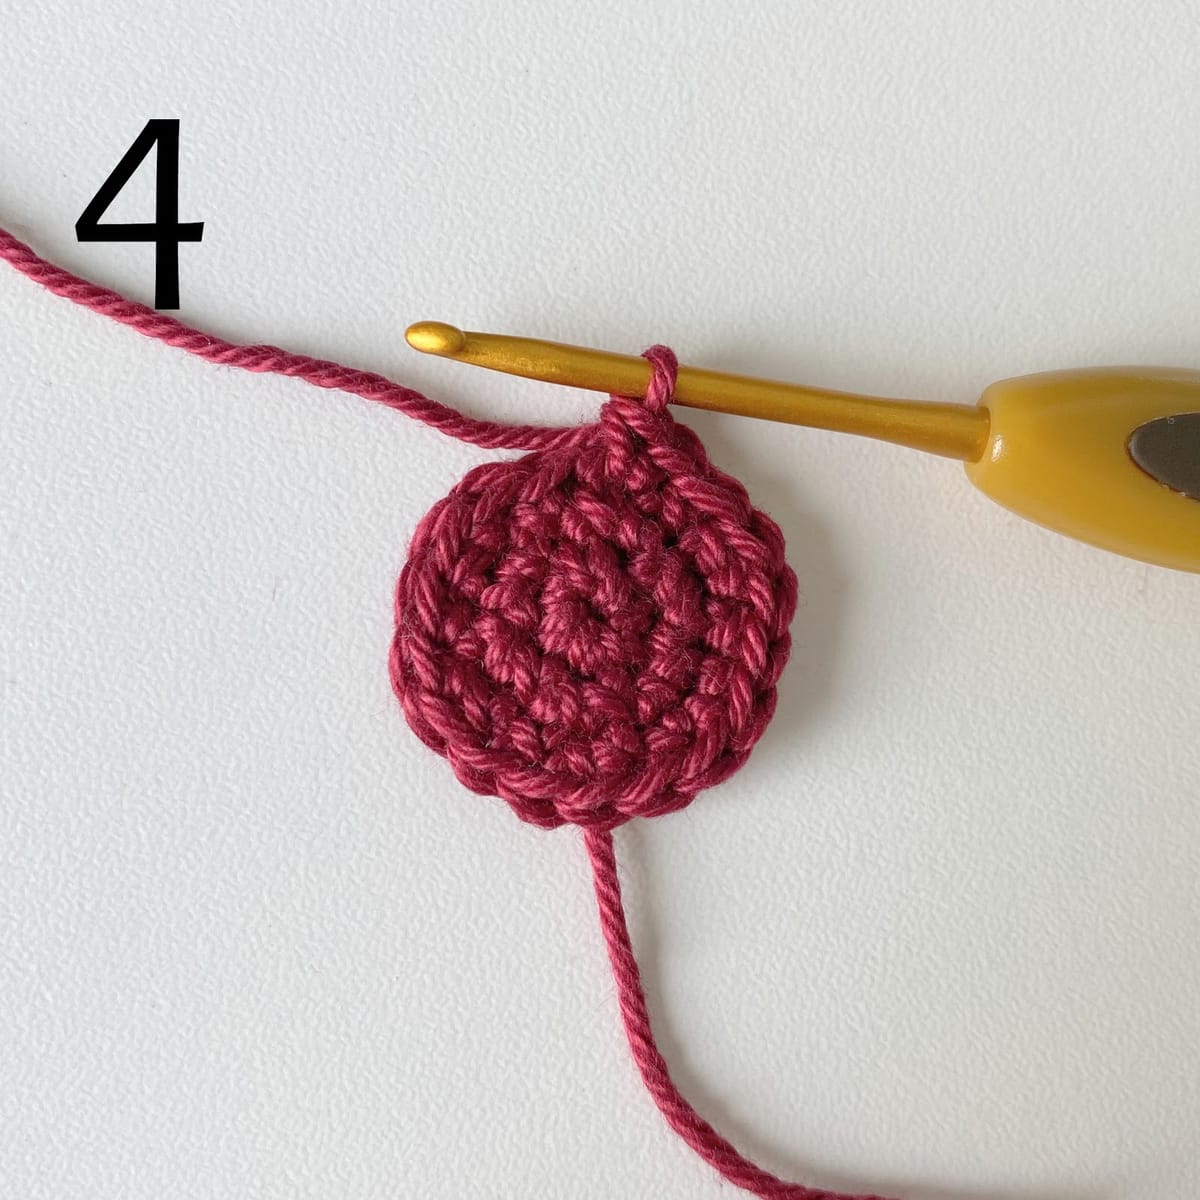
RND 4: (sc in next 2 st, inc in next st) * repeat 6 times [24] /pic.5/
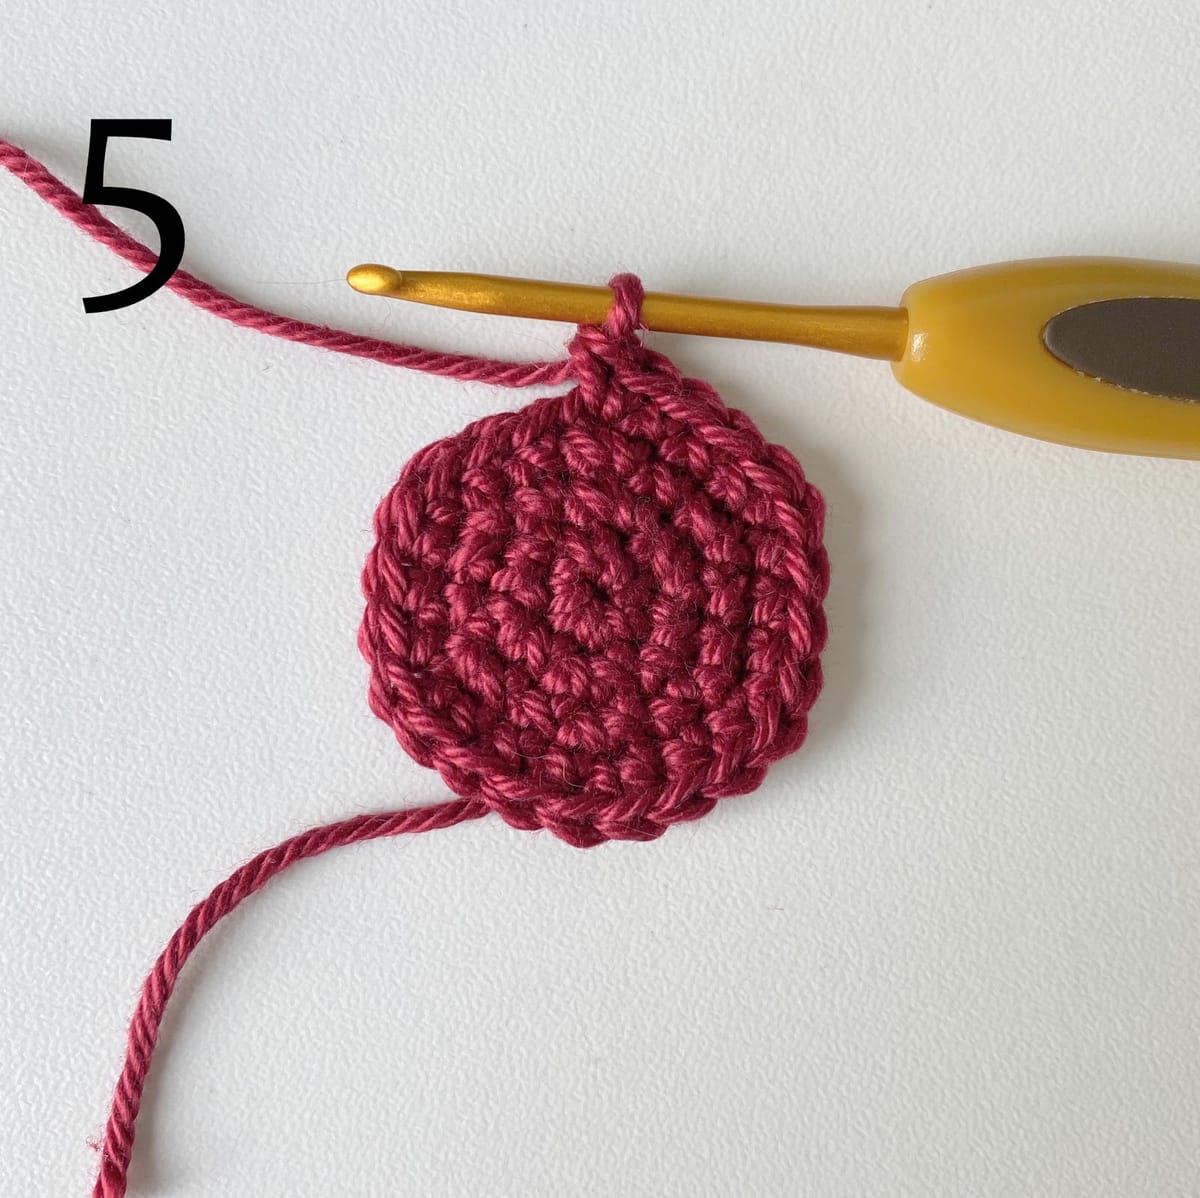
RND 5: (sc in next 3 st, inc in next st) * repeat 6 times [30] /pic.6/
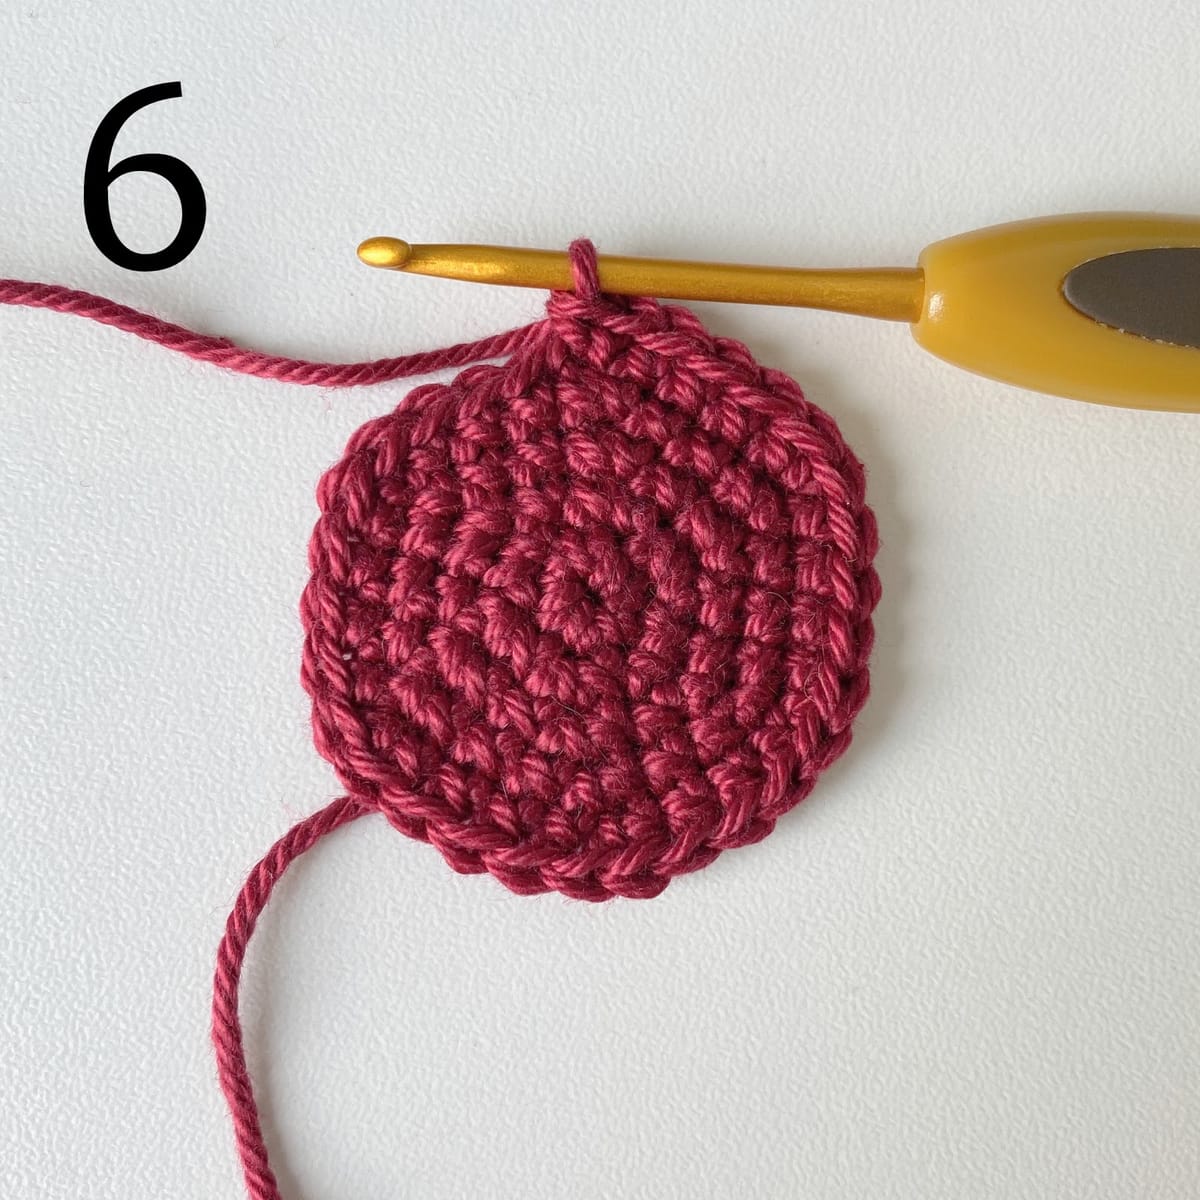
RND 6-9: sc in next 30 st [30] - 4 rounds /pic.7/
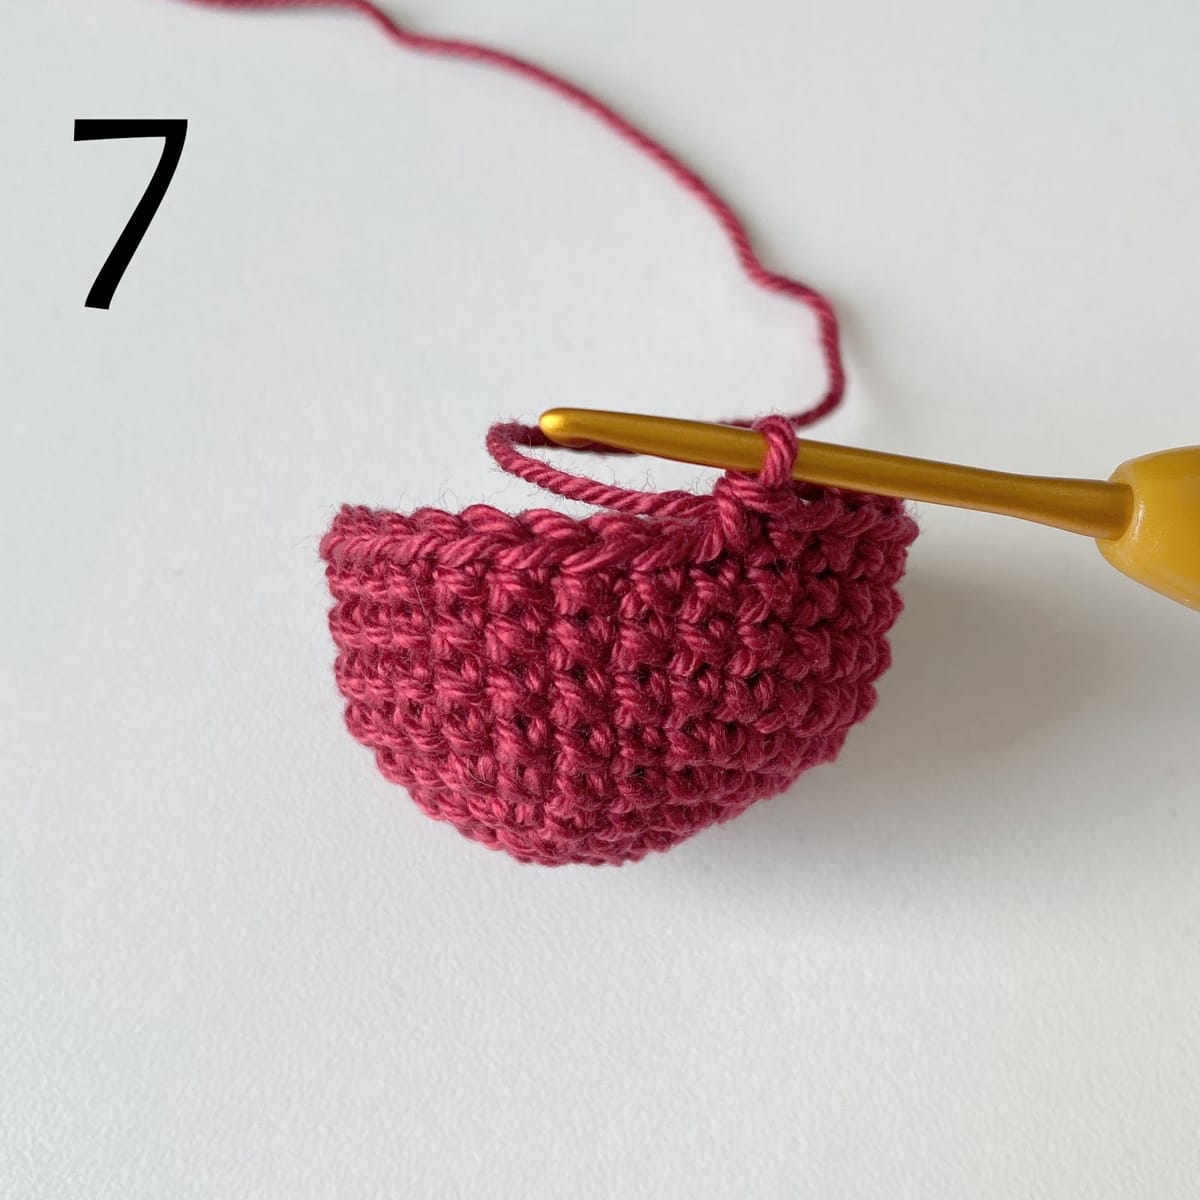
RND 10: (sc in next 3 st, dec) * repeat 6 times [24] /pic.8/
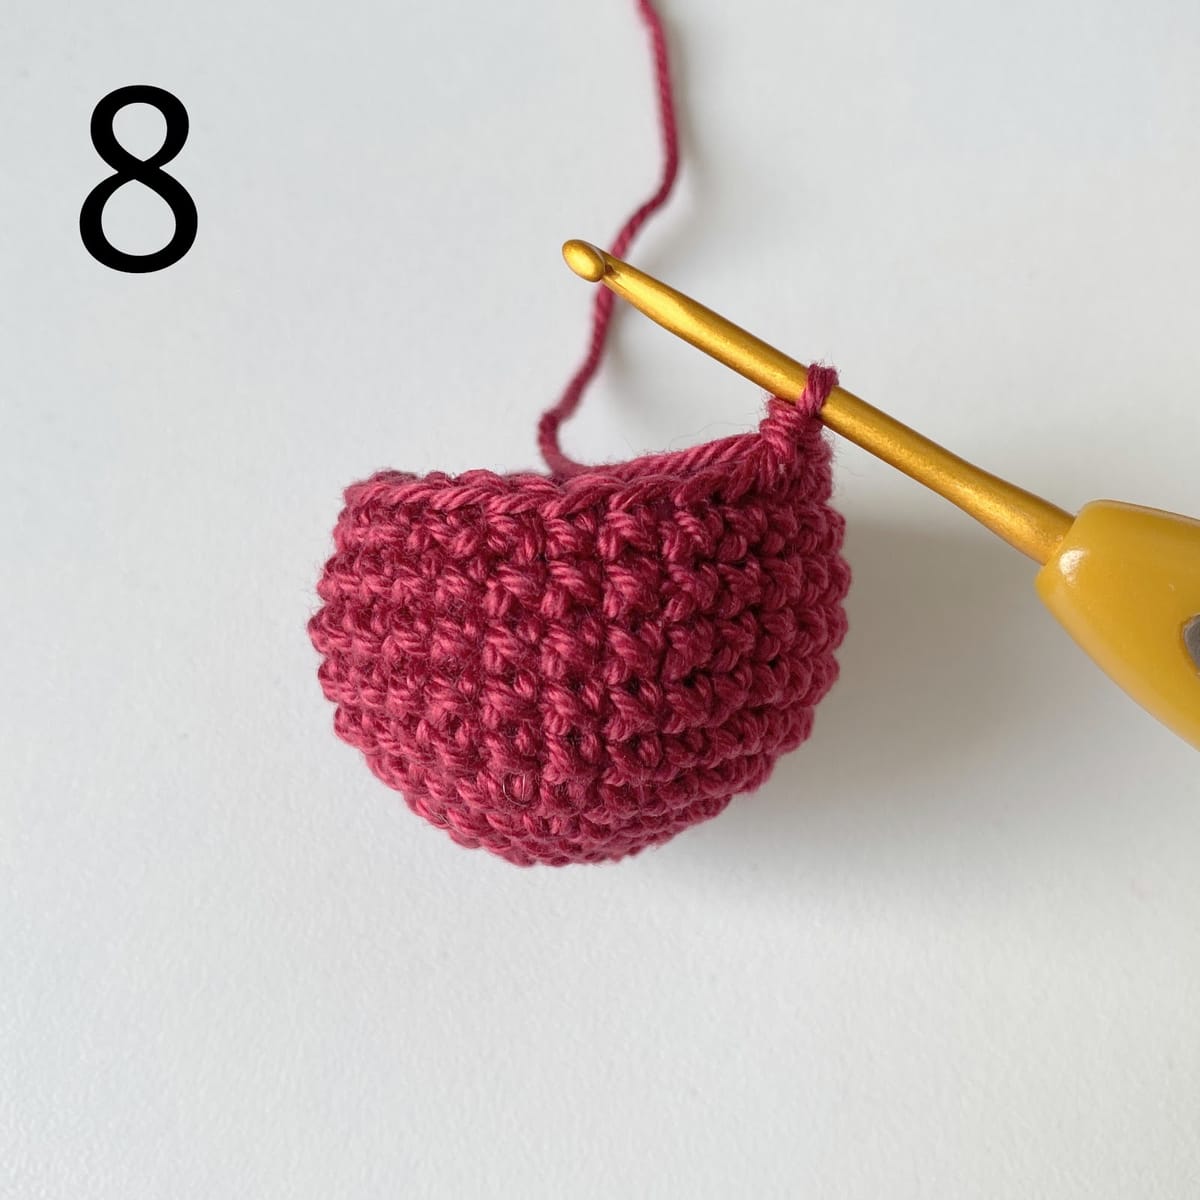
RND 11: sc in next 24 st [24] /pic.9/
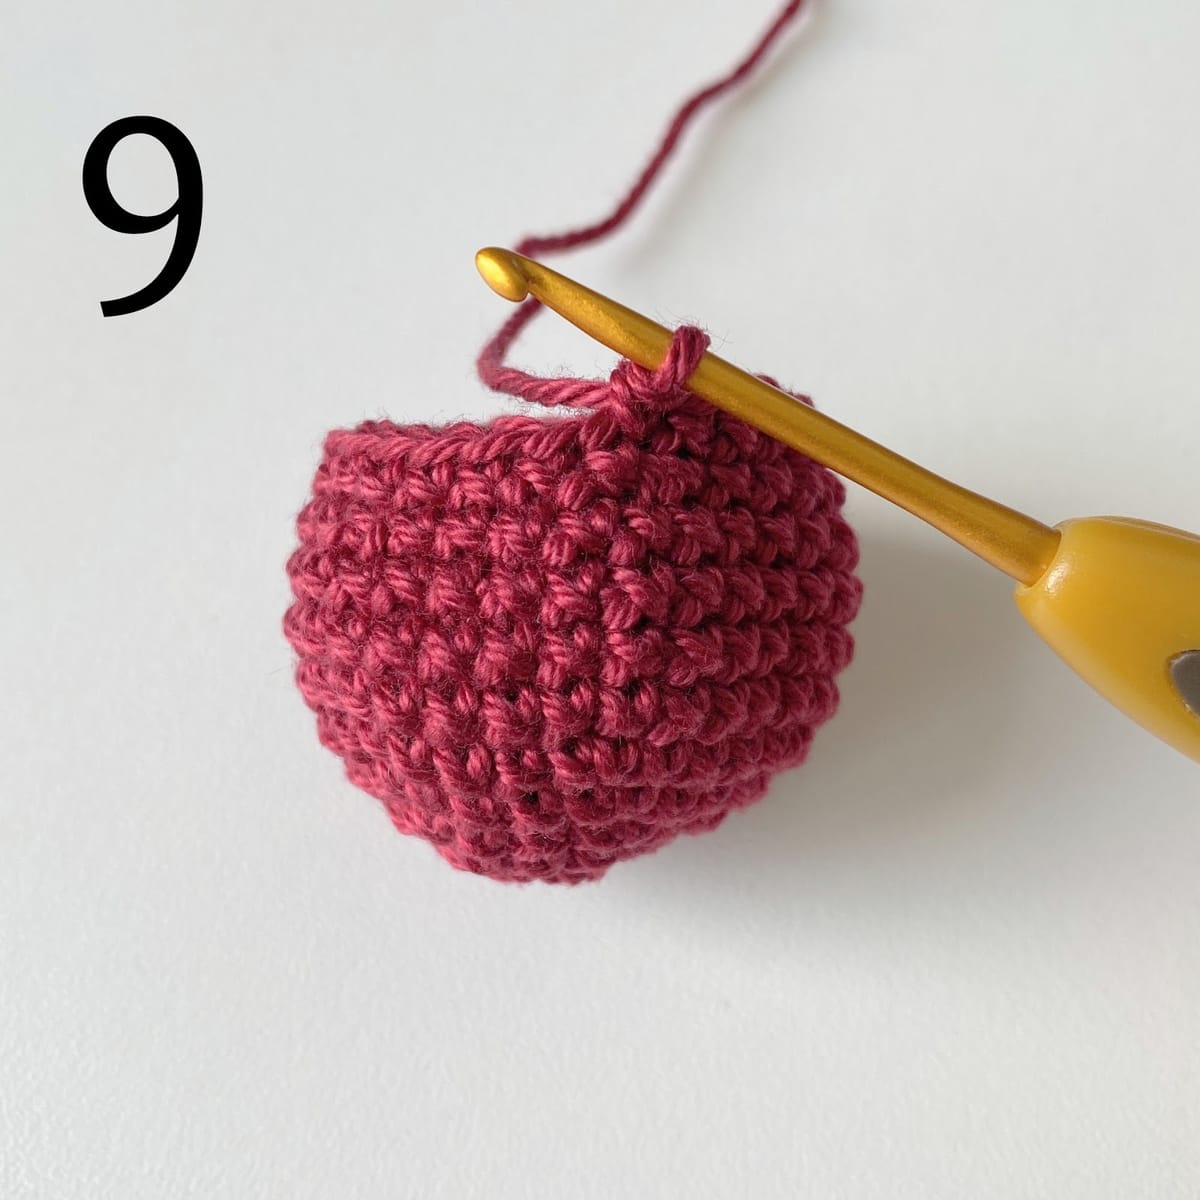
Change yarn to the white.
Starting this round don’t count the stitches in the rounds, just follow the pattern!
RND 12: (sc in next 3 st, dec) * repeat 5 times /pic.10/
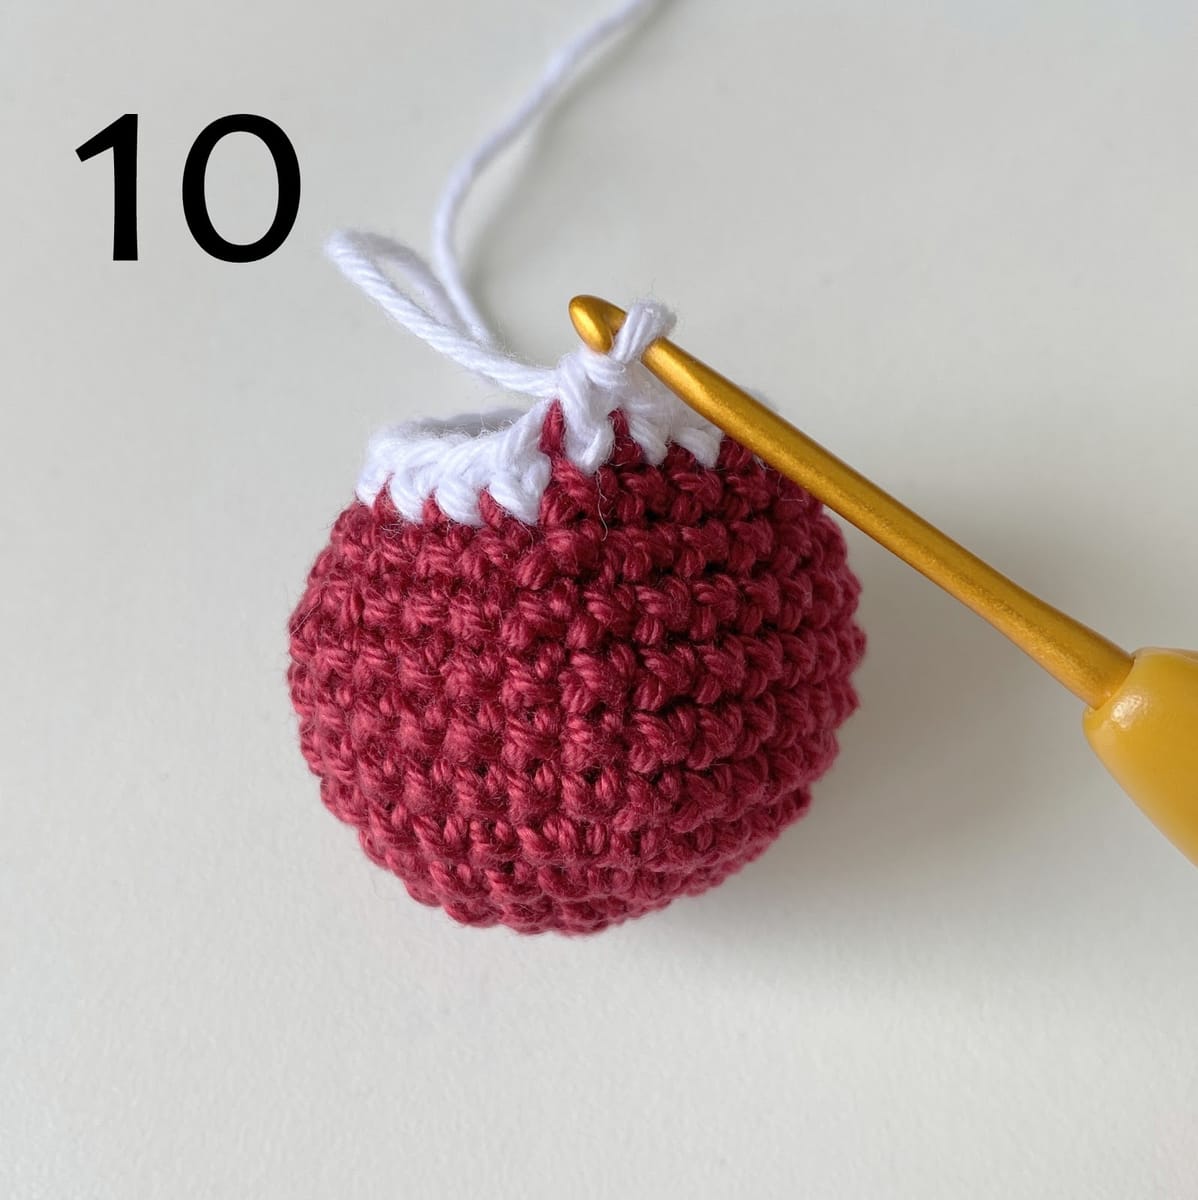
RND 13: (sc in next 2 st, dec) * repeat 5 times /pic.11/
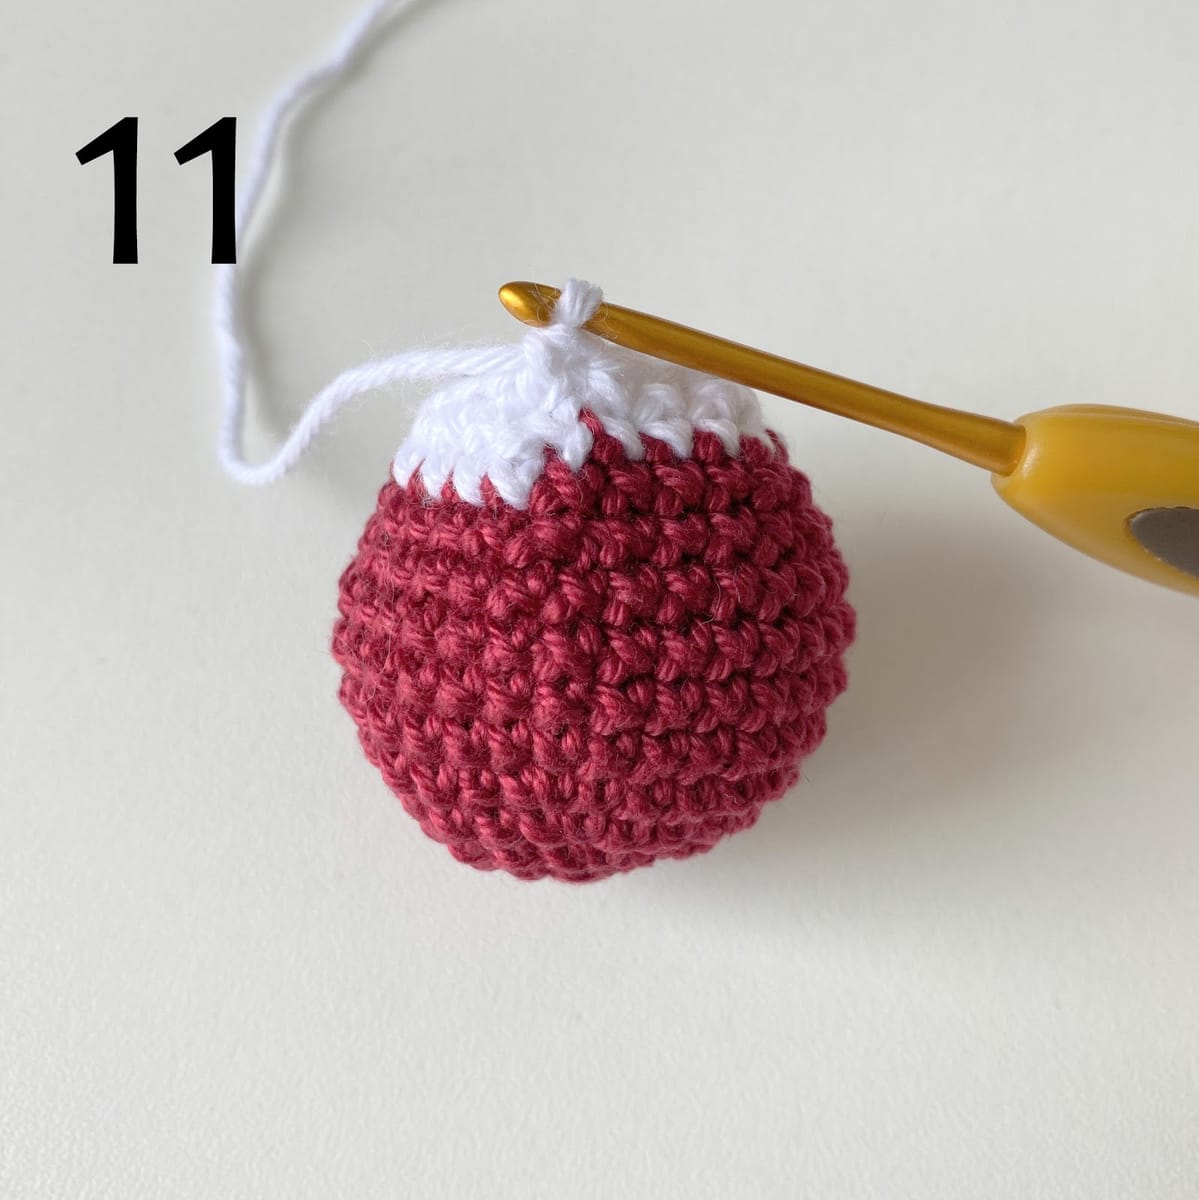
Stuff the detail. /pic.12/
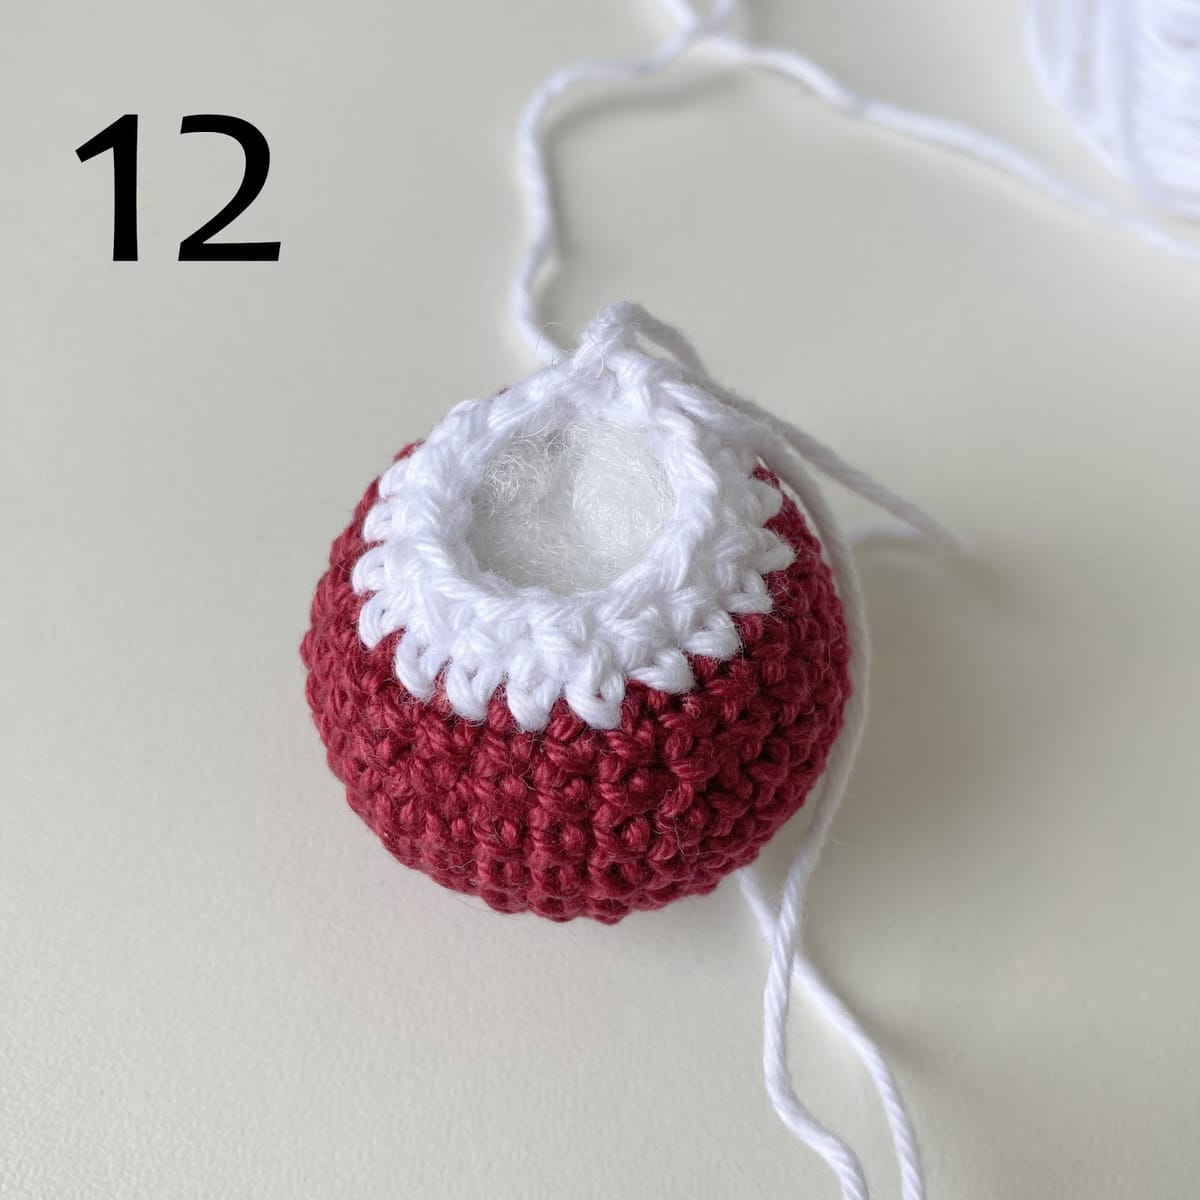
RND 14: (sc in next 2 st, dec) * repeat 4 times /pic.13/
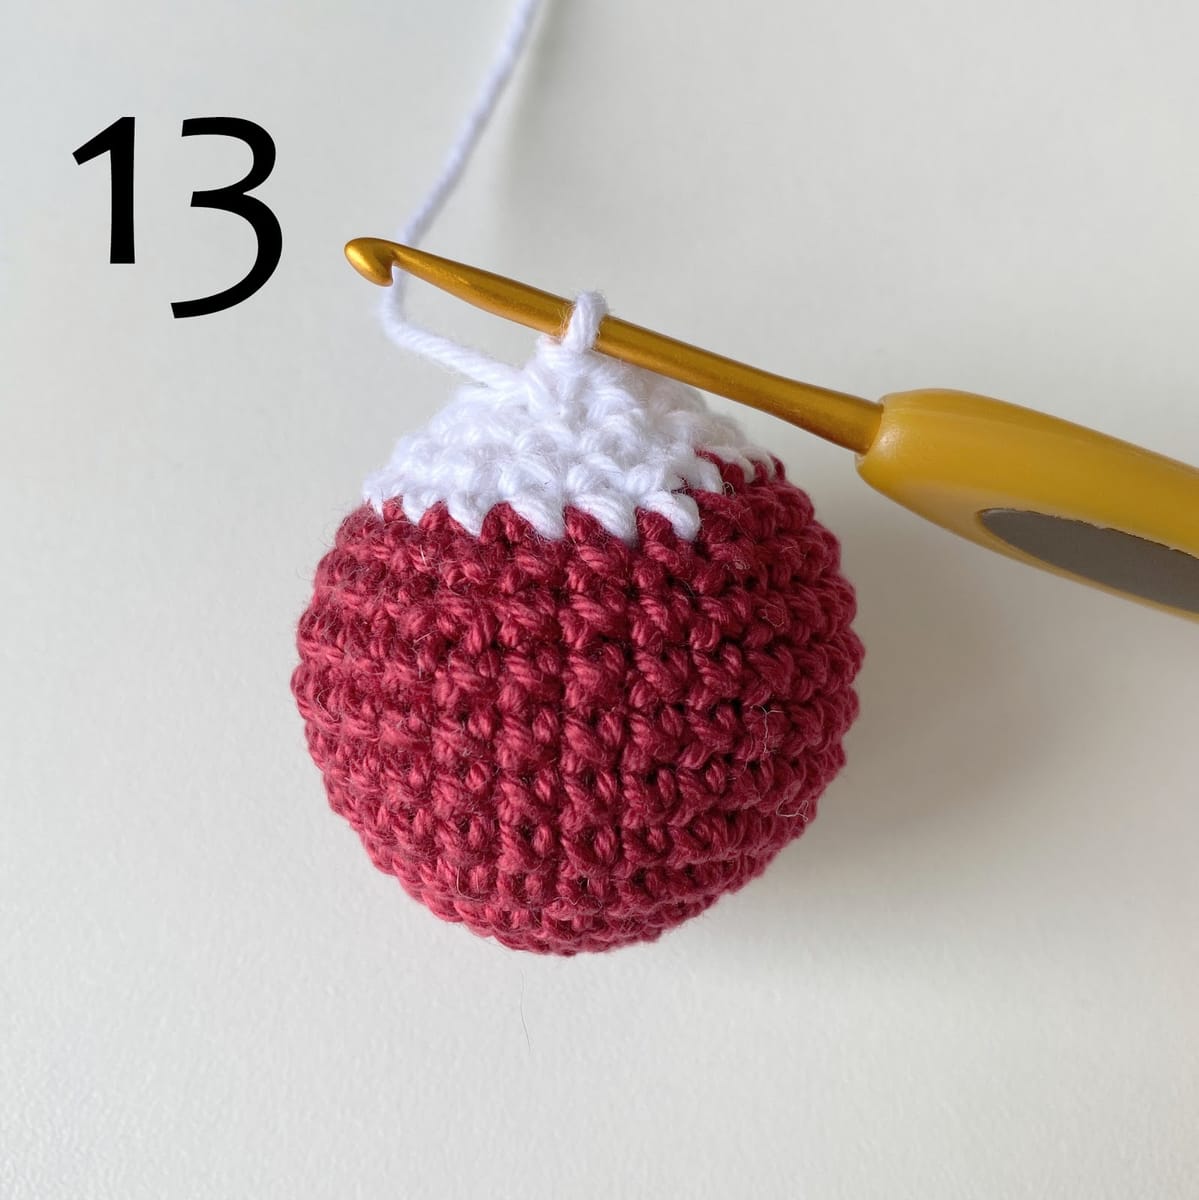
RND 15: dec 6 times /pic.14-15/
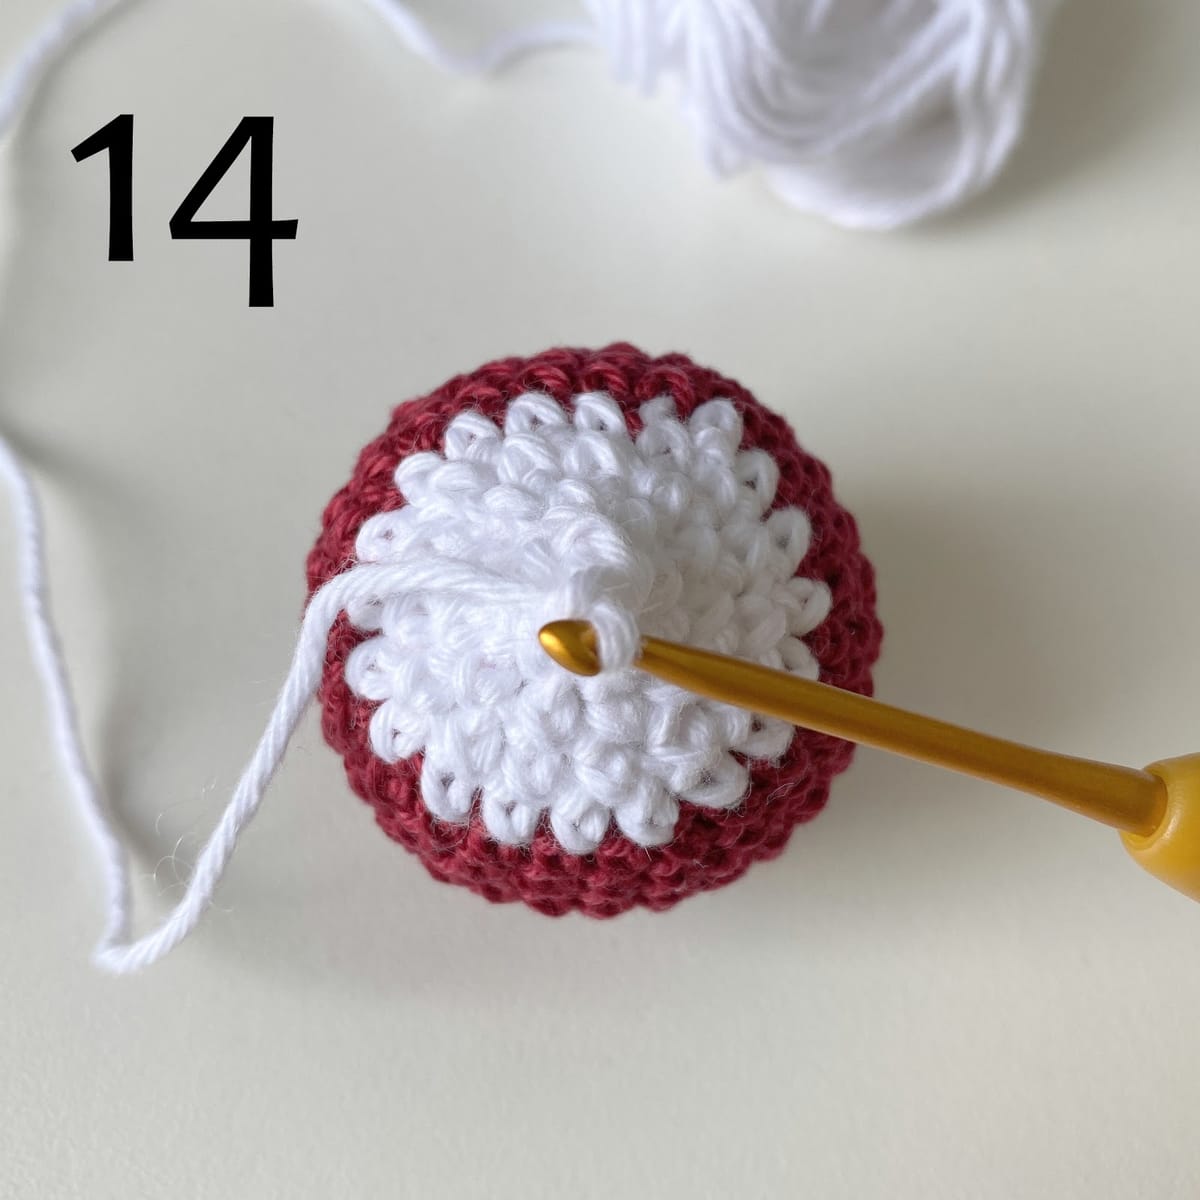
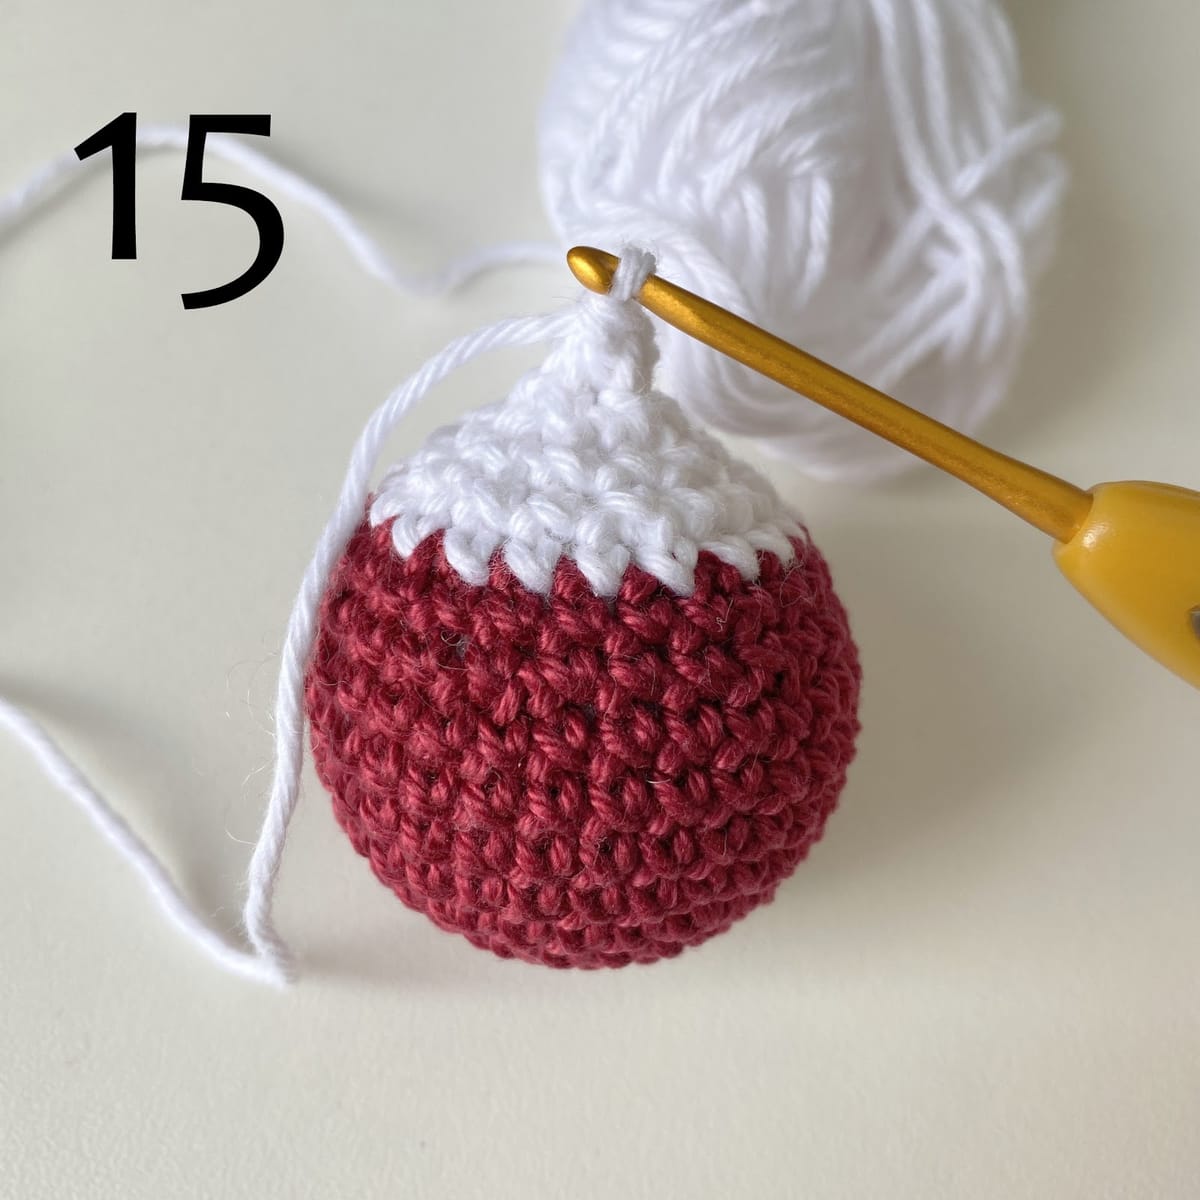
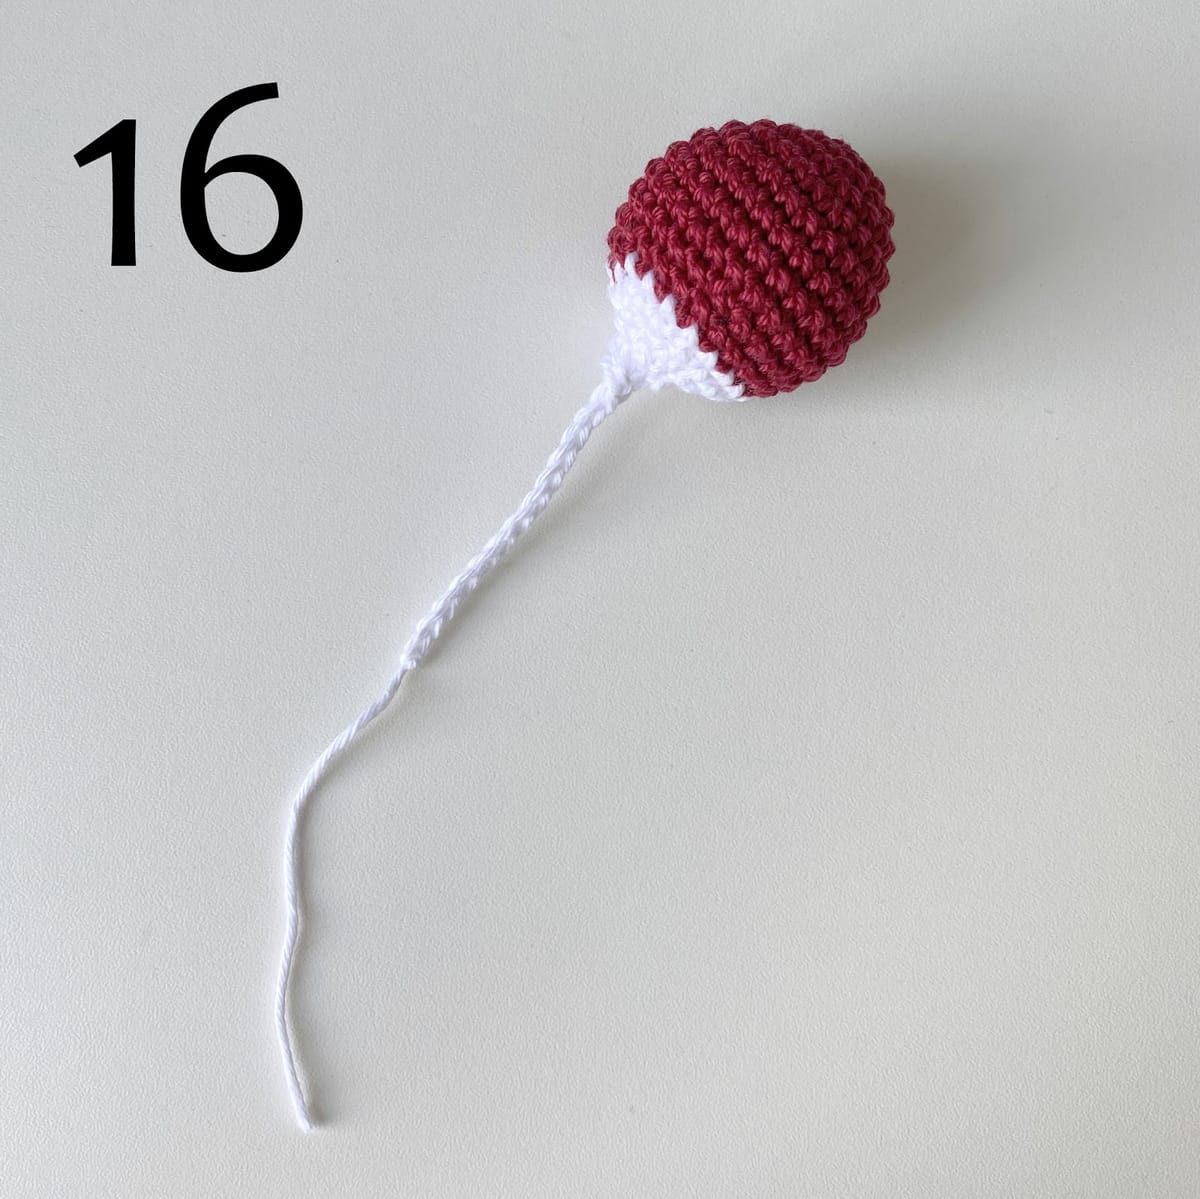
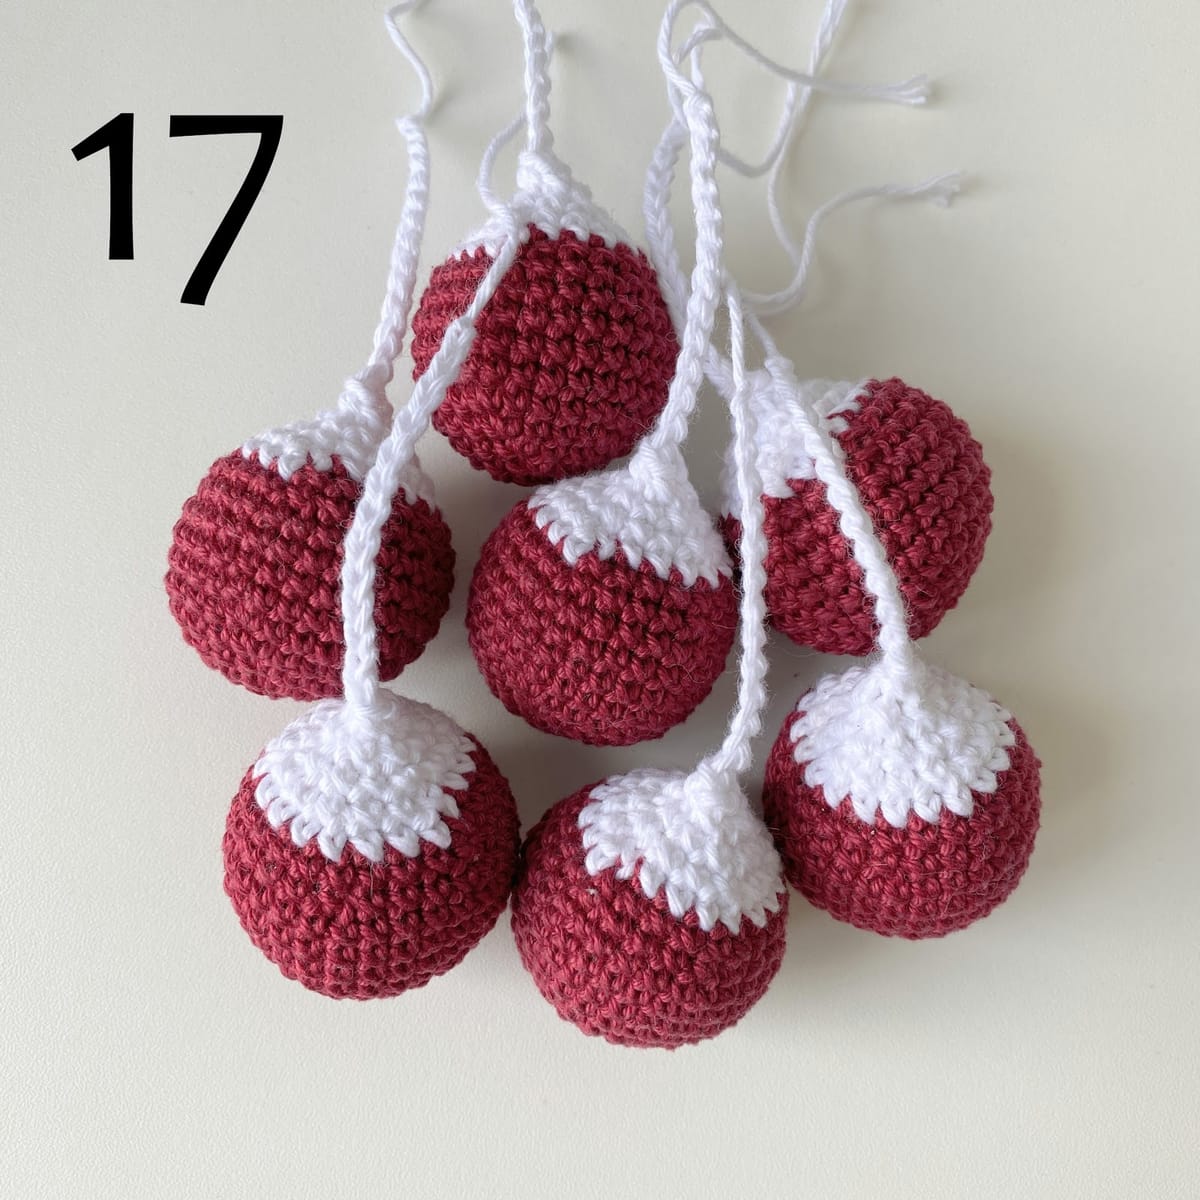
Make 12 chains and then fasten off, leaving a tail of yarn approx. 2” (5 cm) /pic.16-17/
Leaves
This video is hosted on YouTube. It only loads when you press play, because YouTube then receives your IP address.
Crochet with green yarn.
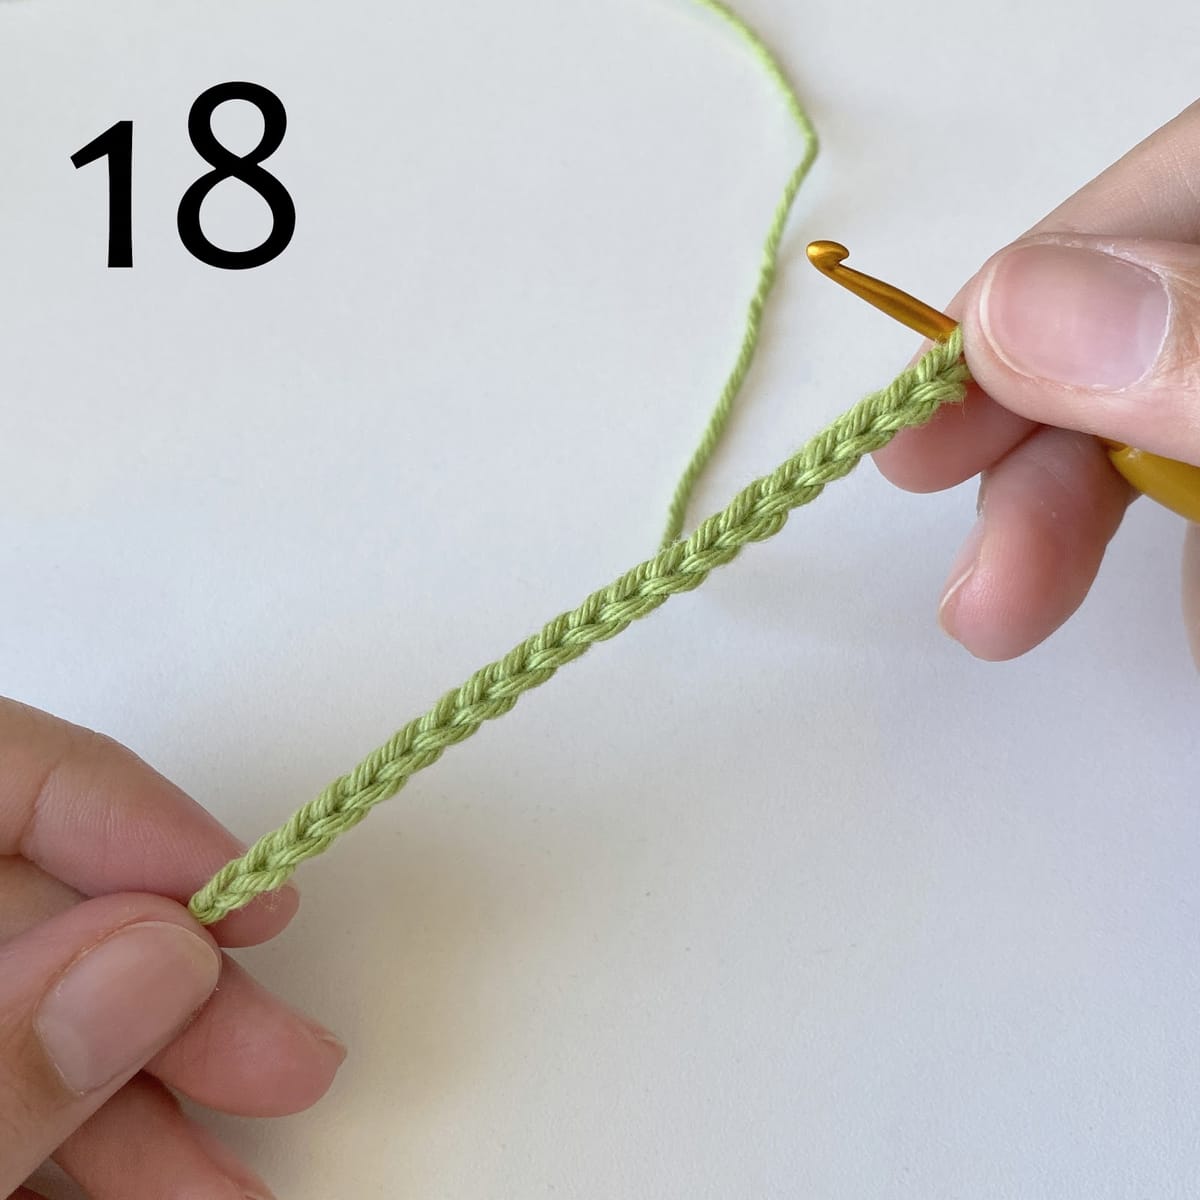
- Make 20 chains /pic.18/
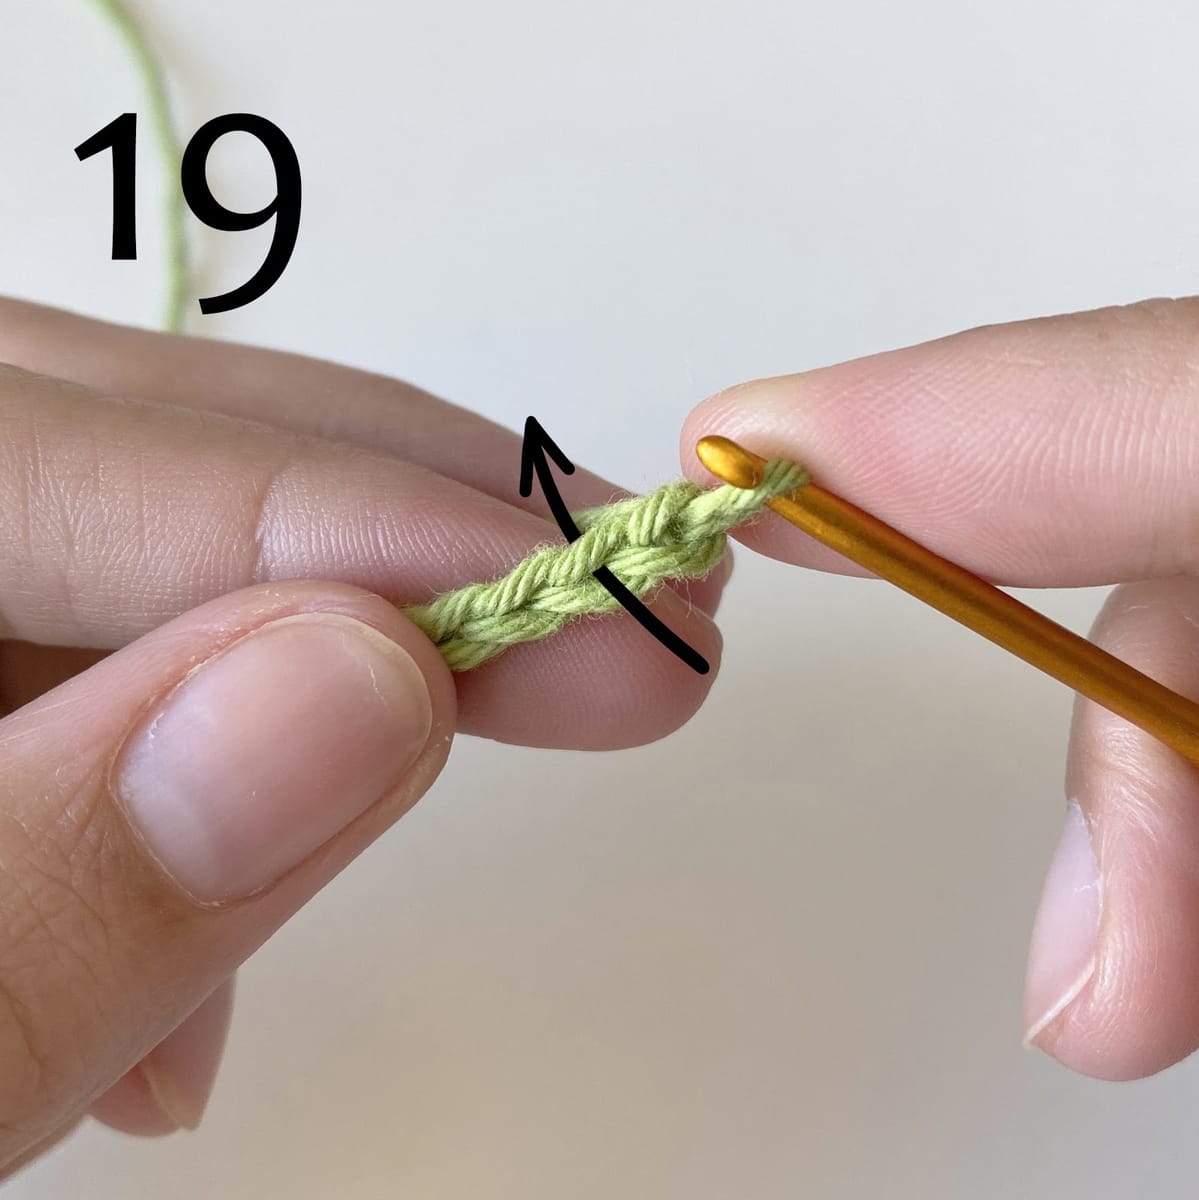
- sc in the second ch from a hook /pic.19-21/
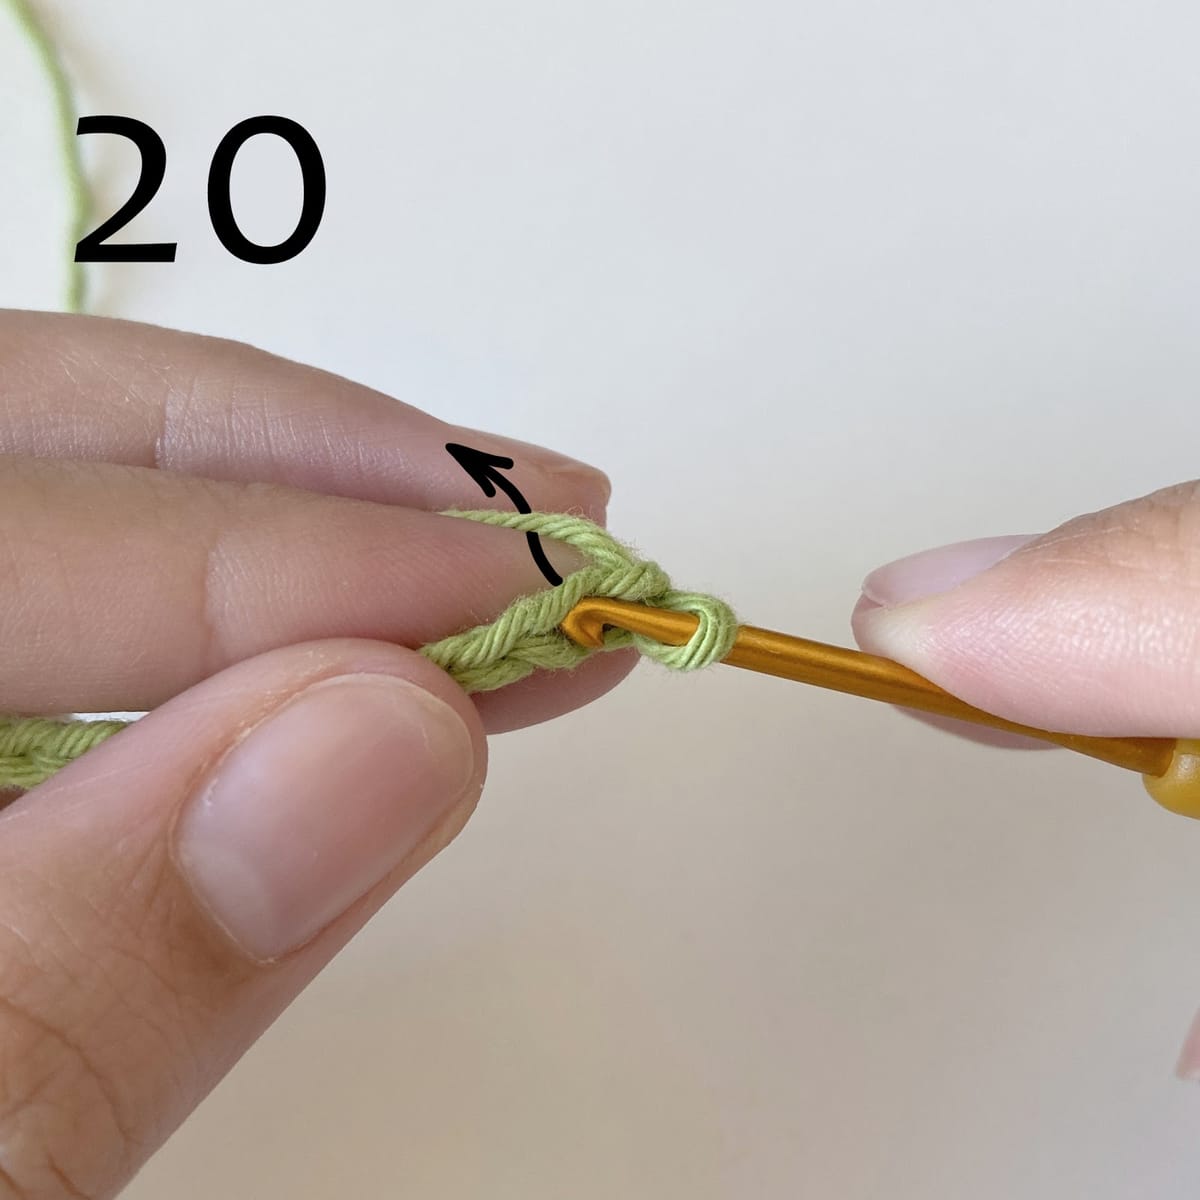
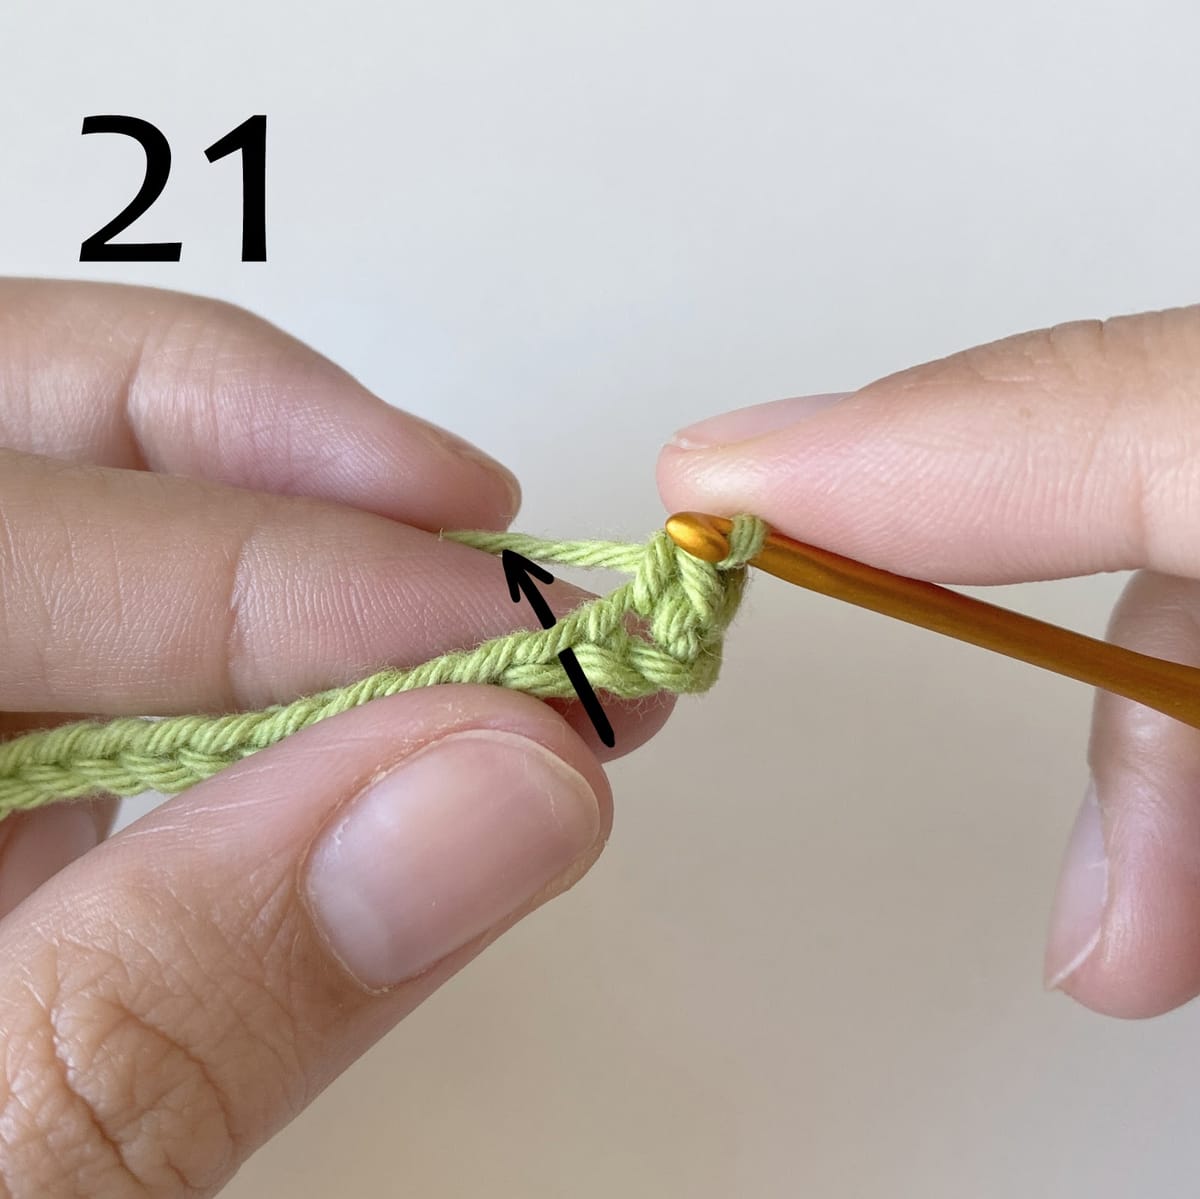
- hdc in next ch /pic.21-22/
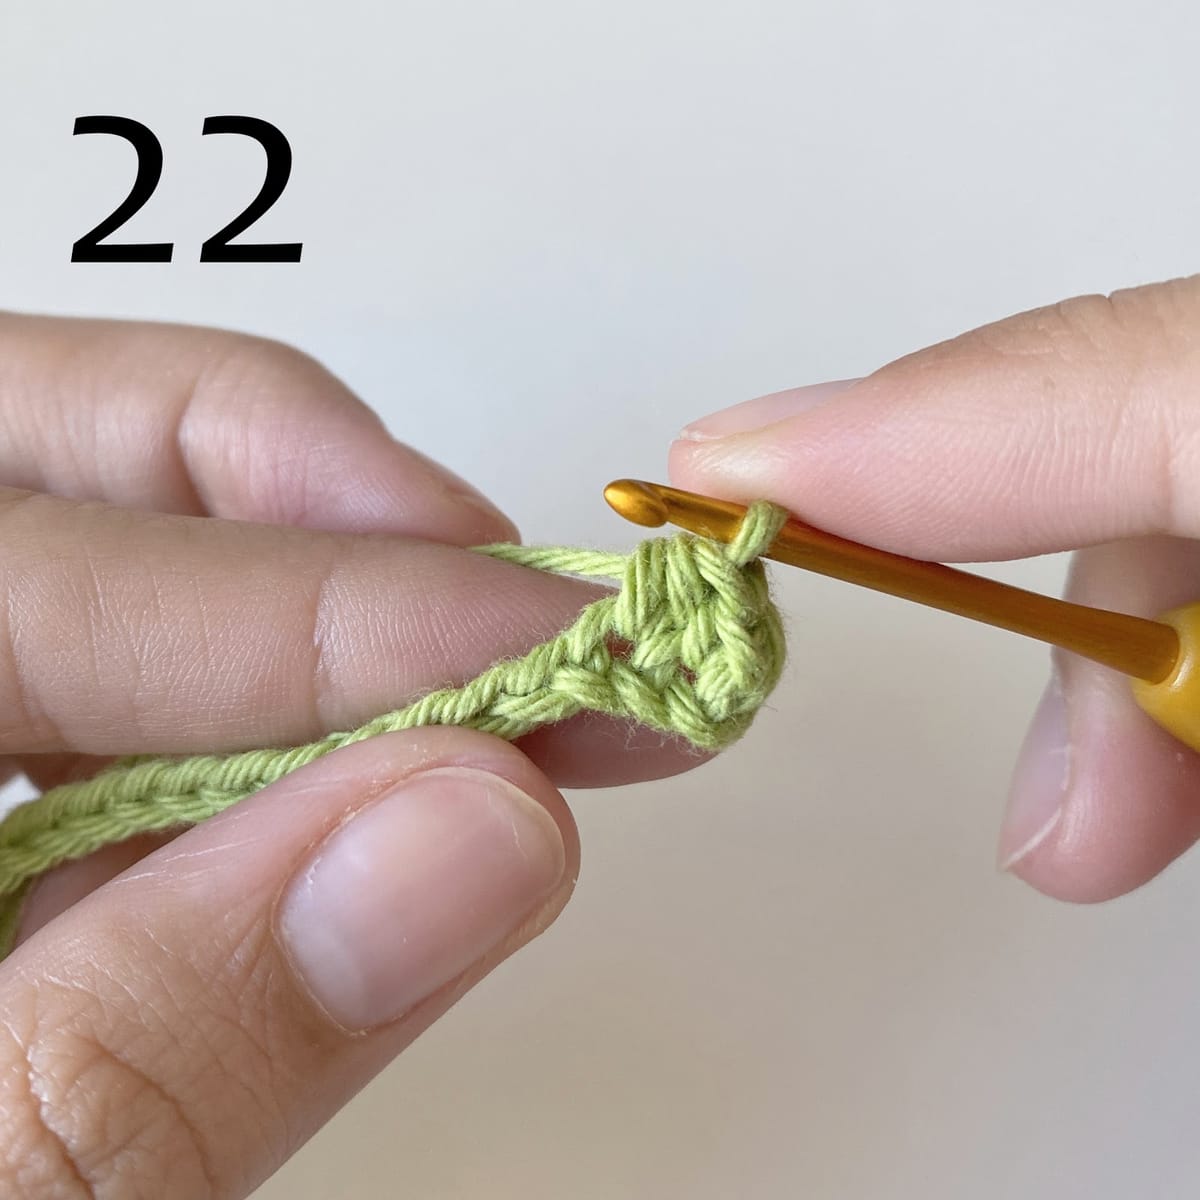
- dc in next 6 ch /pic.23/
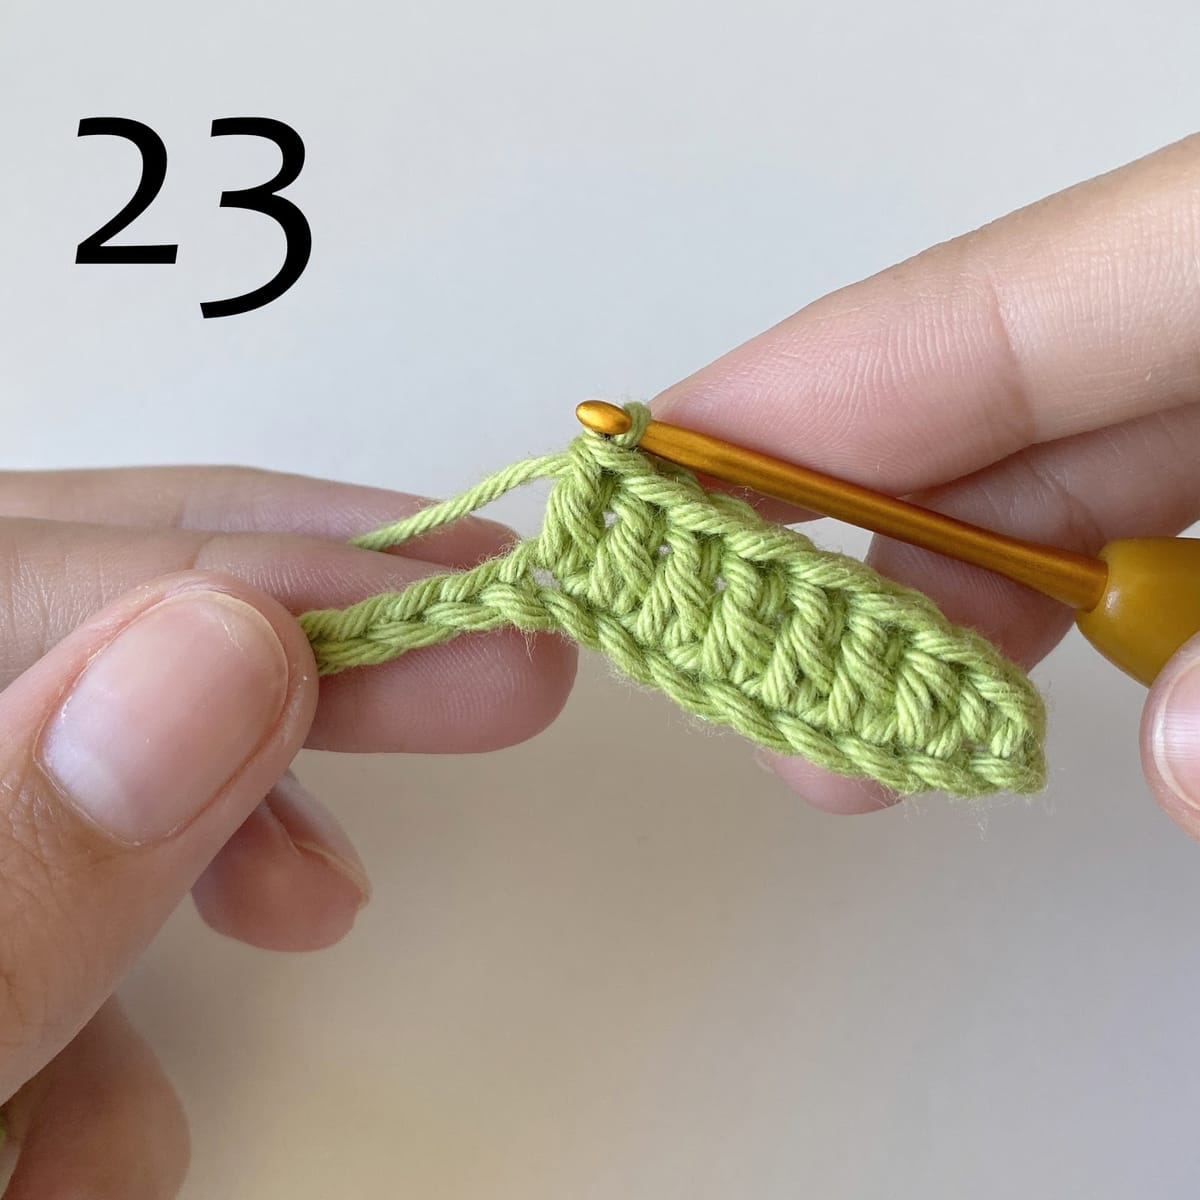
- hdc in next ch /pic.24/
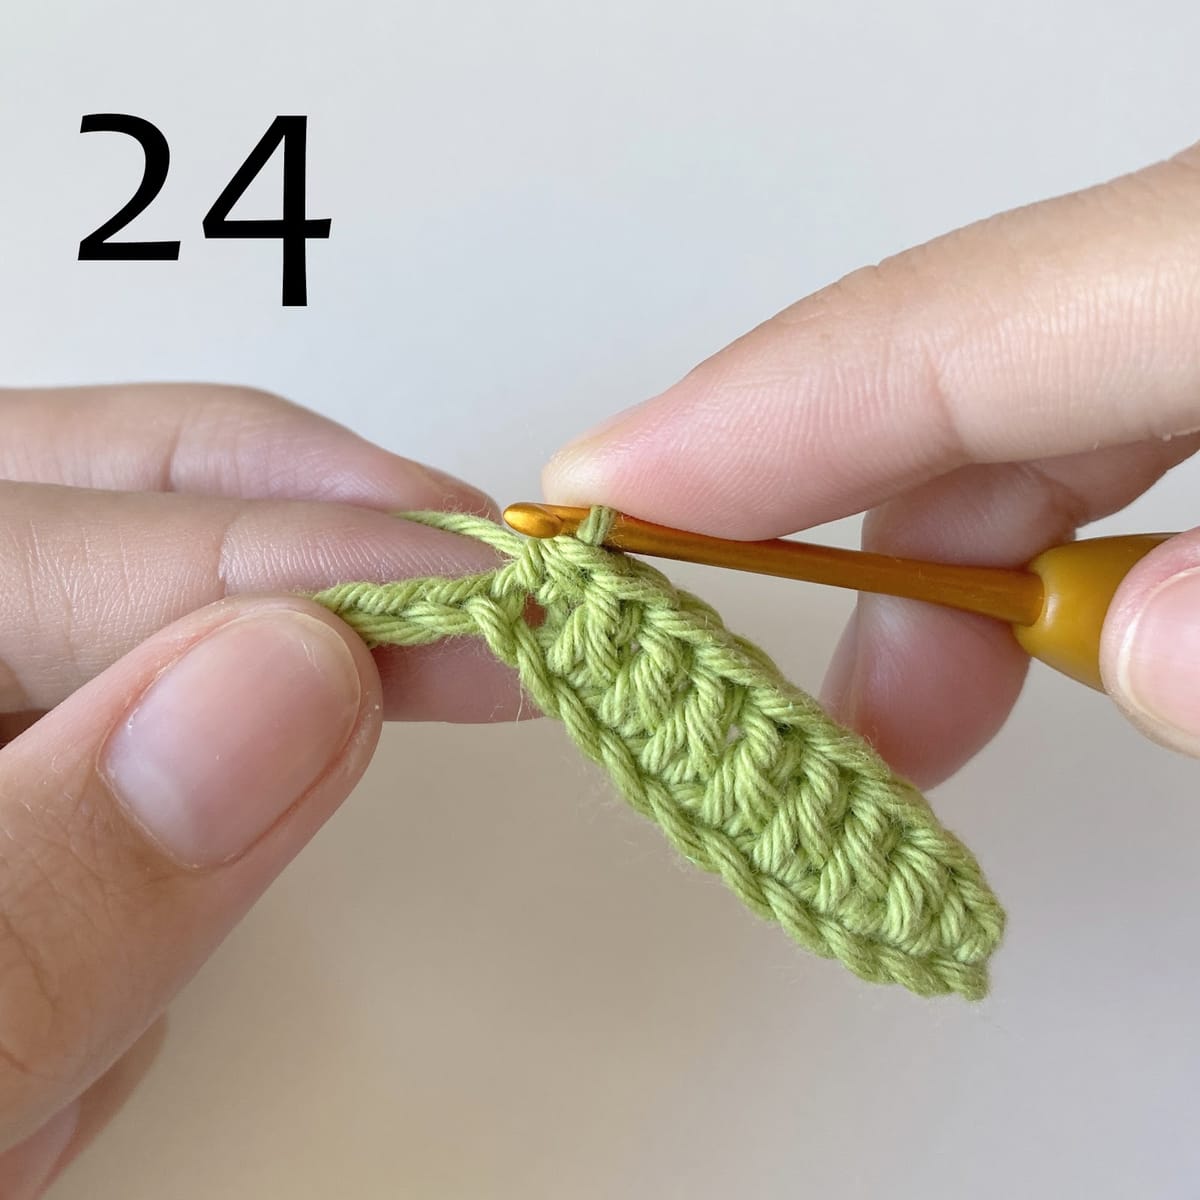
- 3 sc in next ch /pic.25/
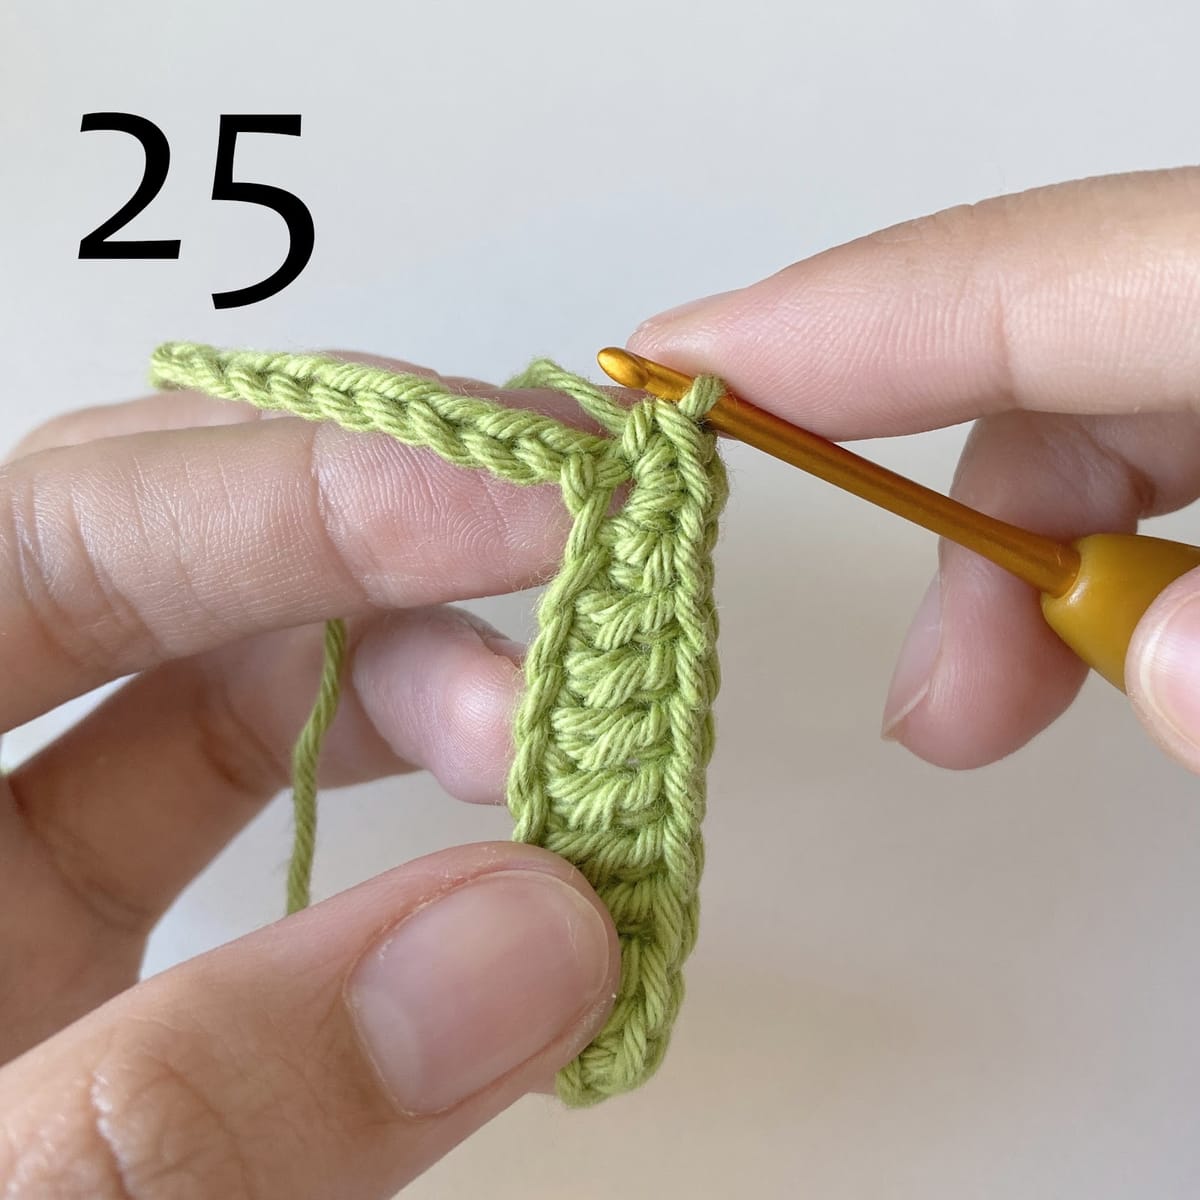
-
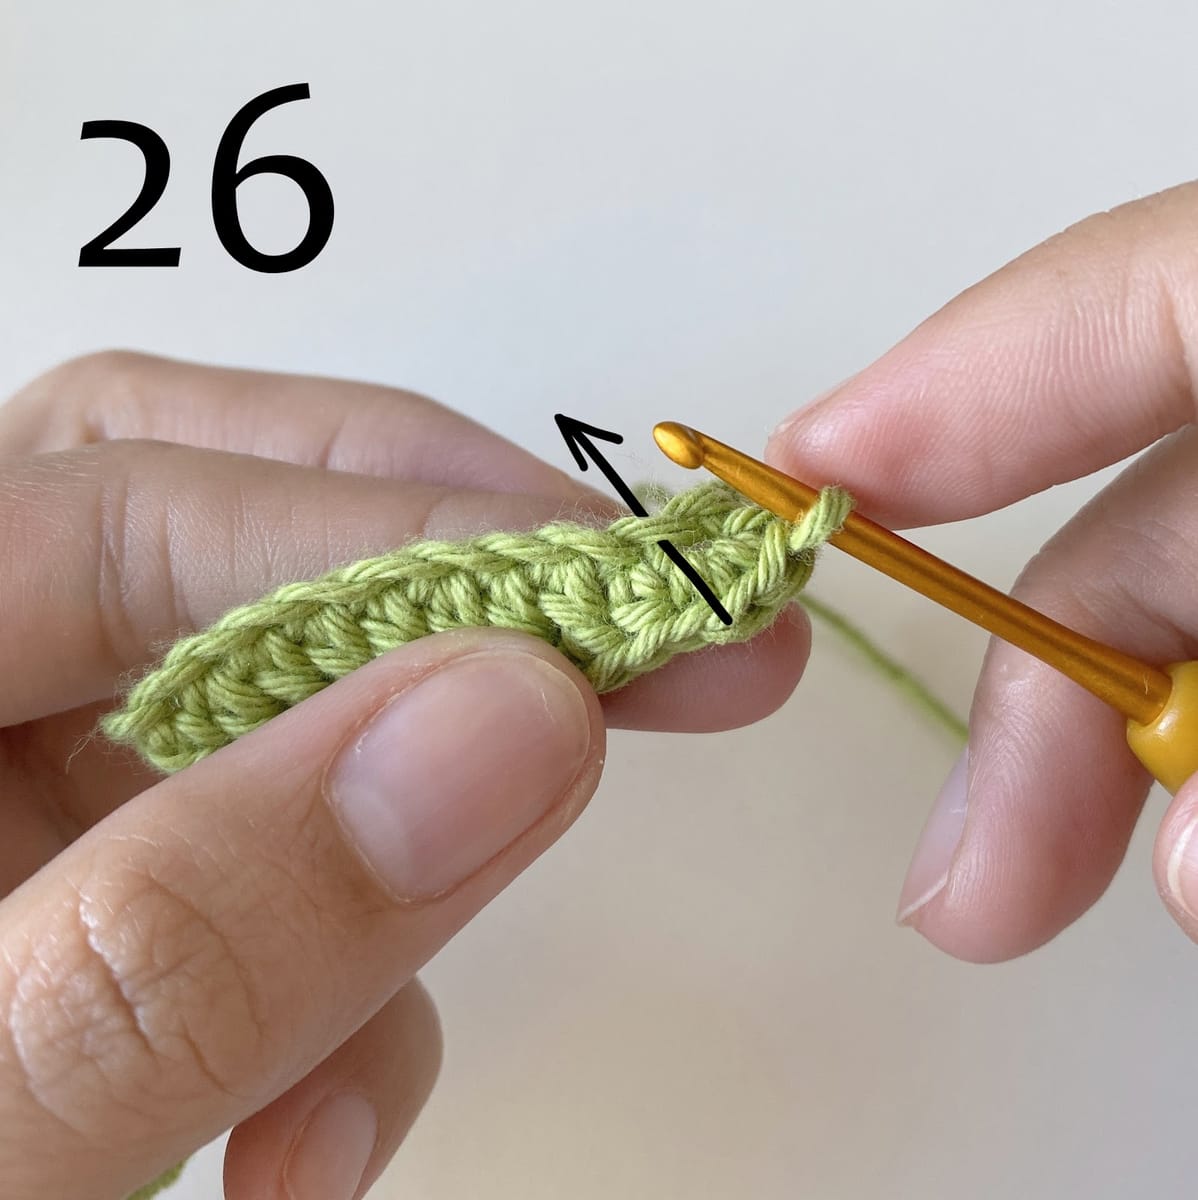
turn the detail and continue crochet on the other side of foundation chains (skip the next 10 chains) /pic.26/
-
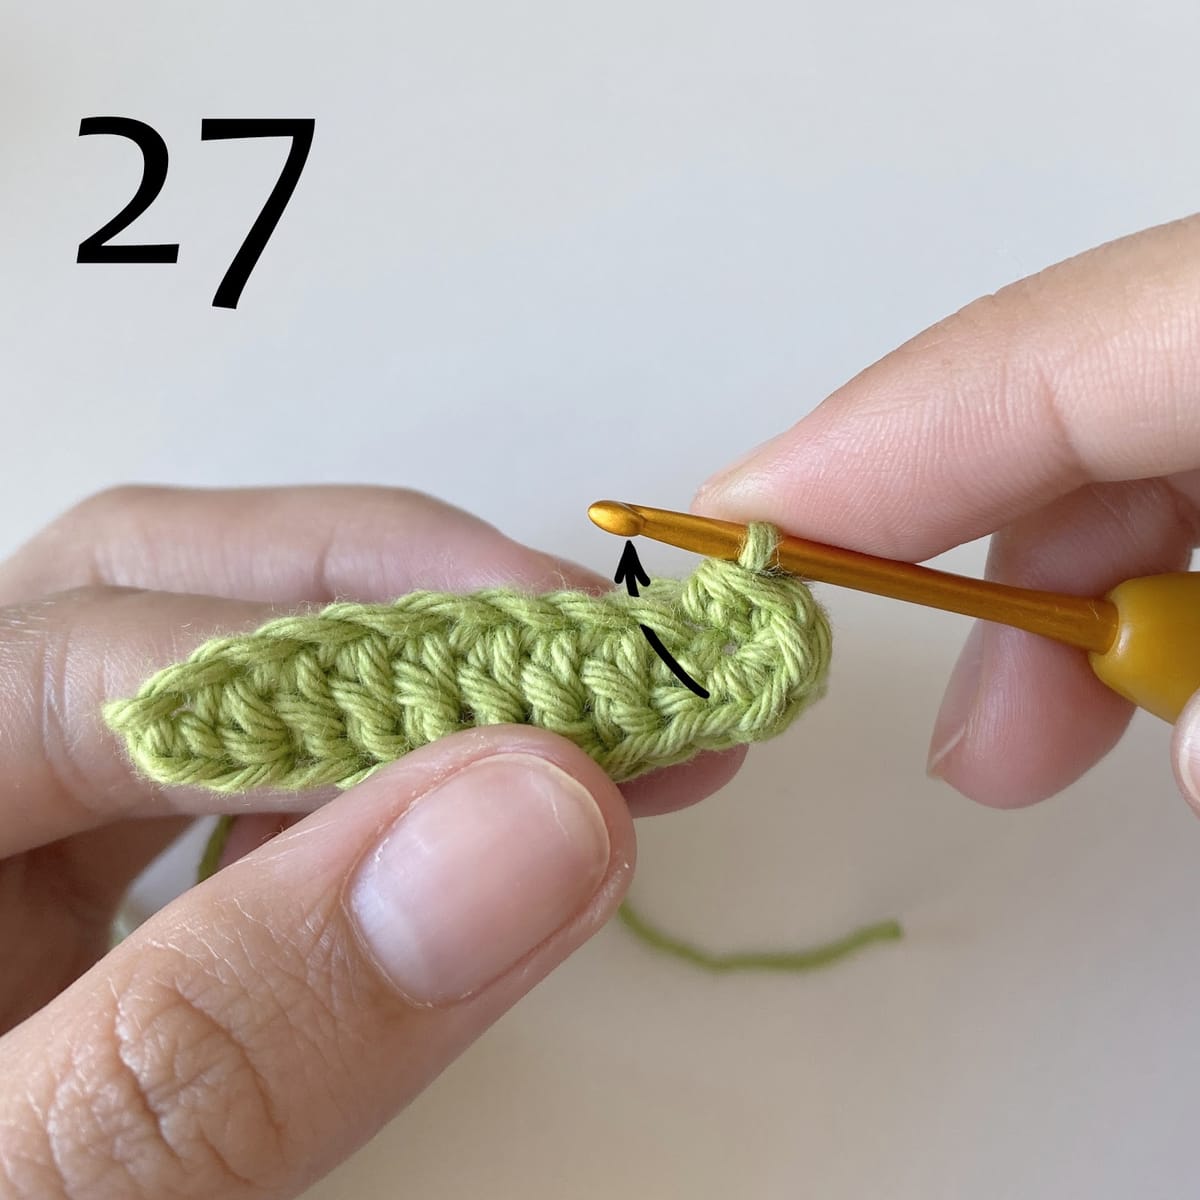
hdc in next ch /pic.26-27/
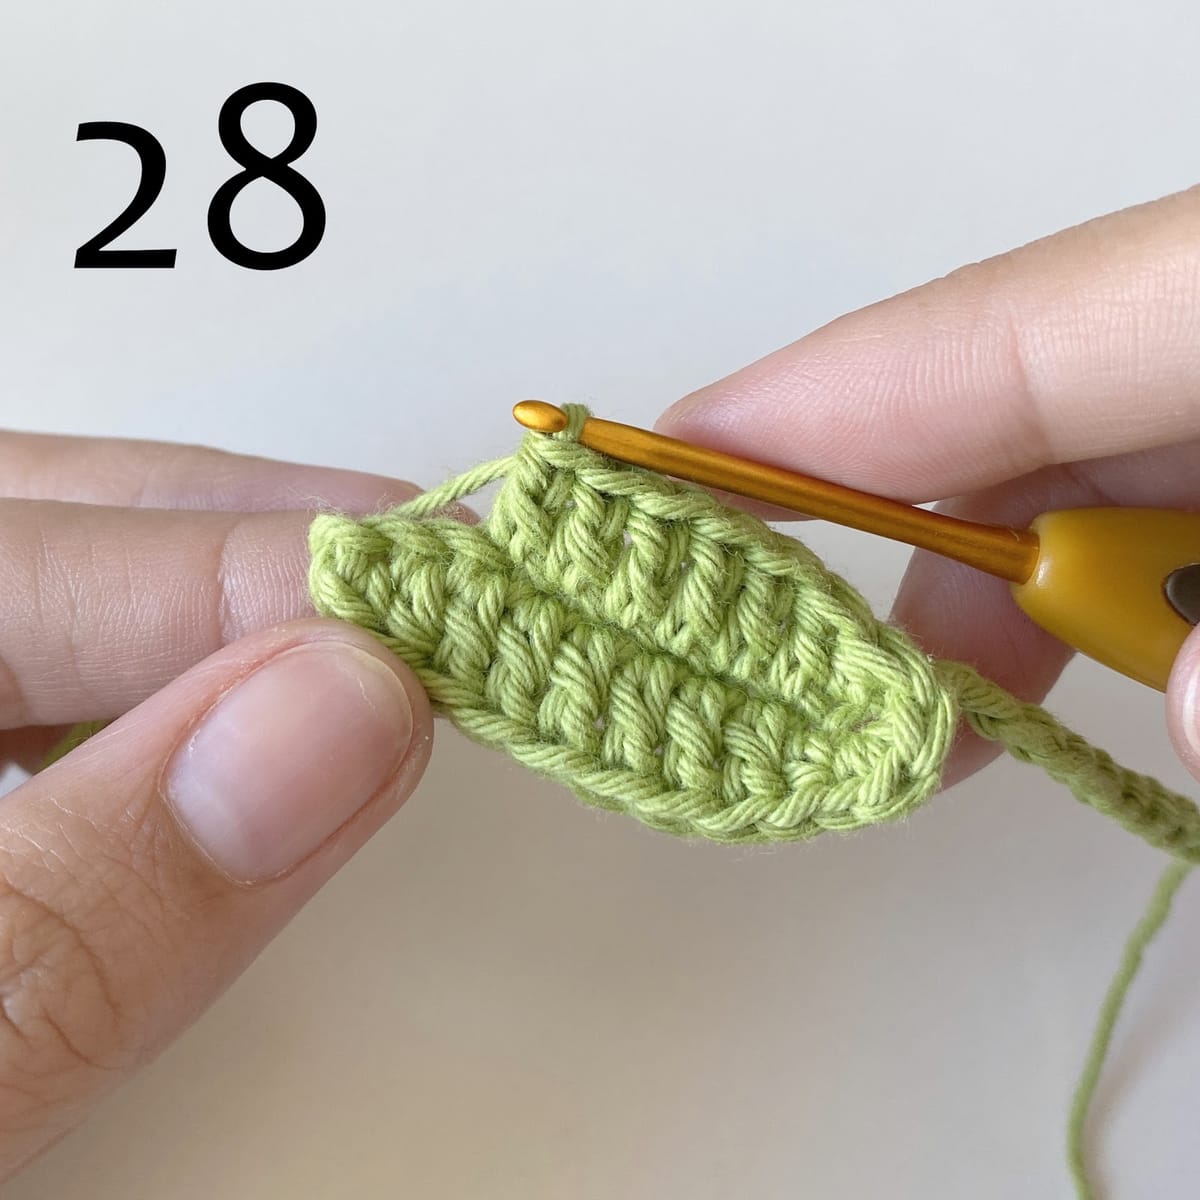
- dc in next 6 ch /pic.27-28/
-
hdc in next ch
-
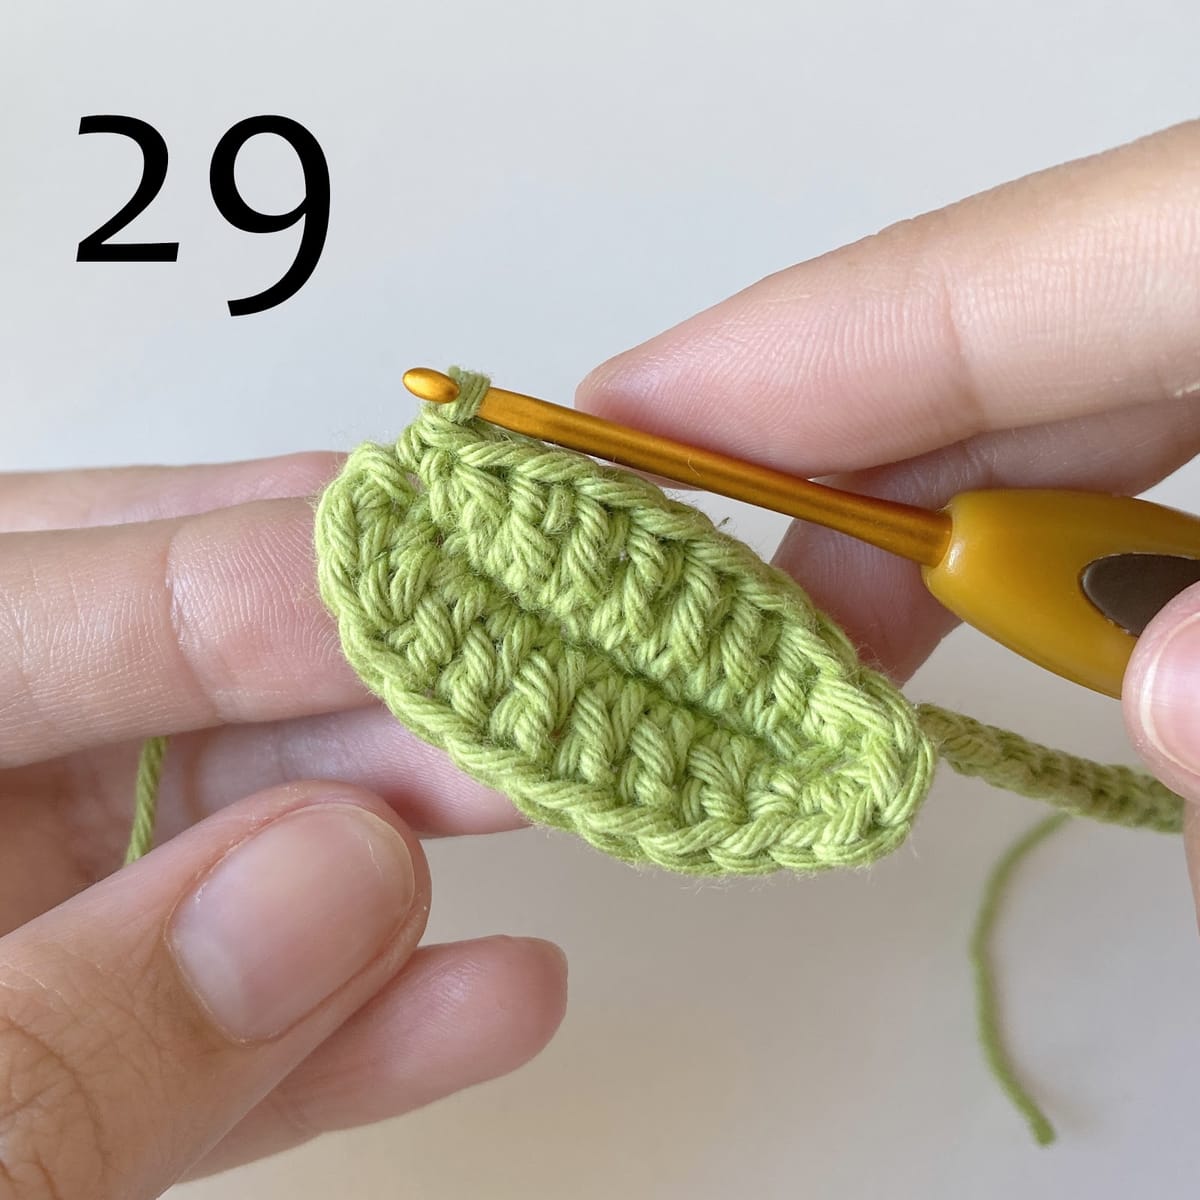
sc in next ch /pic.29/
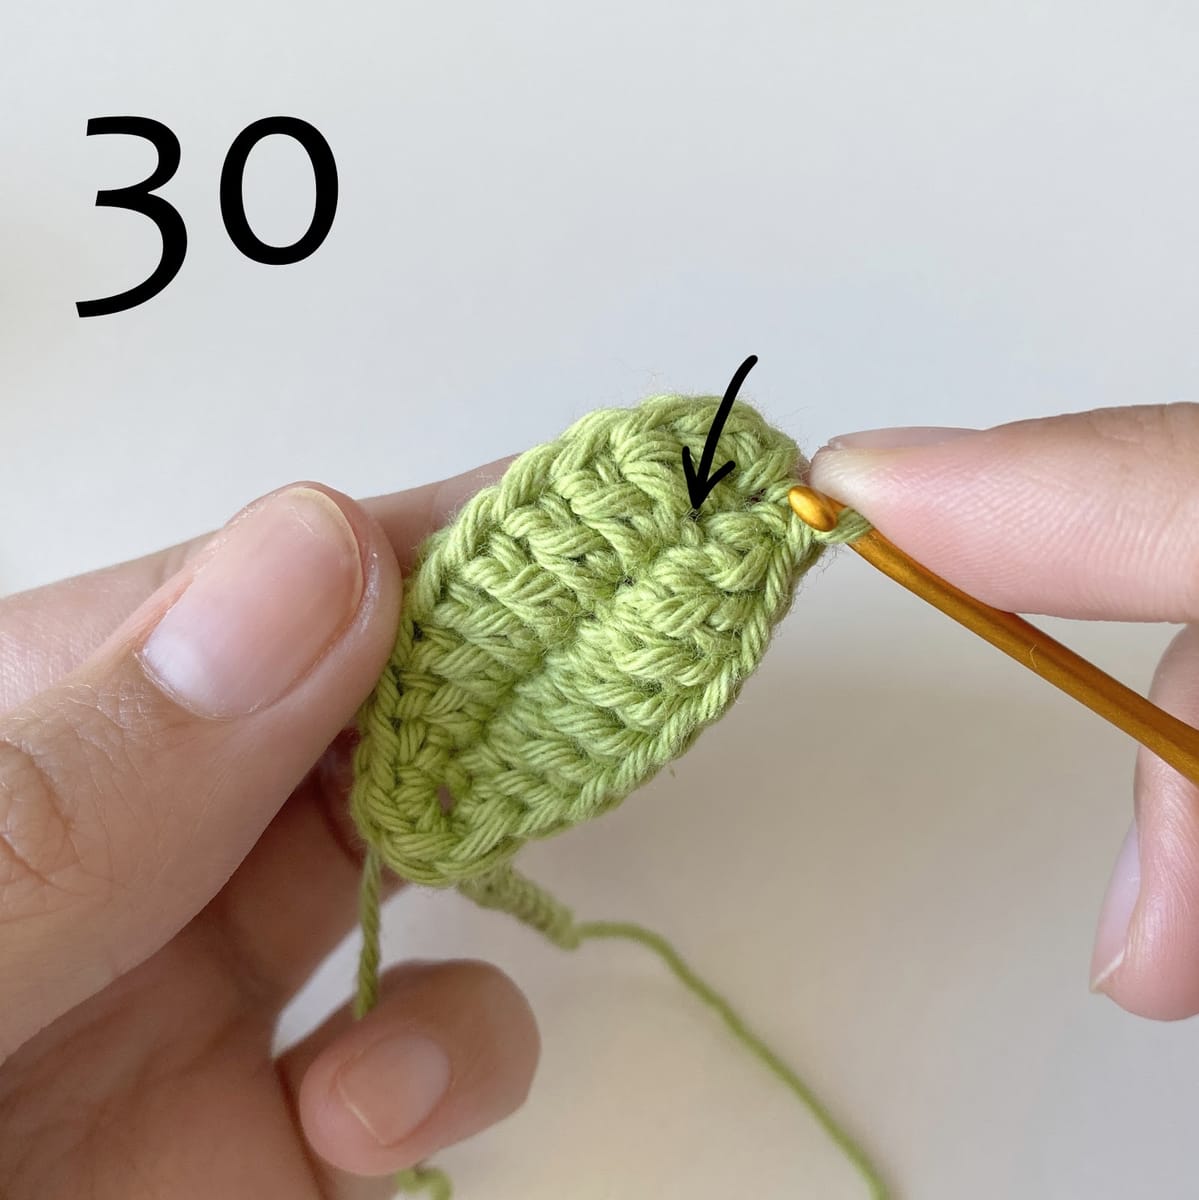
Turn the detail and continue crochet in the middle of the leaf, where the foundation chains. /pic.30/
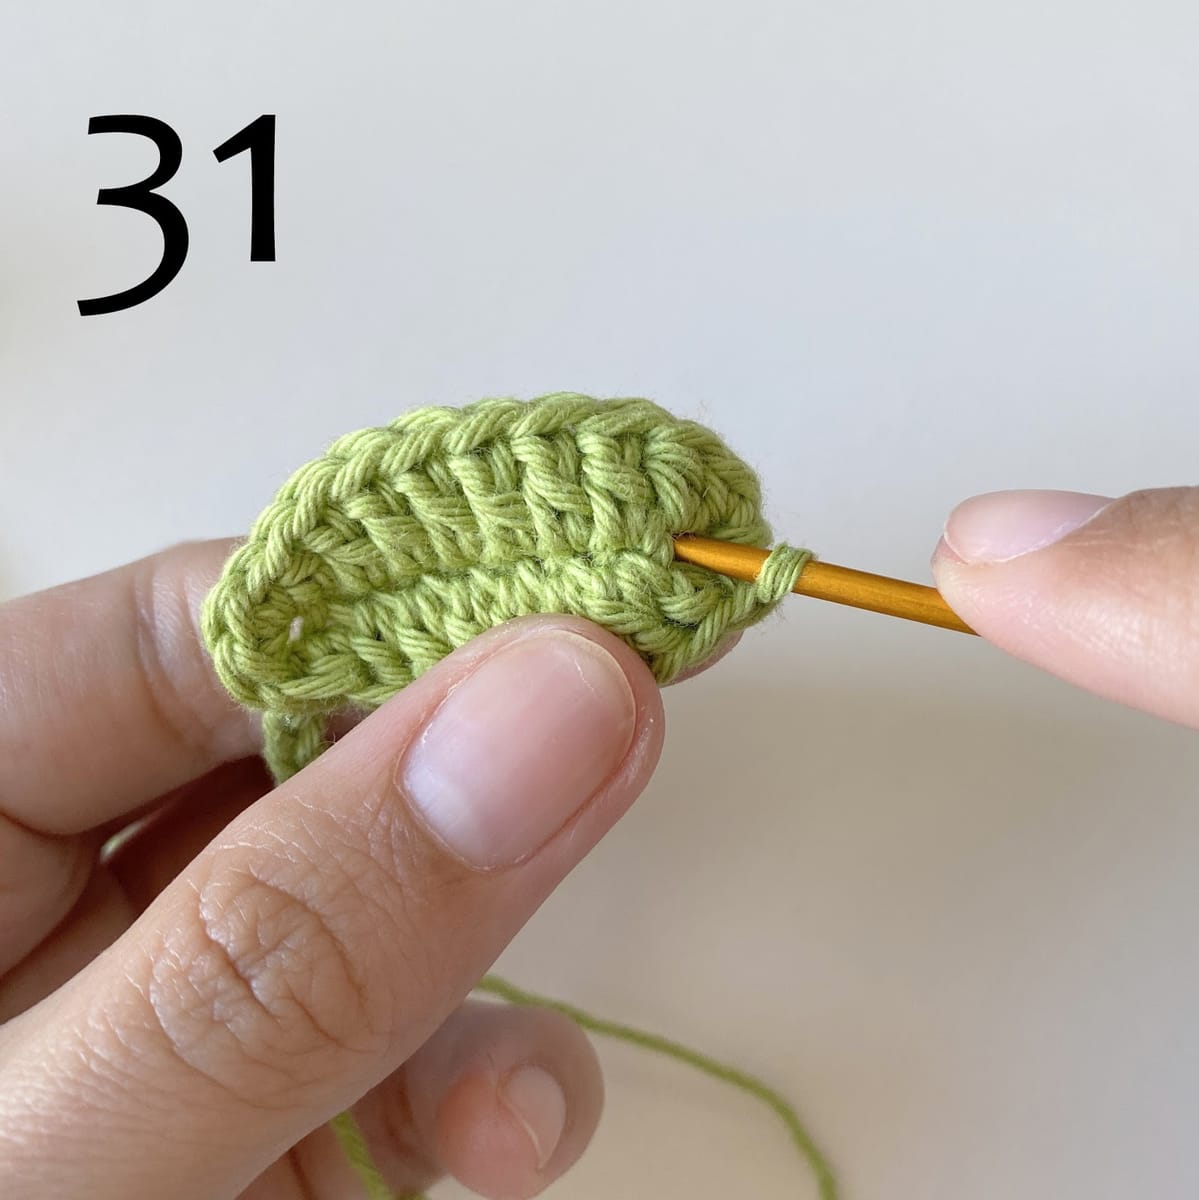
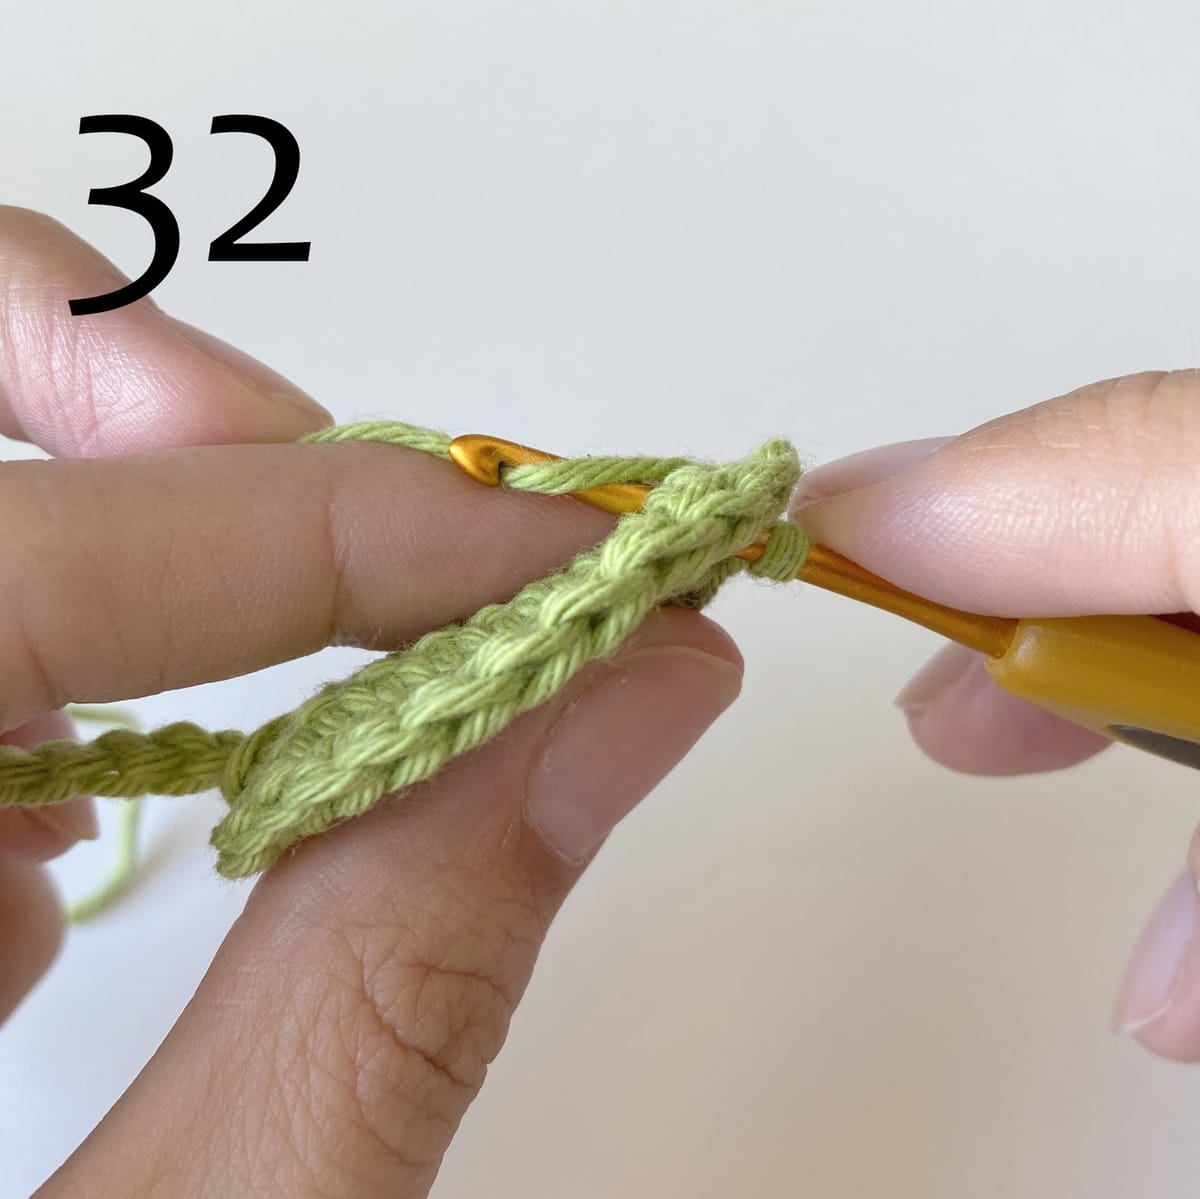
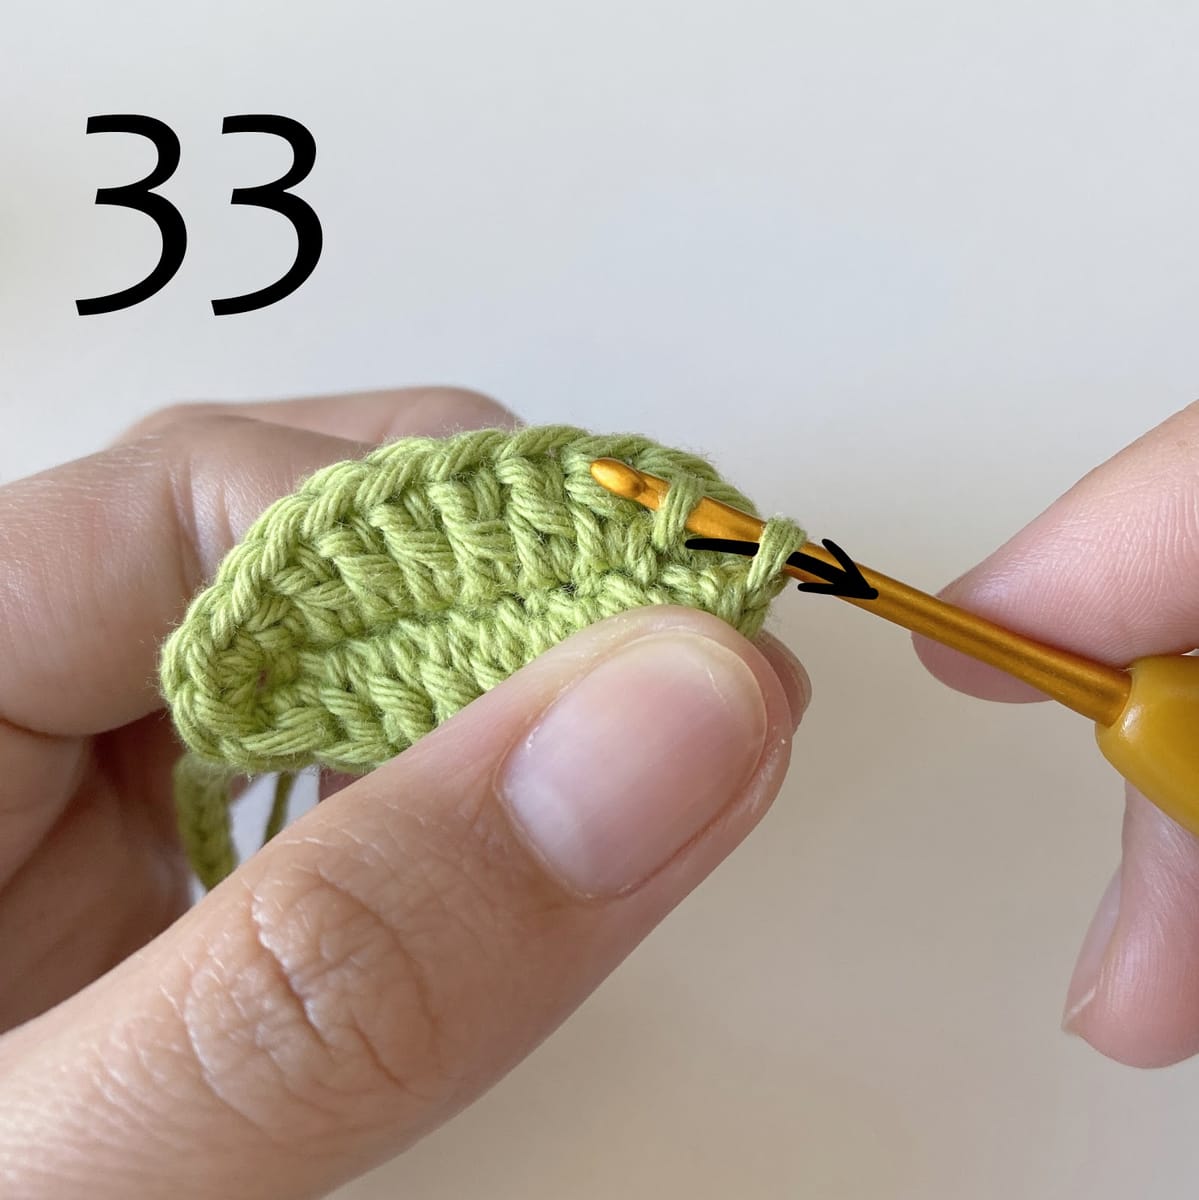
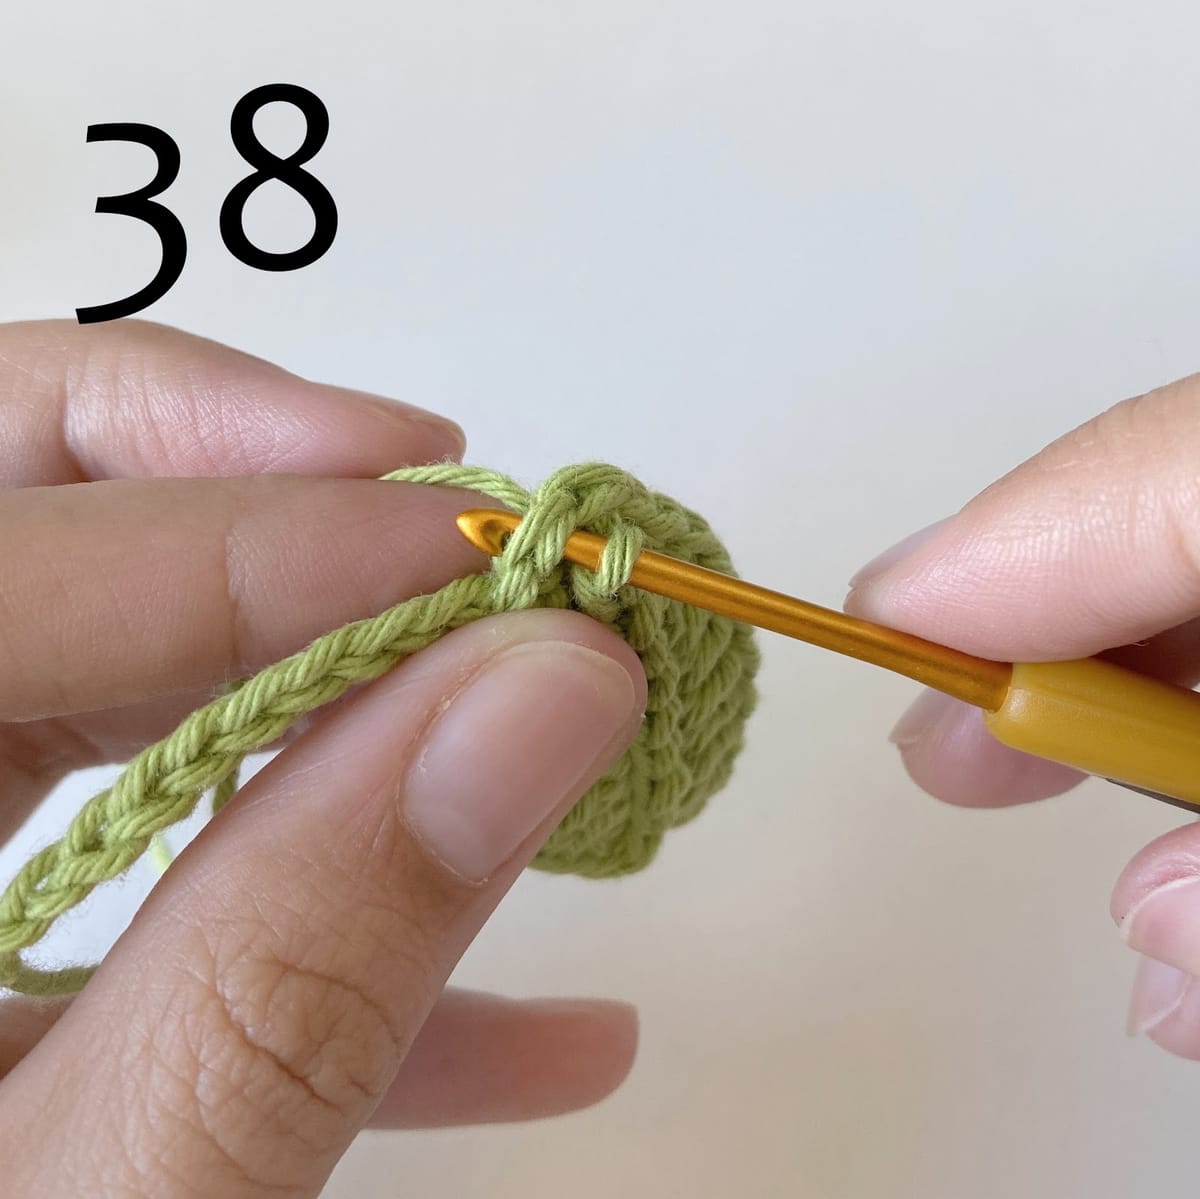
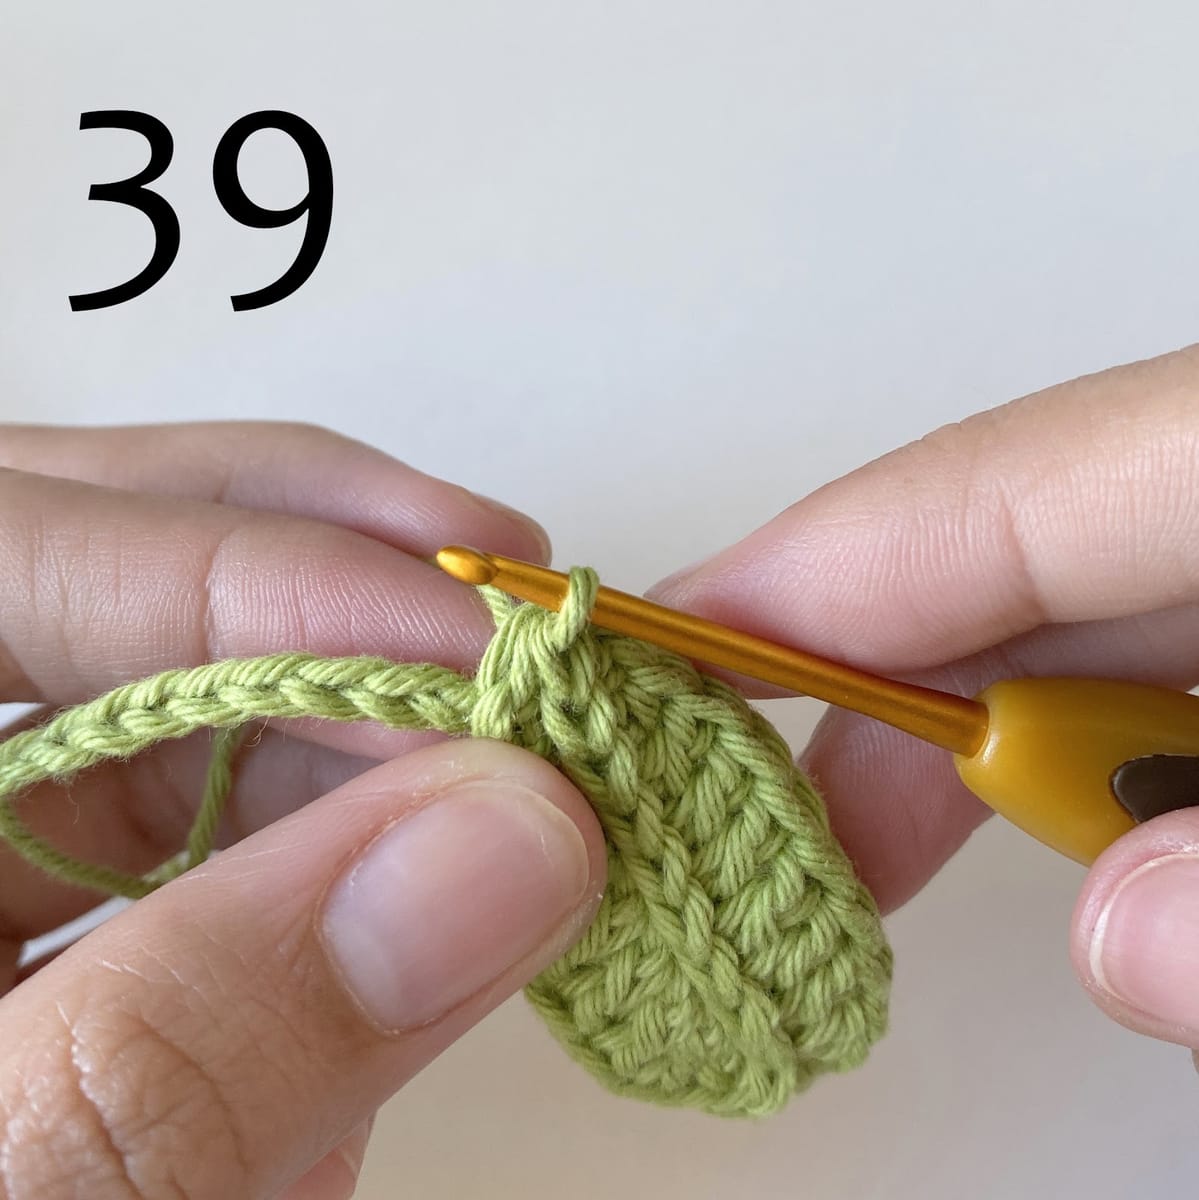
Crochet the slip stitches to the end of the leaf /pic.31-39/
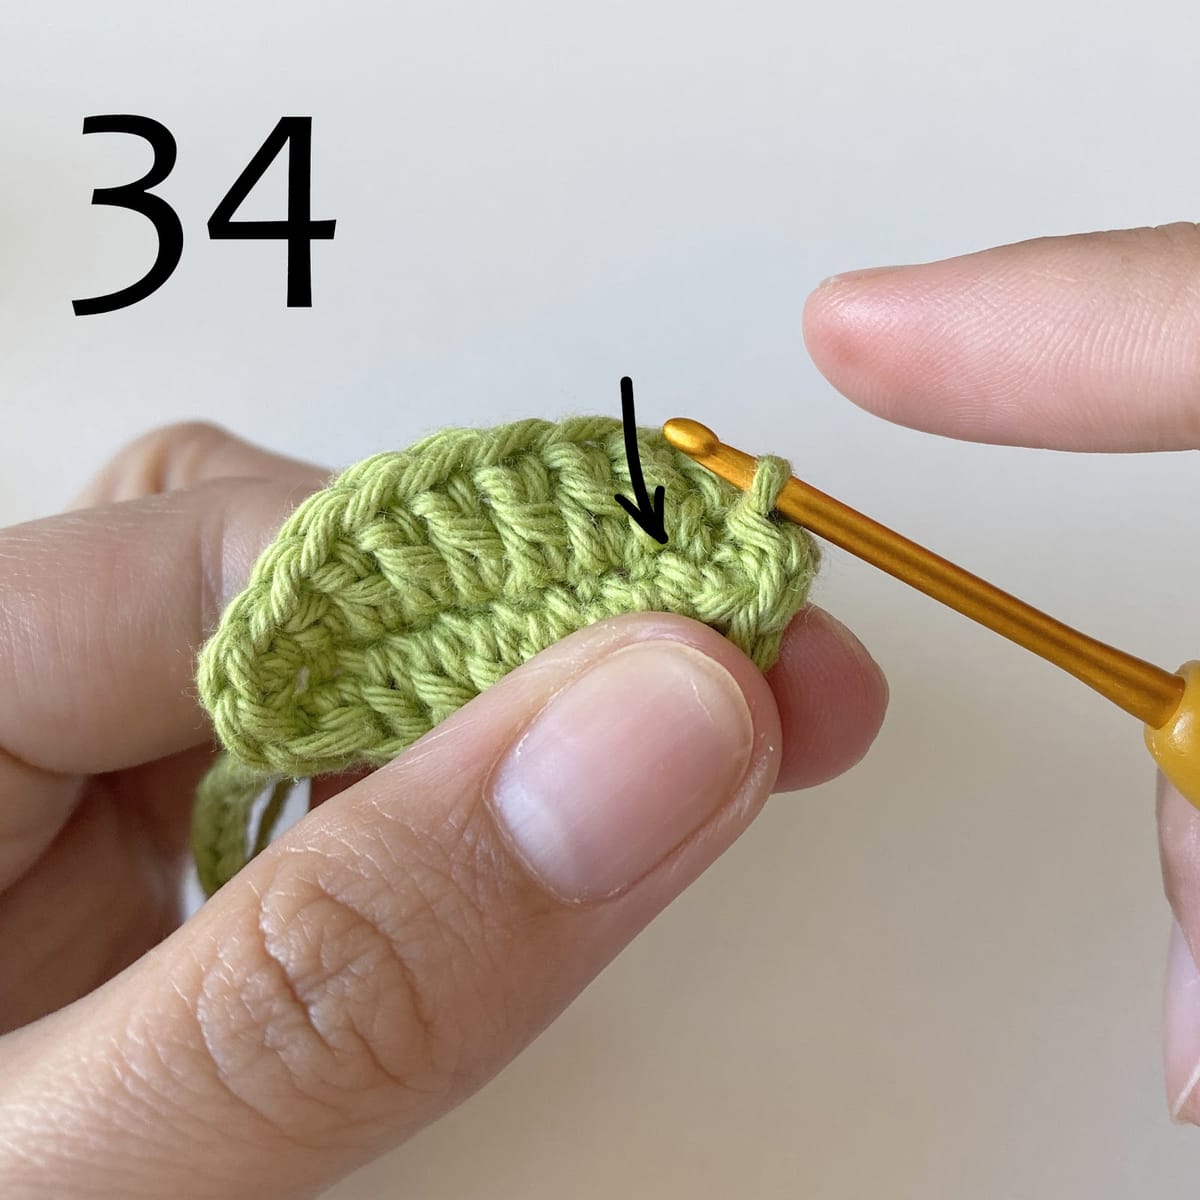
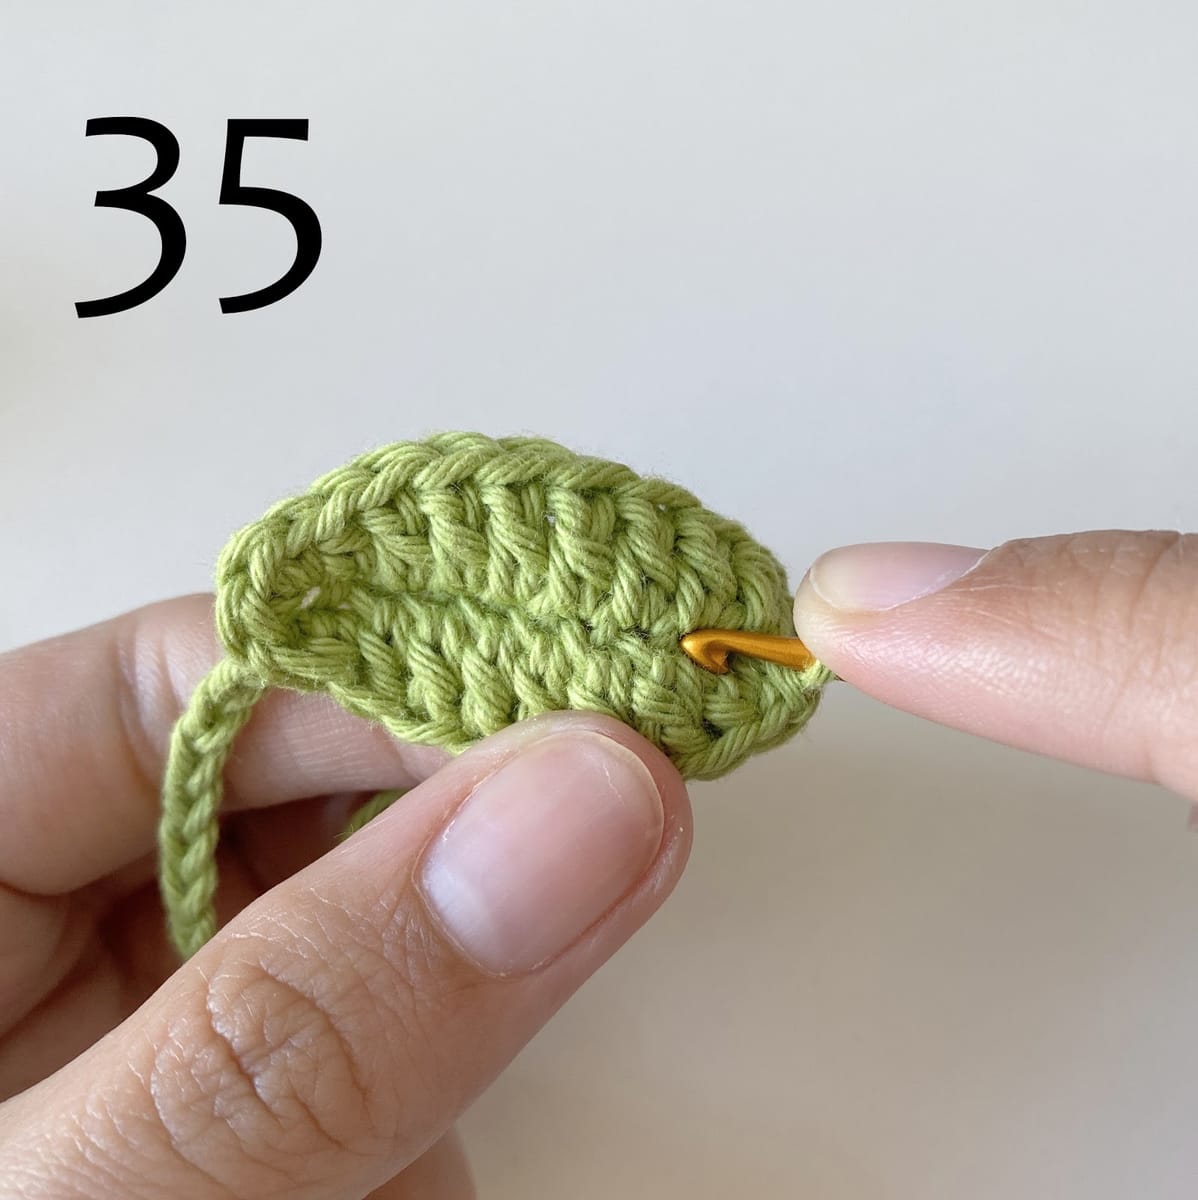
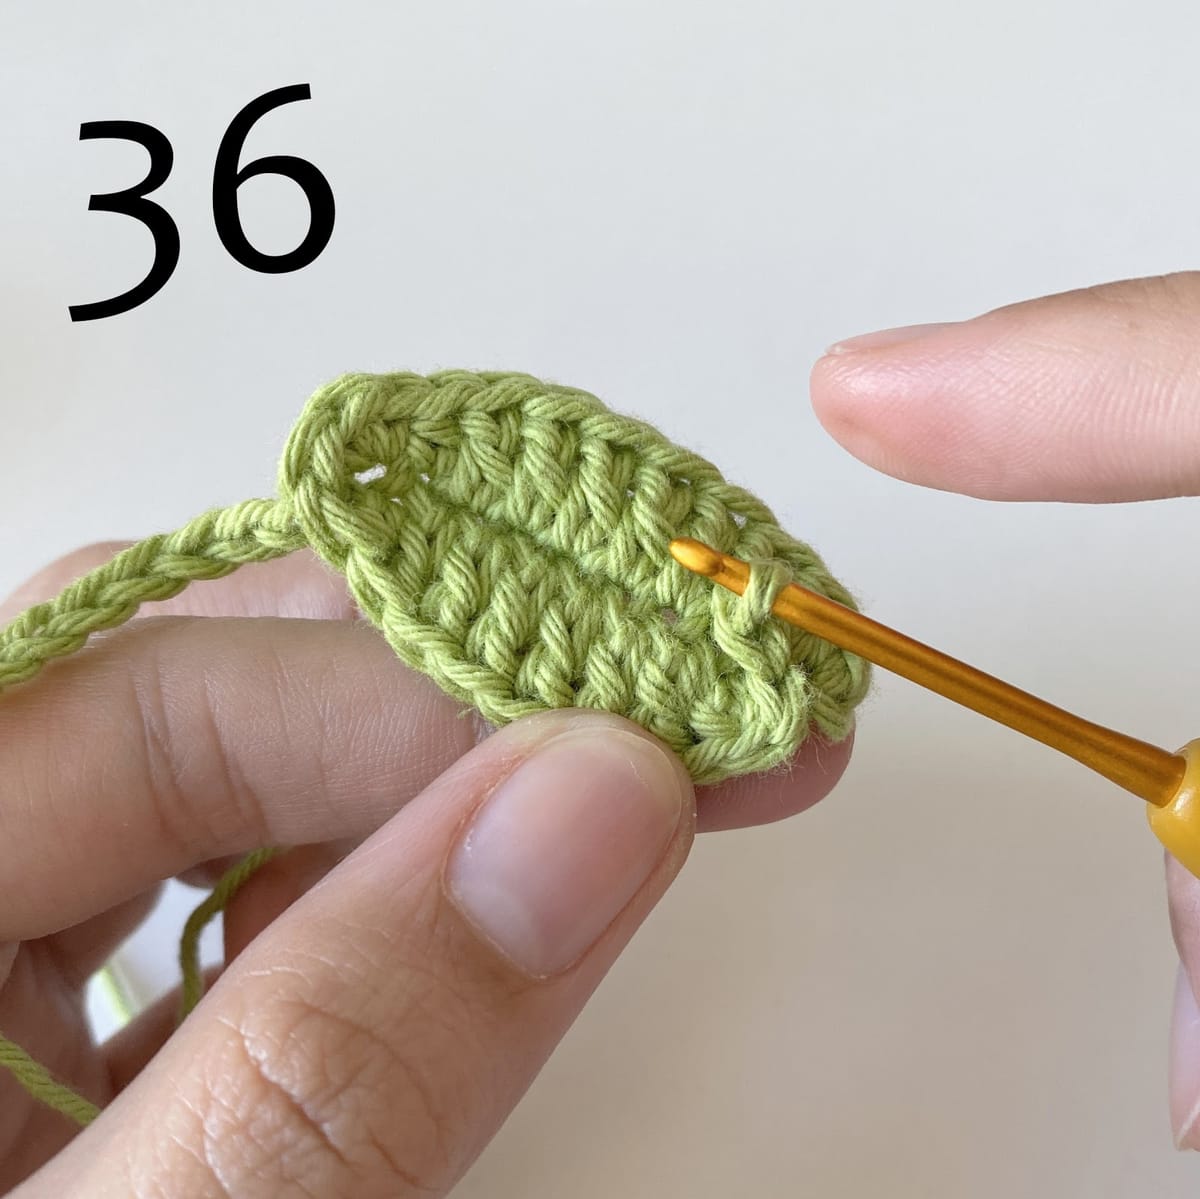
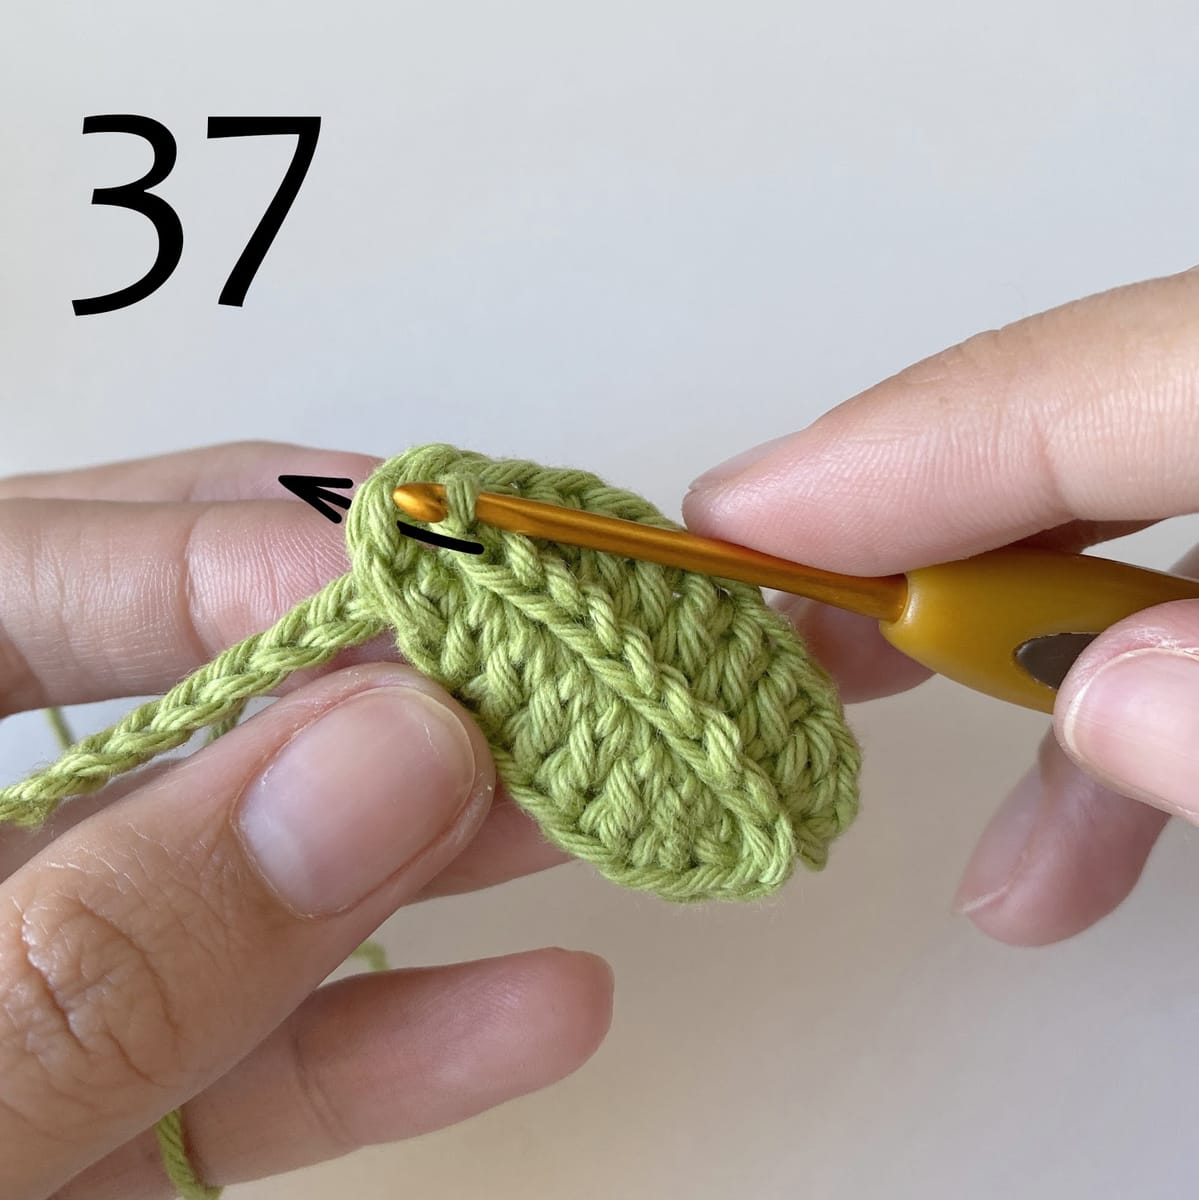
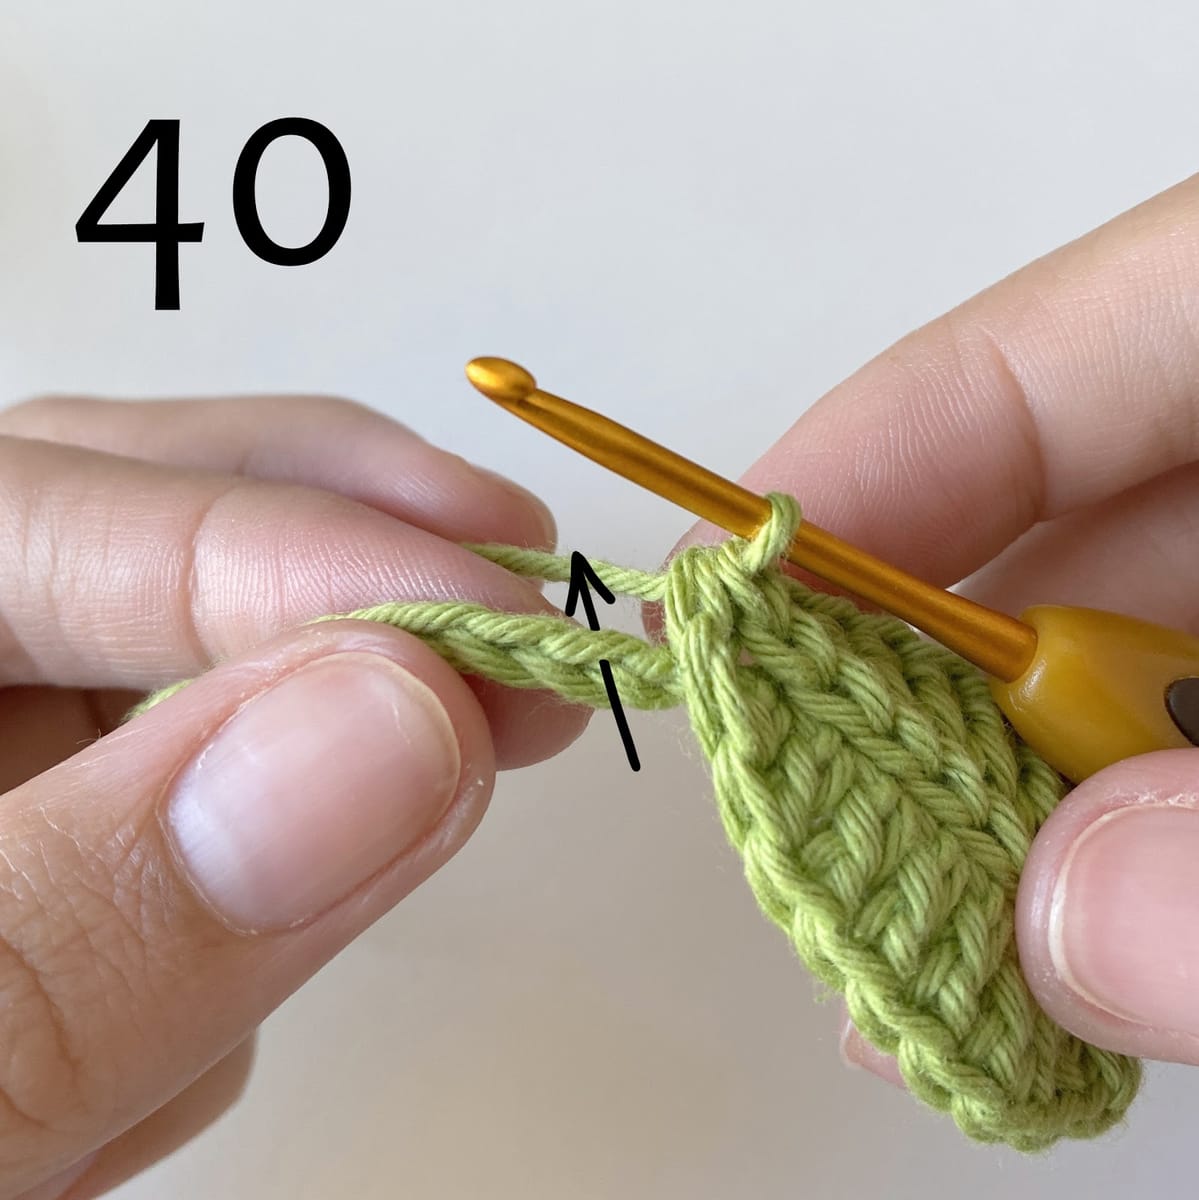
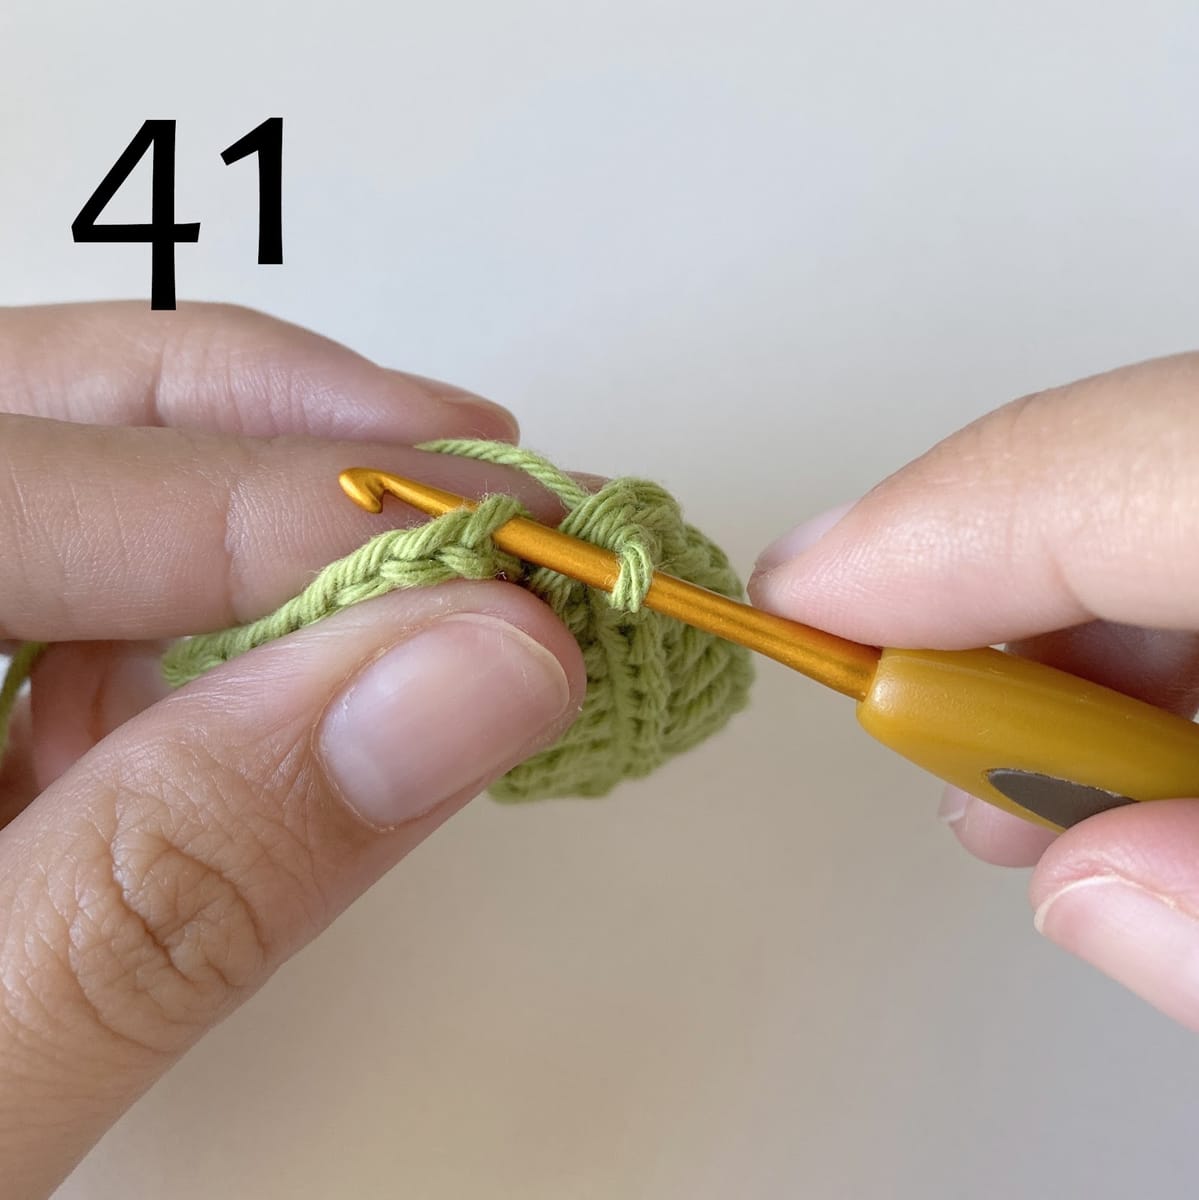
Continue crochet the slip stitches follow the skipped chains /pic.40-43/
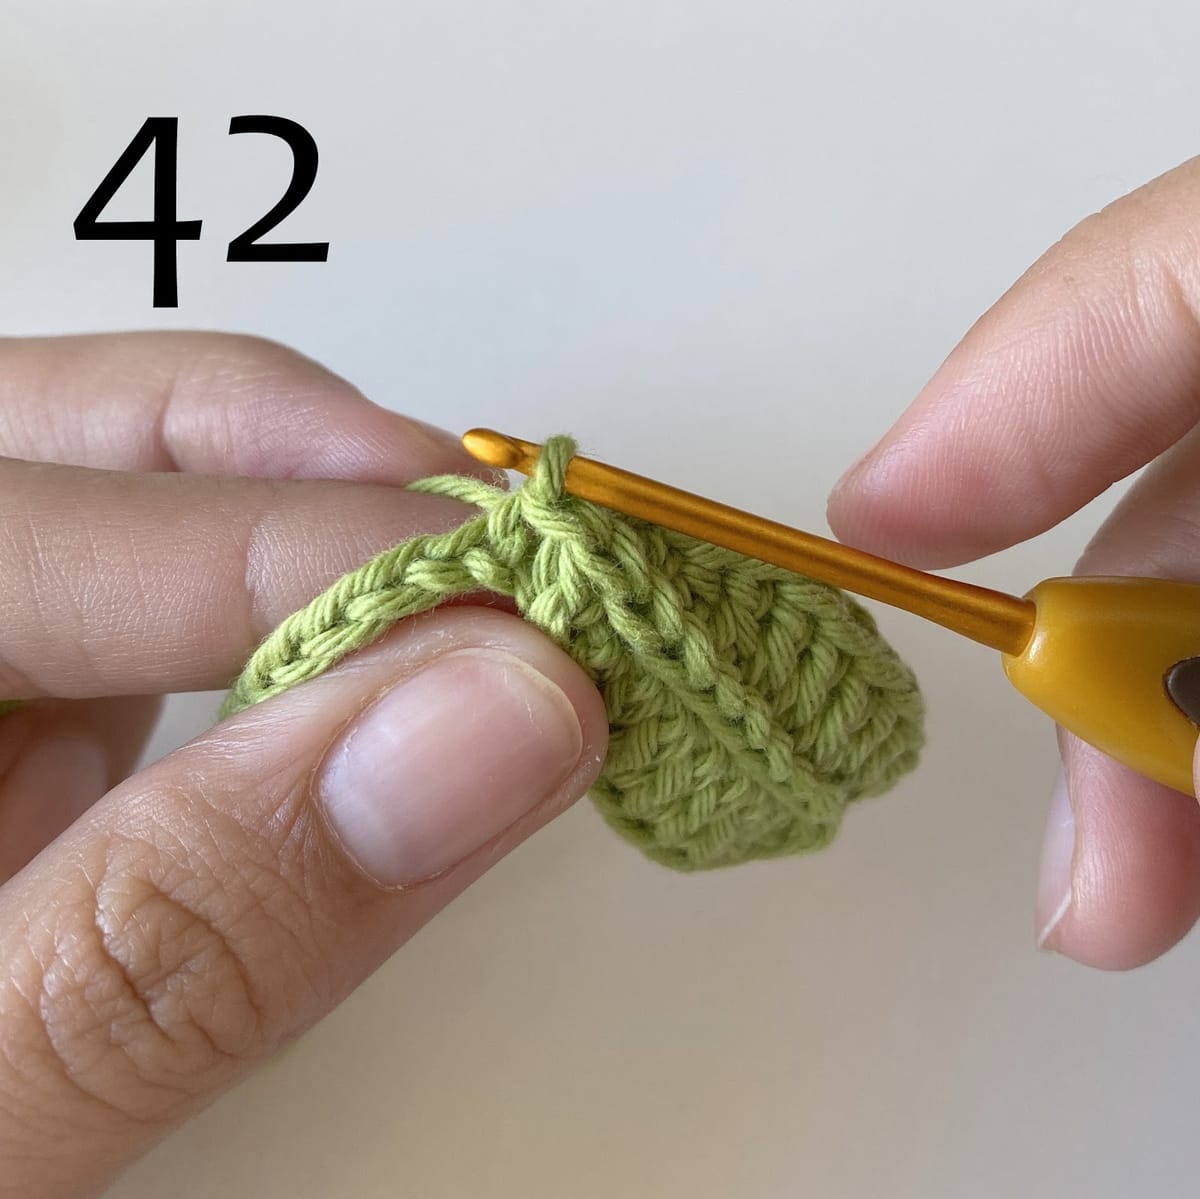
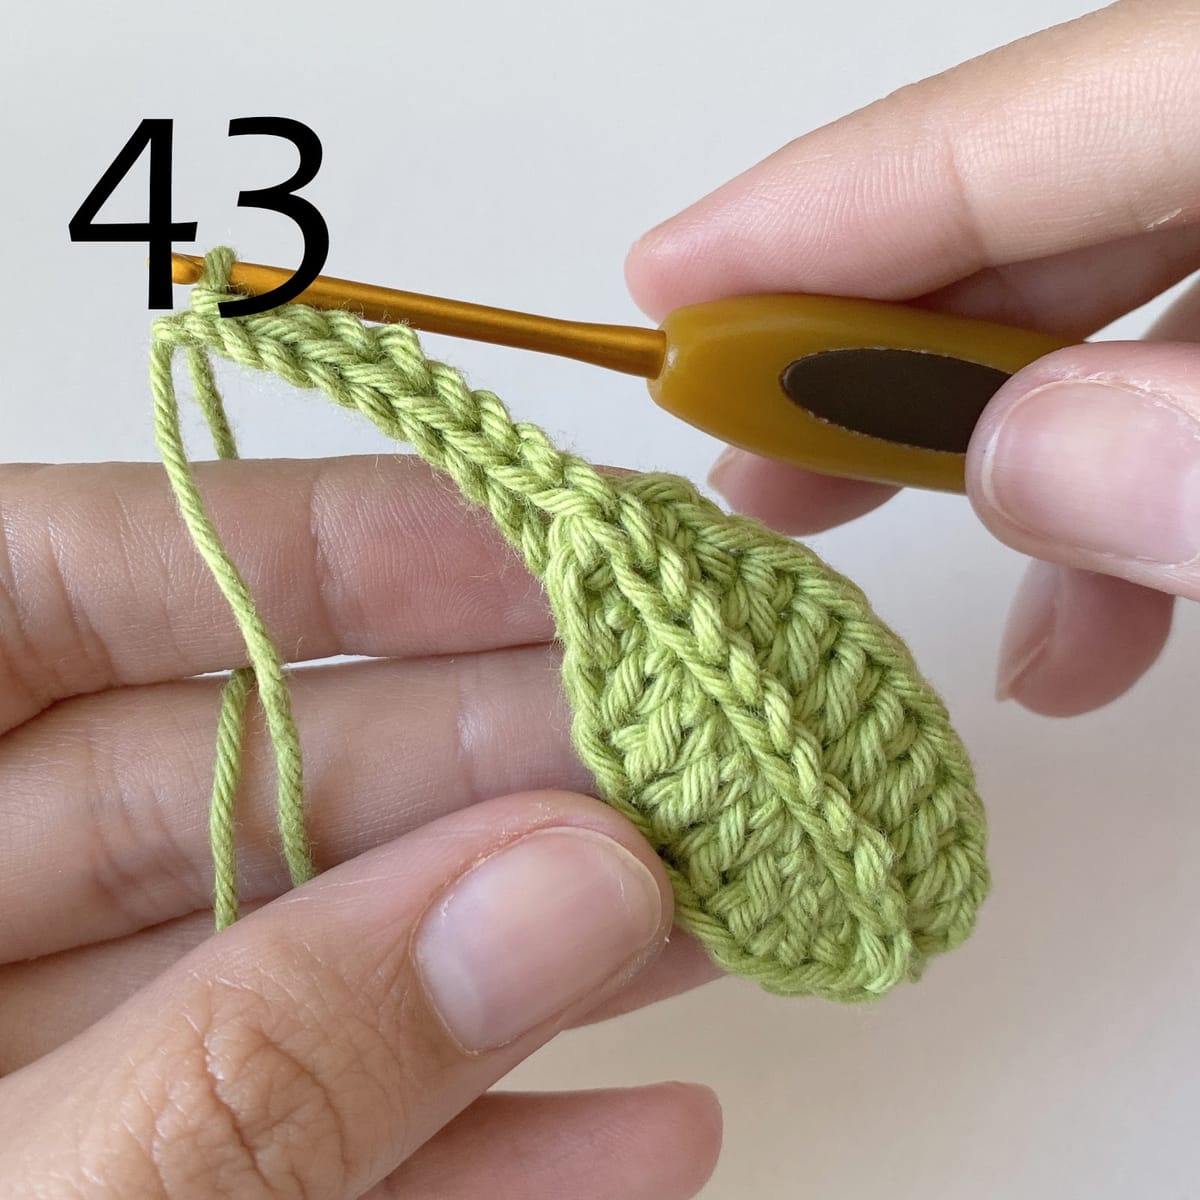
Don’t fasten off and continue crochet 3 more leaves /pic.44/
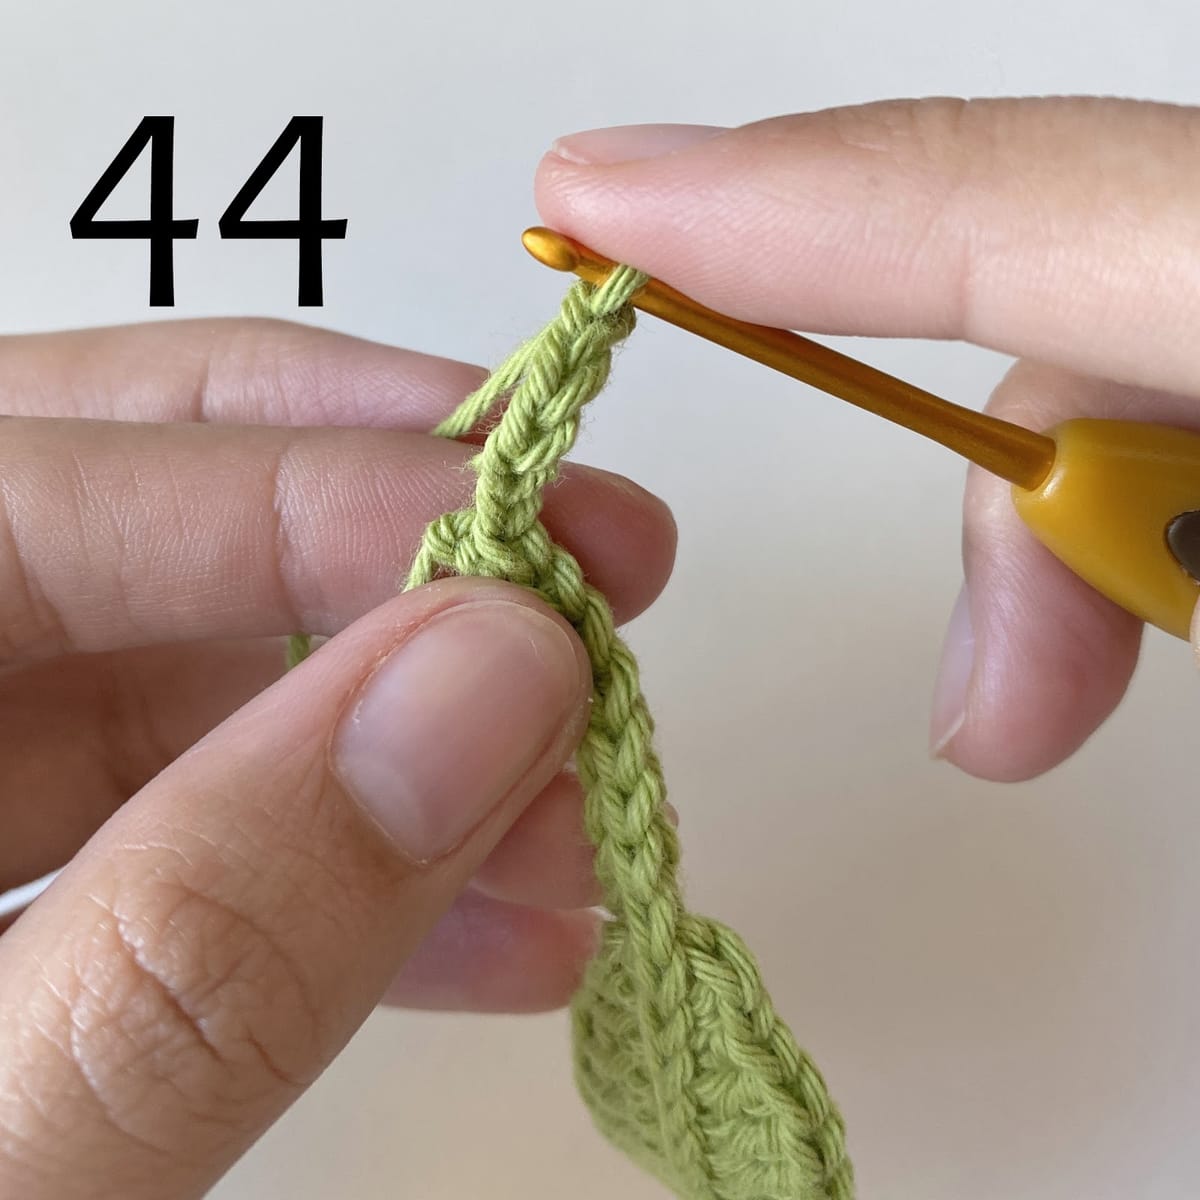
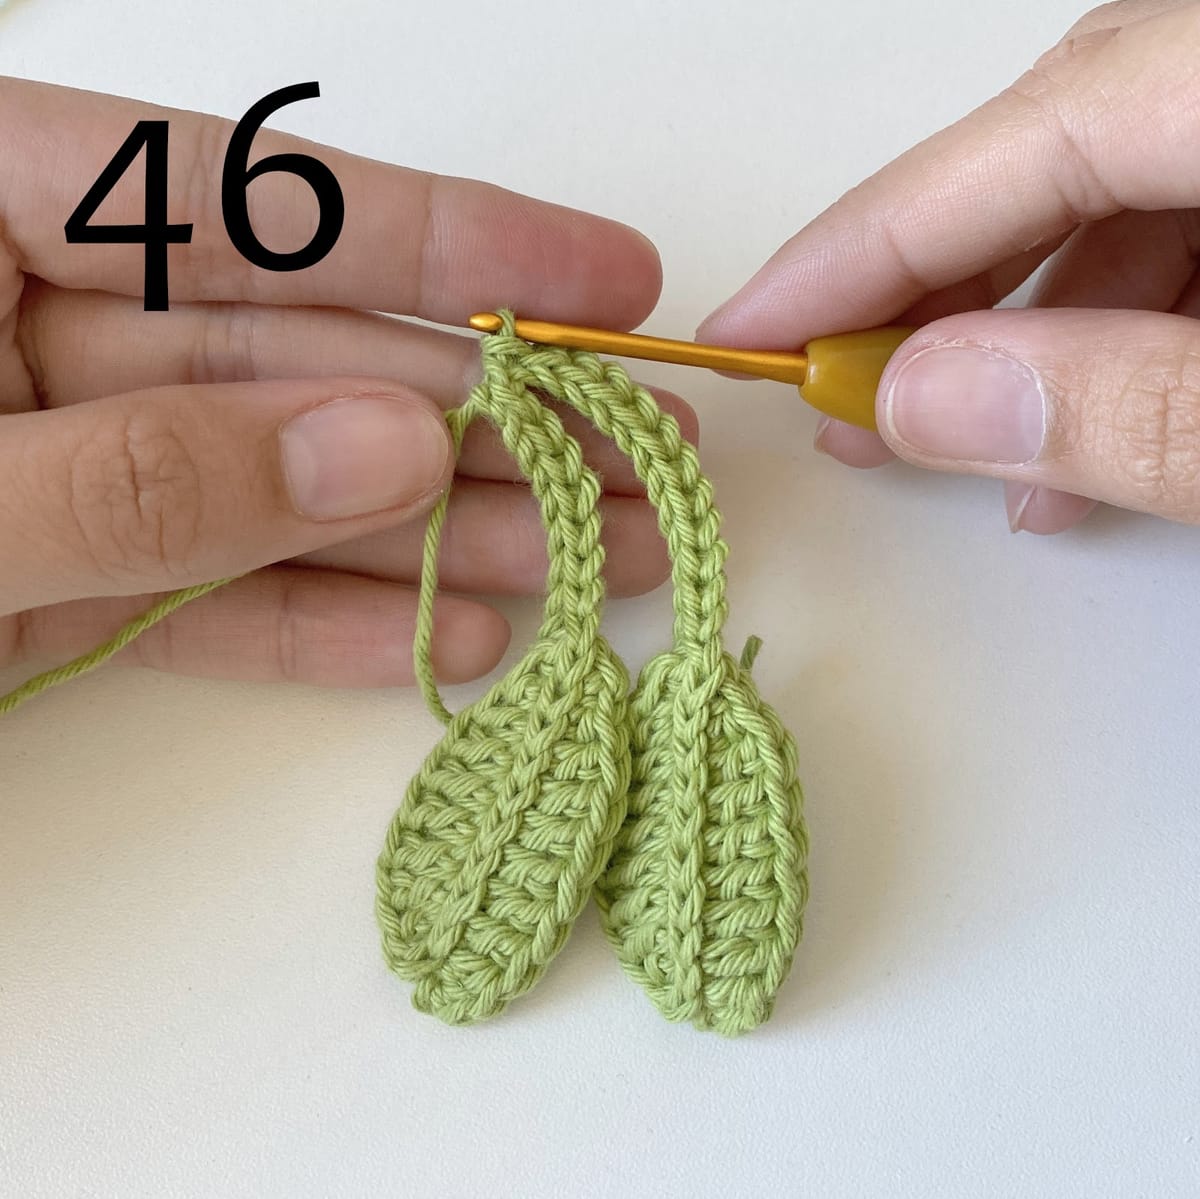
For the second leaf make 25 chains /pic.45-46/
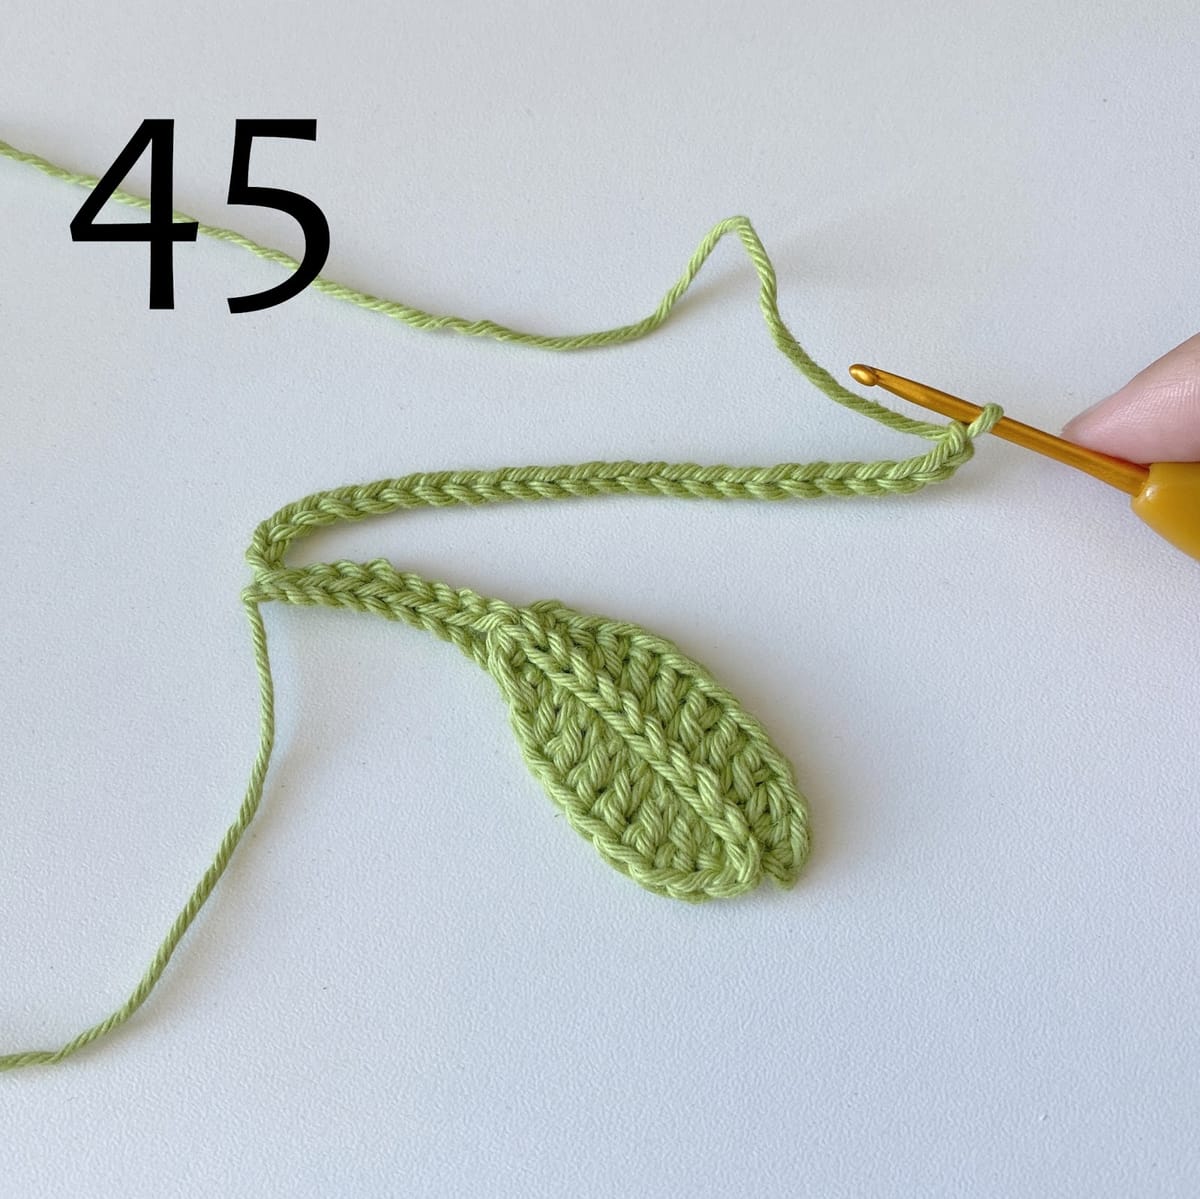
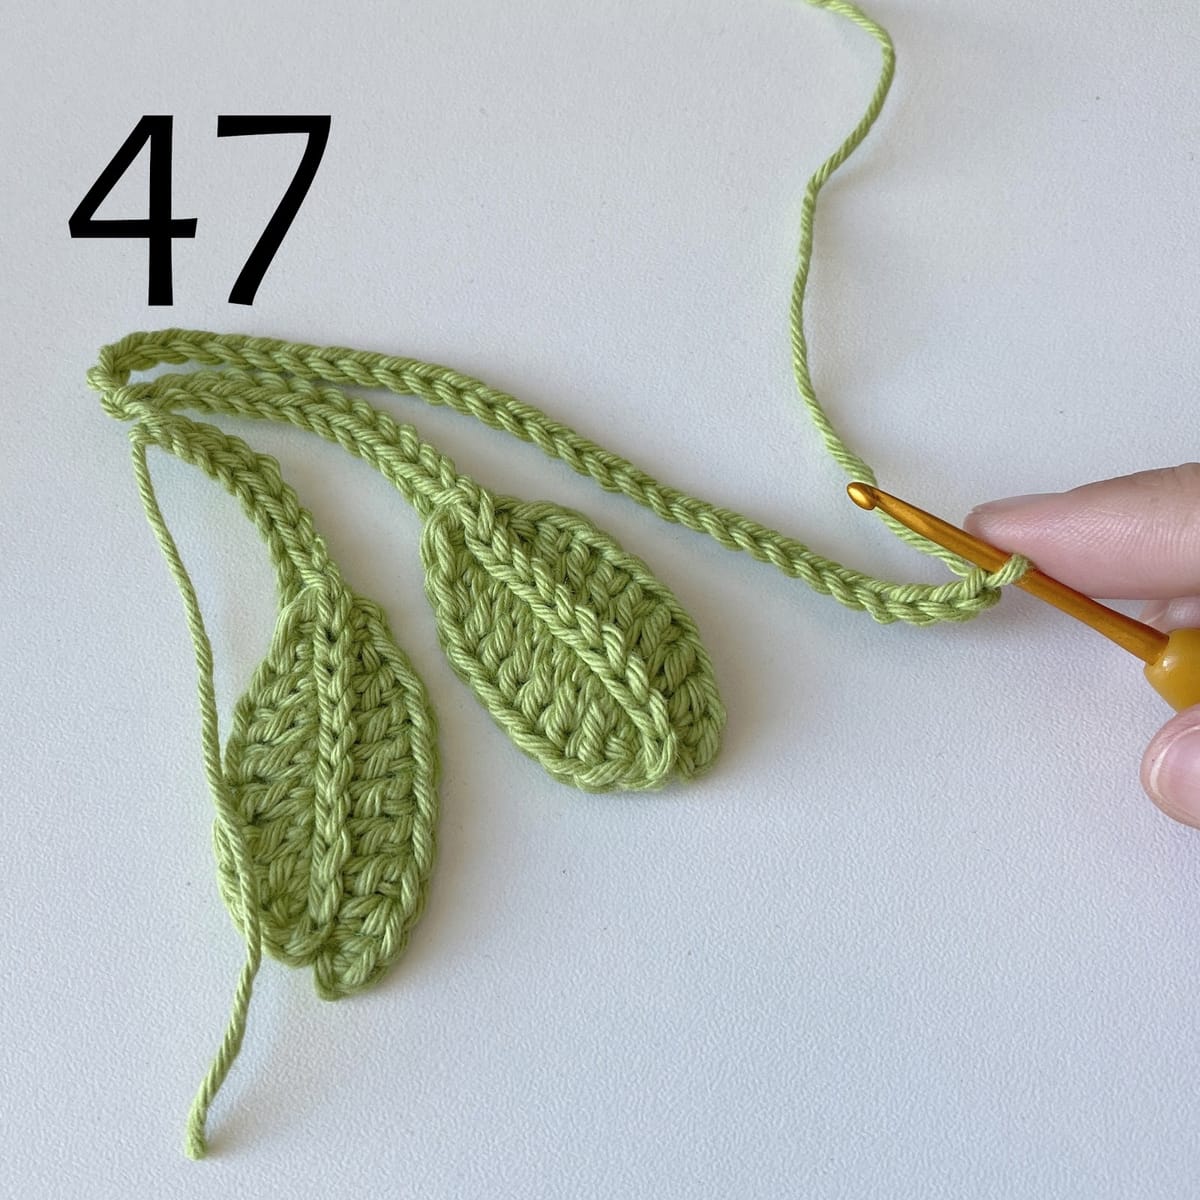
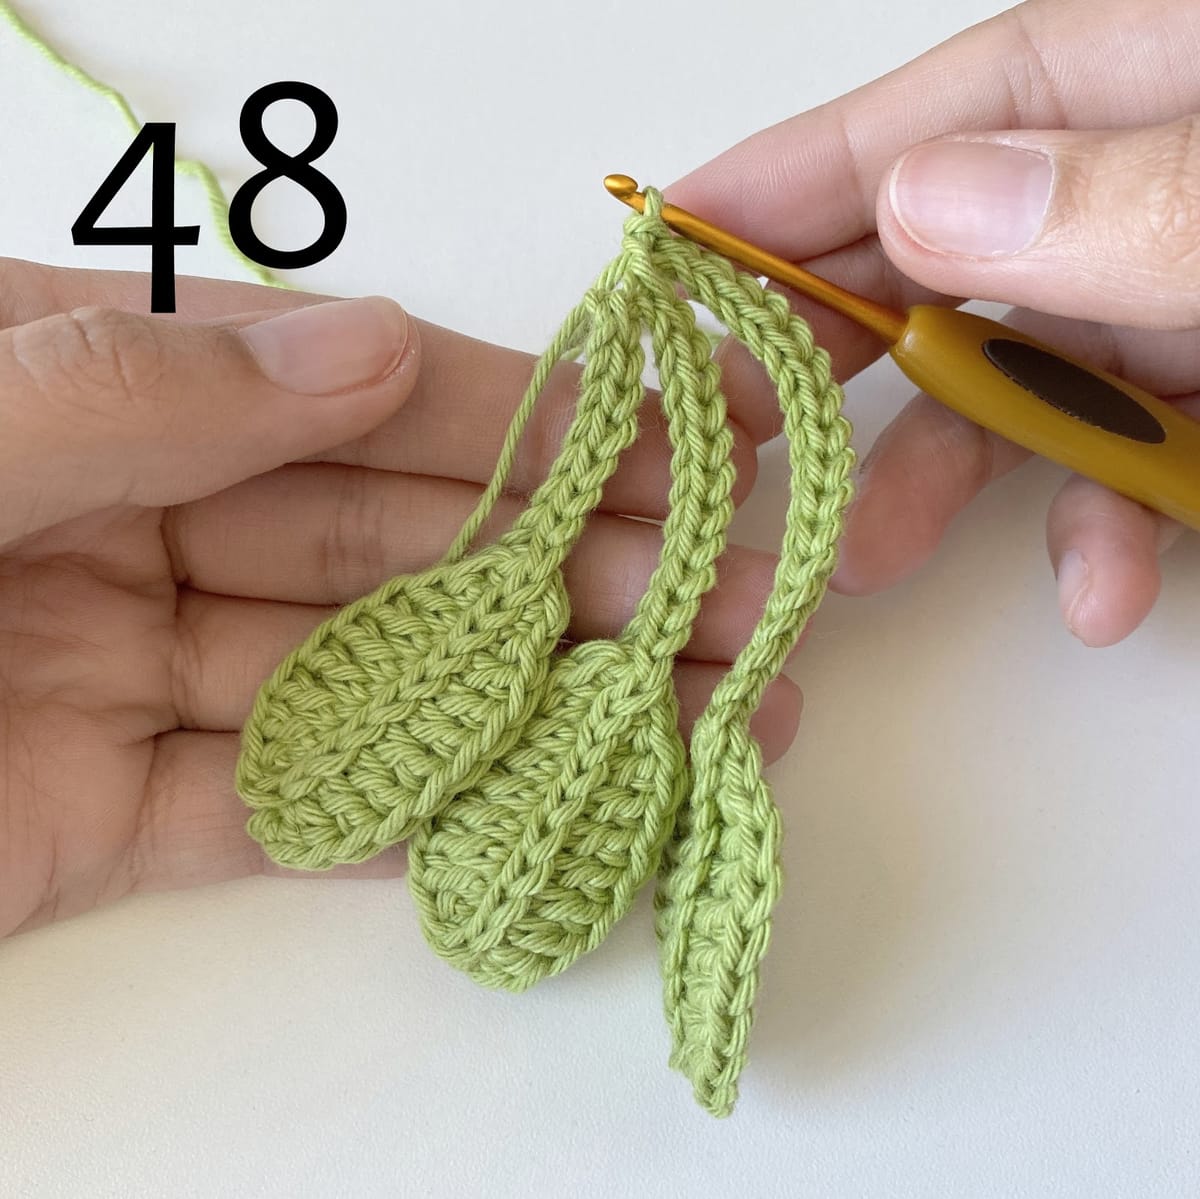
for the third leaf make 30 chains /pic.47-48/
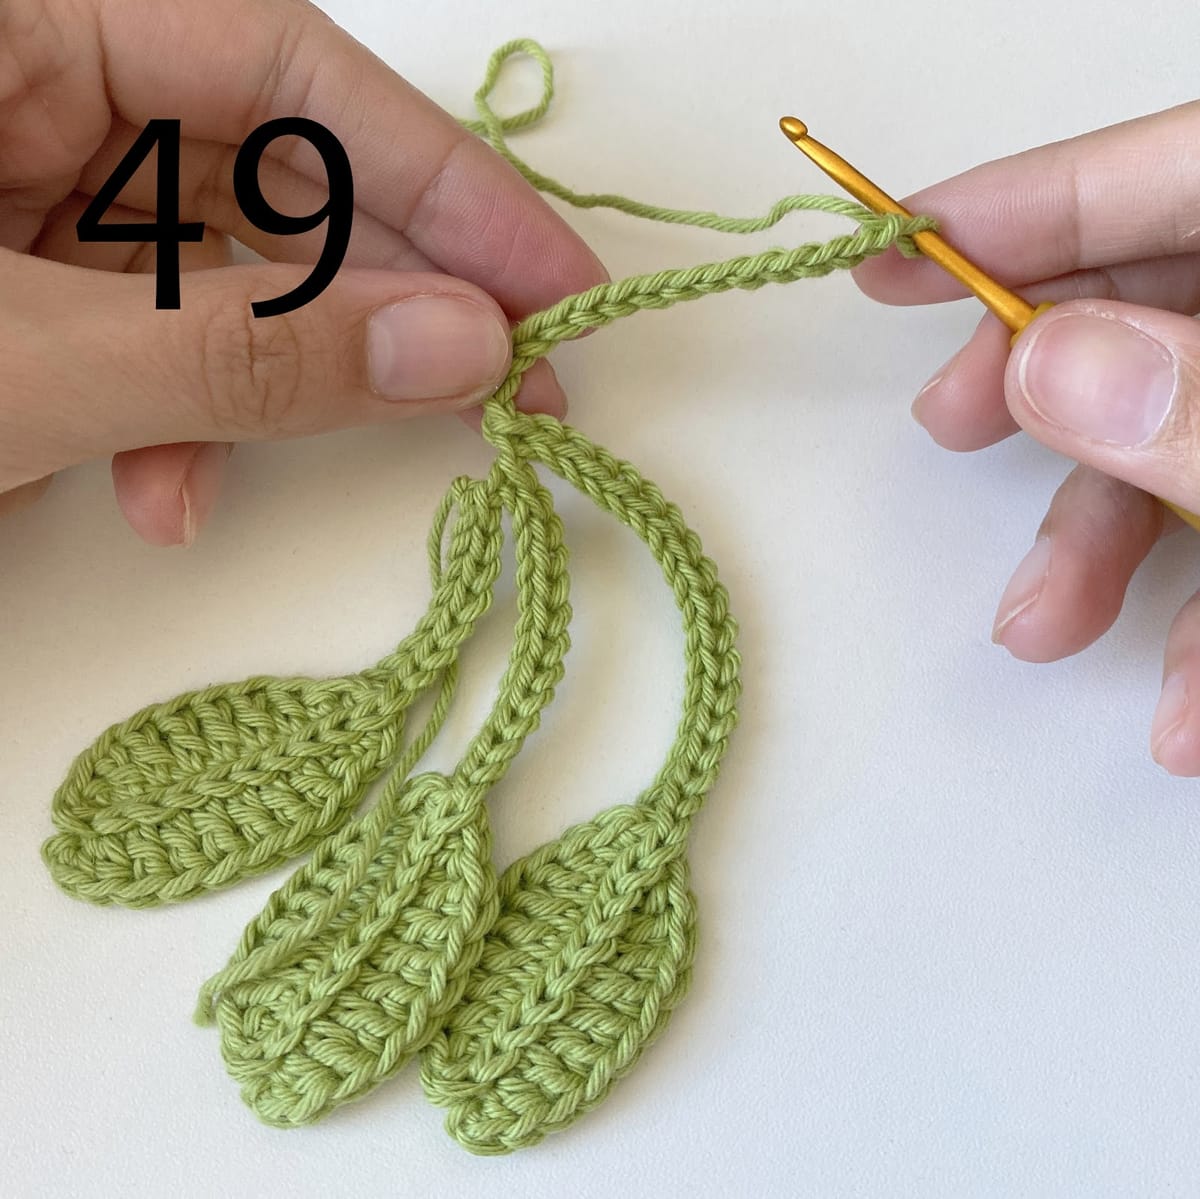
for the fourth leaf make 15 chains /pic.49-50/
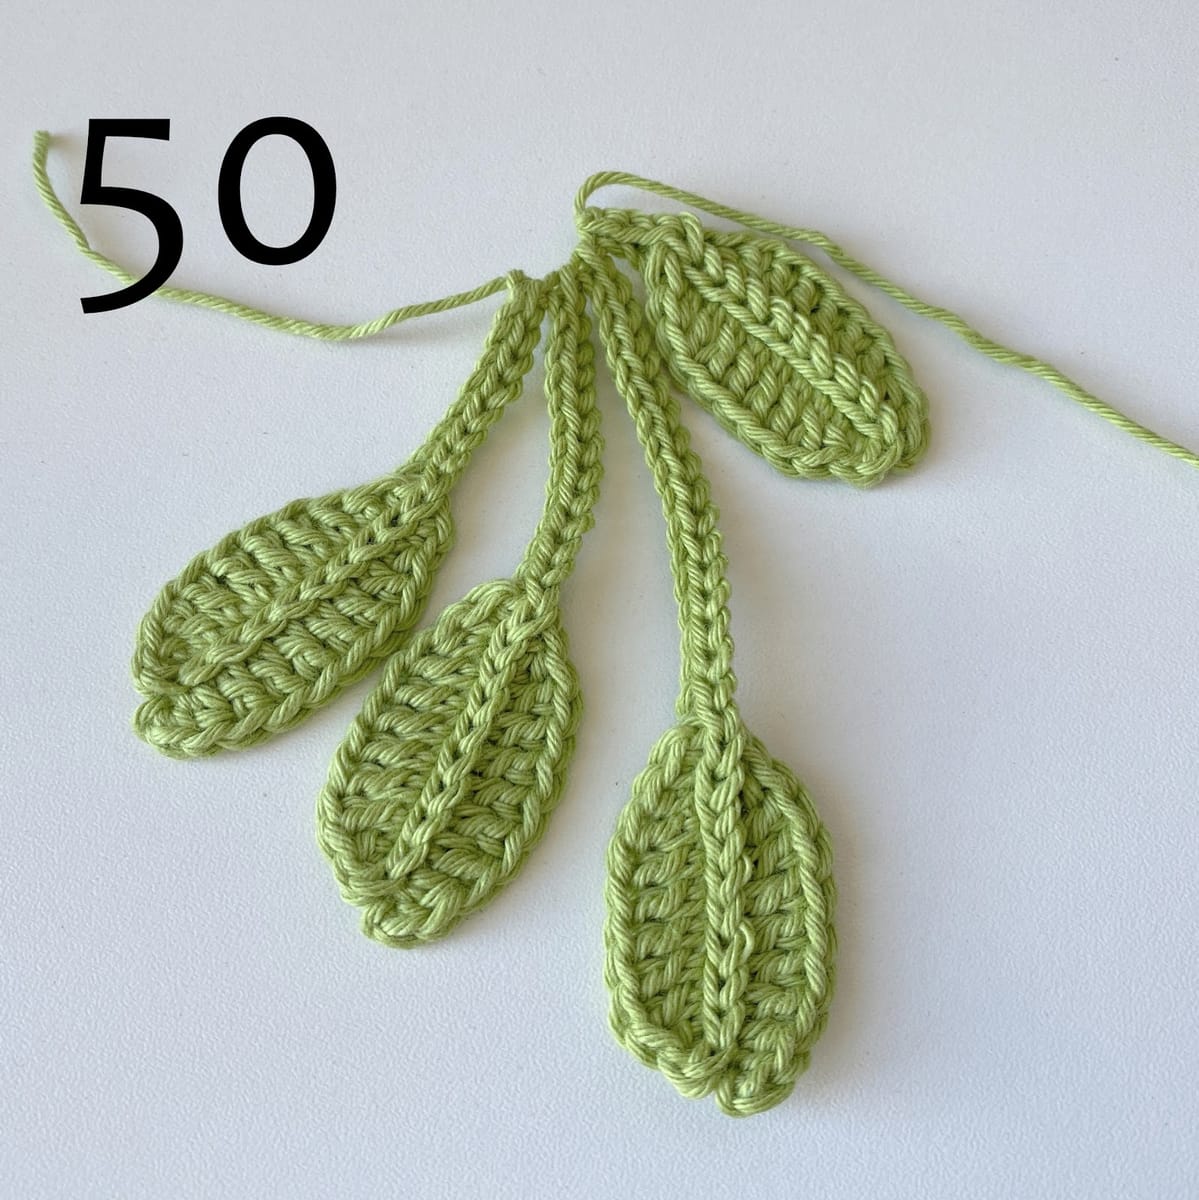
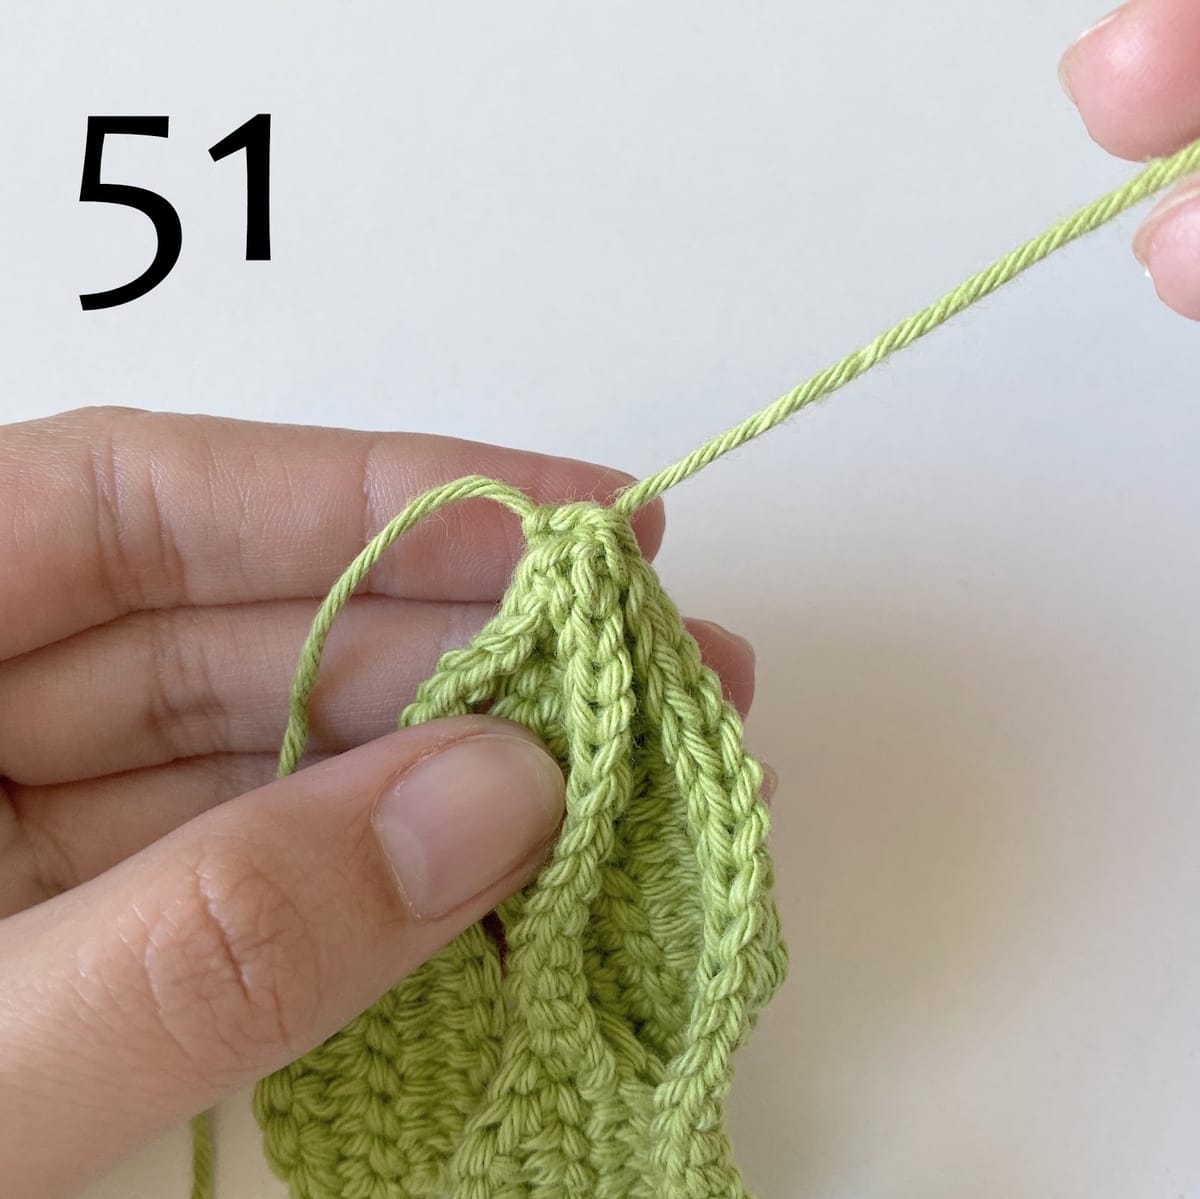
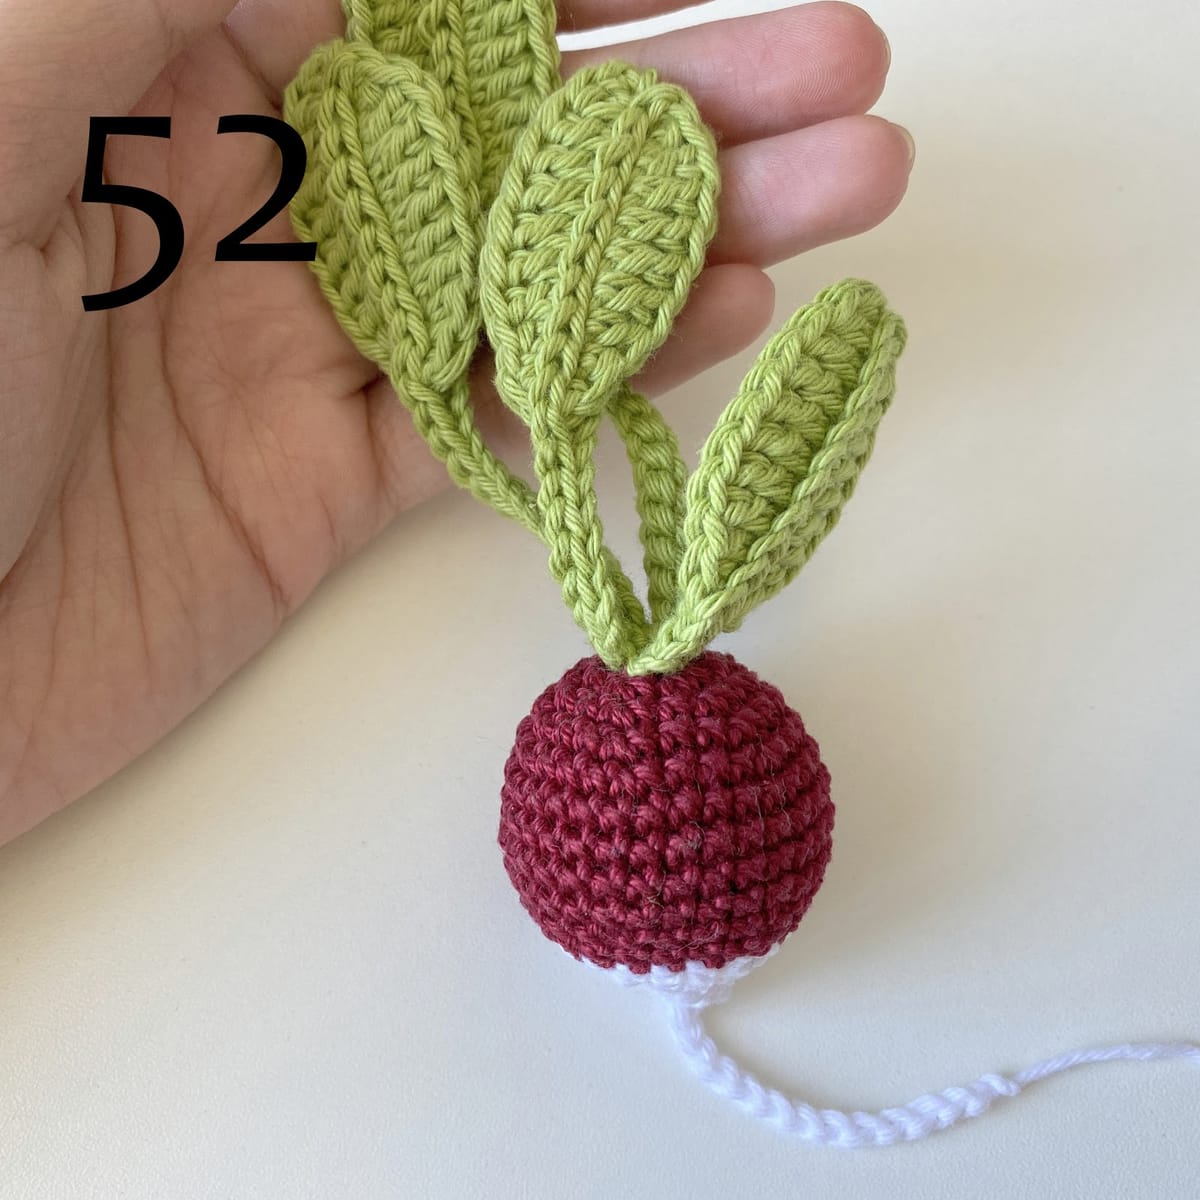
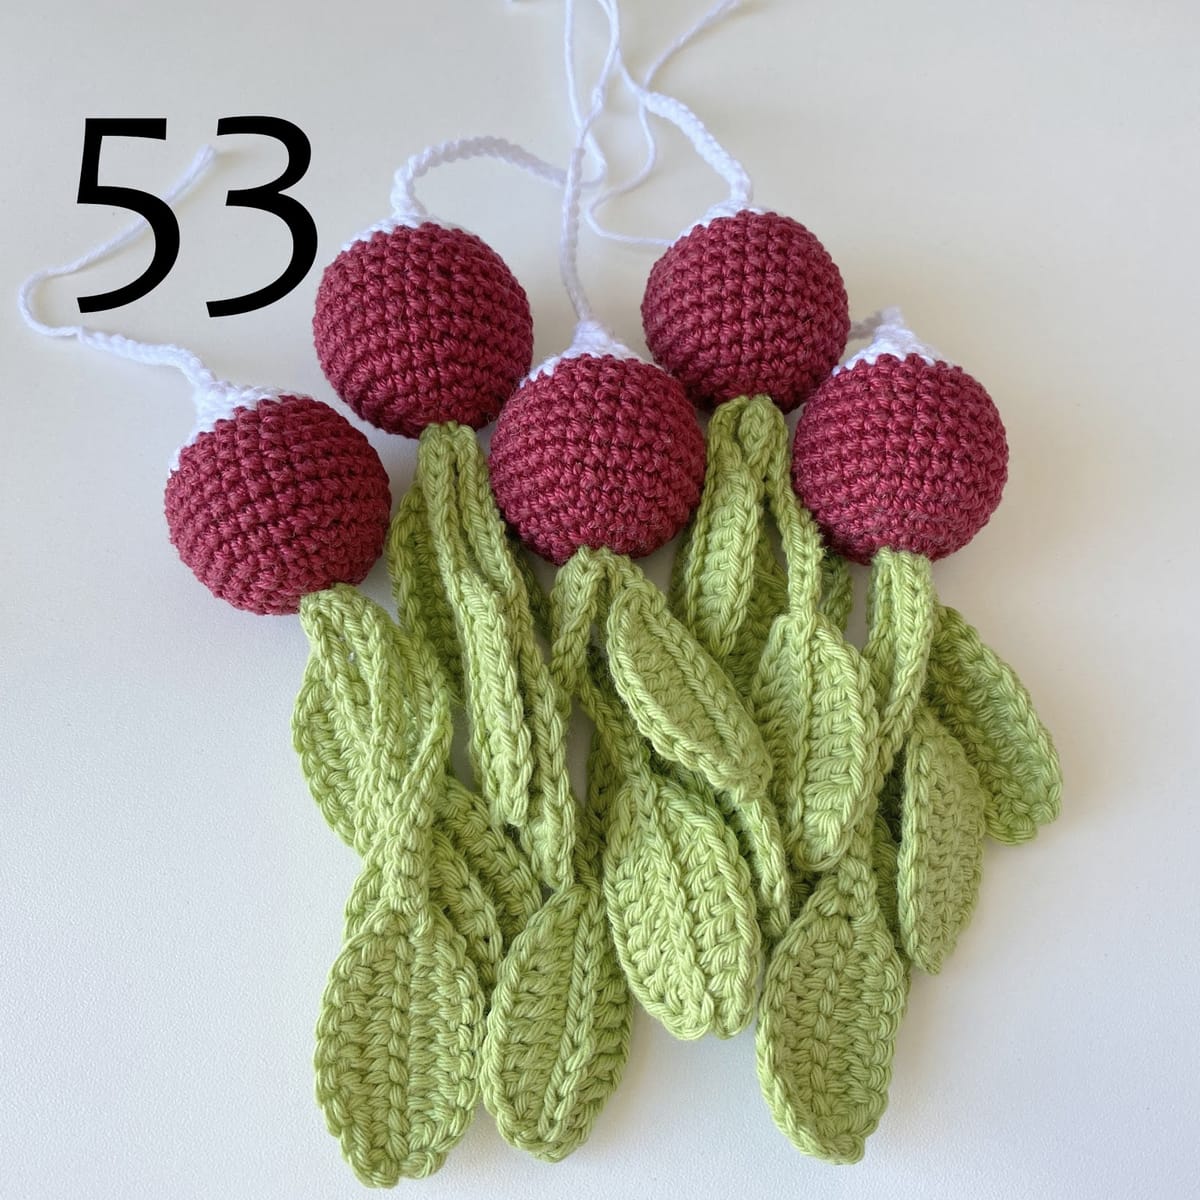
When all leaves are done, fasten off, leaving a long tail for sewing. And then sew the leaves to the main detail /pic.51-53/
Share your finished toys on Instagram with #knittedstorybears or tag me @knittedstorybears
If you have any questions feel free to ask in comments or contact form below.
Free patterns ↠ all free patterns
Instagram ↠ https://www.instagram.com/knittedstorybears/
Facebook ↠ https://www.facebook.com/knittedstorybears
Ravelry ↠ https://www.ravelry.com/designers/vira-velmozhna
Youtube ↠ https://www.youtube.com/channel/UCVf-I2z0TVqyTv17T2XSvZw?view_as=subscriber
Comments
Your name and comment are shown publicly under this pattern. See the privacy policy.
Comments couldn't load right now. Please try again later.
1 earlier comment from the old blog
This pattern is SO cute