
Amigurumi Pumpkin EASY FREE CROCHET PATTERN
October 30, 2020
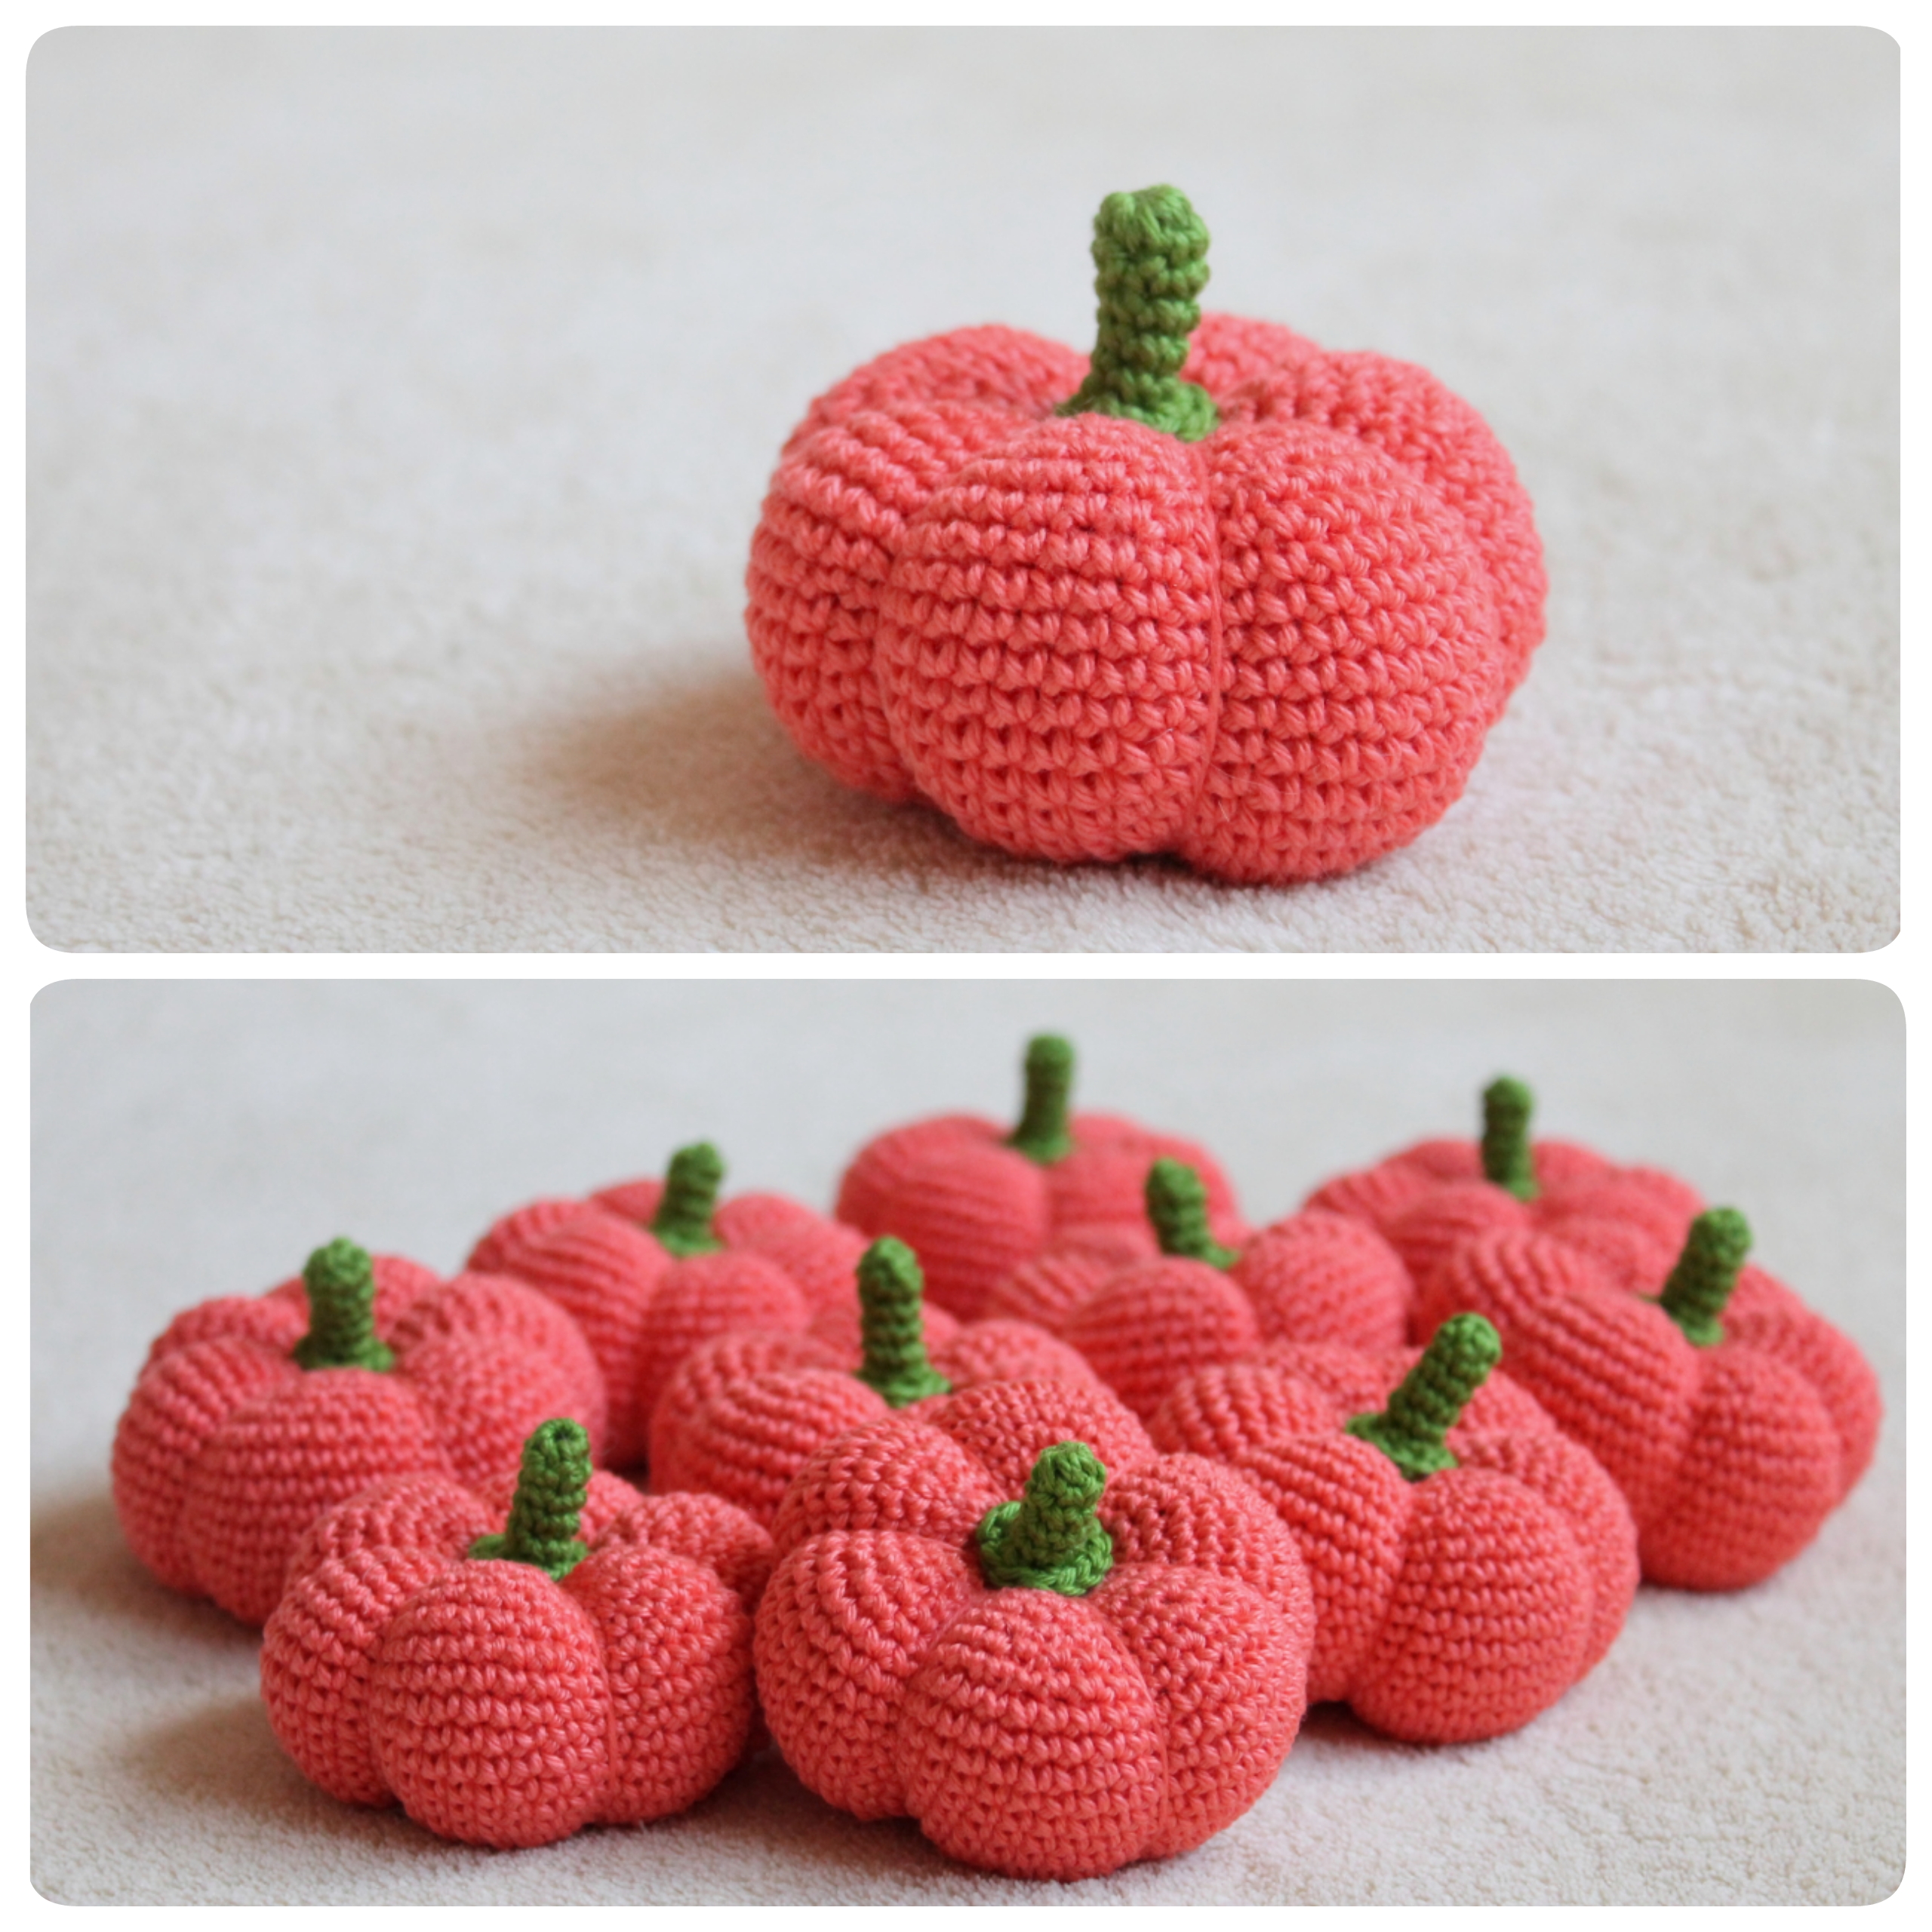
Hello ❤︎
In this article you will find an easy amigurumi crochet pumpkin pattern, which is the best choice for beginners! 🎃

Pin it.
I publish many of my tutorials on the blog for free. I would really appreciate it if you would repost this picture on Pinterest. Thank you!

Let's start with supplies.
🧶 First of all, you need your favourite yarn in 2 colours - main and additional. You can choose any yarn you like. It can be plush or cotton or wool yarn, this pattern is suitable for all types of yarn. Important: if you choose plush yarn you also need an additional cut of cotton or acrylic yarn in the same color as plush (a few meters).
Of course, you also need a crochet hook according to your yarn.
The third important thing - ☁️ stuffing.
✂️ Scissors, yarn needle.
And, in the end, black felt and glue.
Abbreviations and crochet terminology.
The pattern is written in English, using US terminology.
Skill level: ★
You should know how to crochet:
ch - chain
sc - single crochet
inc - increase
dec - decrease
You also need to know how to crochet in rounds.
RND - round
Go to the:
Main detail | "Slices" | Stalk | FaceAmigurumi pattern.
We start with the main detail.
RND 1: Make 2 chains. In the second chain from the hook make 6 sc [6]
RND 2: 6 inc [12]
RND 3: (1 sc, 1 inc) * repeat 6 times [18]
RND 4: (2 sc, 1 inc) * 6 times [24]
RND 5: (3 sc, 1 inc) * 6 times [30]
RND 6: (4 sc, 1 inc) * 6 times [36]
RND 7: (5 sc, 1 inc) * 6 times [42]
RND 8: (6 sc, 1 inc) * 6 times [48]
RND 9: (7 sc, 1 inc) * 6 times [54]
RND 10-21: 54 sc [54] - 12 rounds
RND 22: (7 sc, 1 dec) * 6 times [48]
RND 23: (6 sc, 1 dec) * 6 times [42]
RND 24: (5 sc, 1 dec) * 6 times [36]
RND 25: (4 sc, 1 dec) * 6 times [30]
RND 26: (3 sc, 1 dec) * 6 times [24]
RND 27: (2 sc, 1 dec) * 6 times [18]
RND 28: (1 sc, 1 dec) * 6 times [12]
RND 29: 6 dec [6]
Fasten off. If you are crocheting with cotton, acrylic, or wool blend yarn, leave a very long tail. You need the length to wrap around the pumpkin 4-5 times.
If you are crocheting with plush yarn, fasten off and weave in the yarn end. Now you need an additional cut of the cotton or acrylic yarn in the same color as plush and the length to wrap around the pumpkin 4-5 times.
Go to the:
Main detail | "Slices" | Stalk | FaceLet's make "slices"
Insert the needle into the middle of the pumpkin (where we've just finished to crochet), and pull it out from the other side (where we've started to crochet).


Wrap the pumpkin, and again insert the needle in the same place.

Pull it out on the other side and pull it tight.
In total, repeat this action 6 times, so we get 6 "slices".
Fasten off, weave in the yarn ends.

Go to the:
Main detail | "Slices" | Stalk | FaceMake a stalk
With an additional color of yarn.
RND 1: 2 ch, 6 sc in second ch from a hook [6]
RND 2-4: 6 sc [6] - 3 rounds
Fasten off, leaving a long tail for sewing.
Sew the stalk to the pumpkin.

Go to the:
Main detail | "Slices" | Stalk | FaceFace
Cut the eyes, nose, and mouth from black felt and glue them to the pumpkin.
You also can use black half-beads as the eyes.


Go to the:
Main detail | "Slices" | Stalk | FaceShare your finished toys on Instagram with #knittedstorybears or tag me @knittedstorybears
If you have any questions feel free to ask in the comment or contact form below.
❤︎


1 коммент.
What a wonderful idea for the plants thank you so much for your free pumpkin patterns love them
ReplyDelete