Easy Little Pumpkin
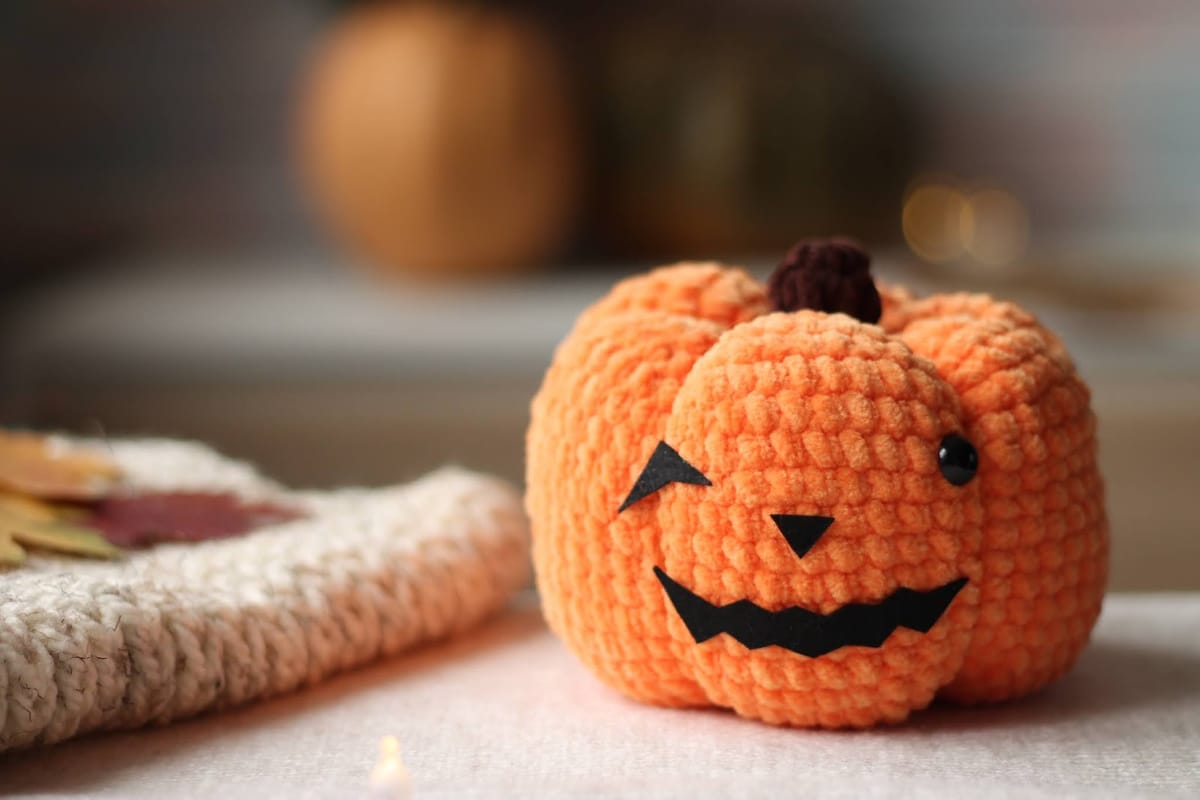
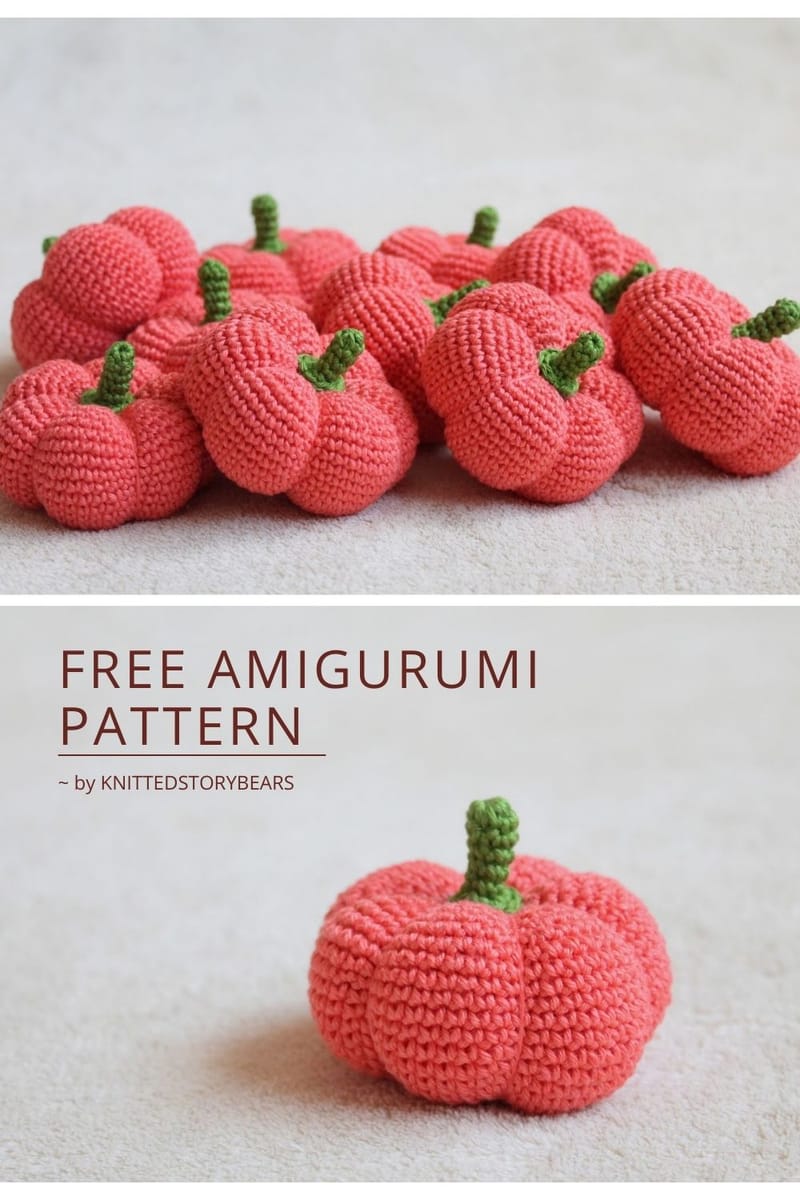
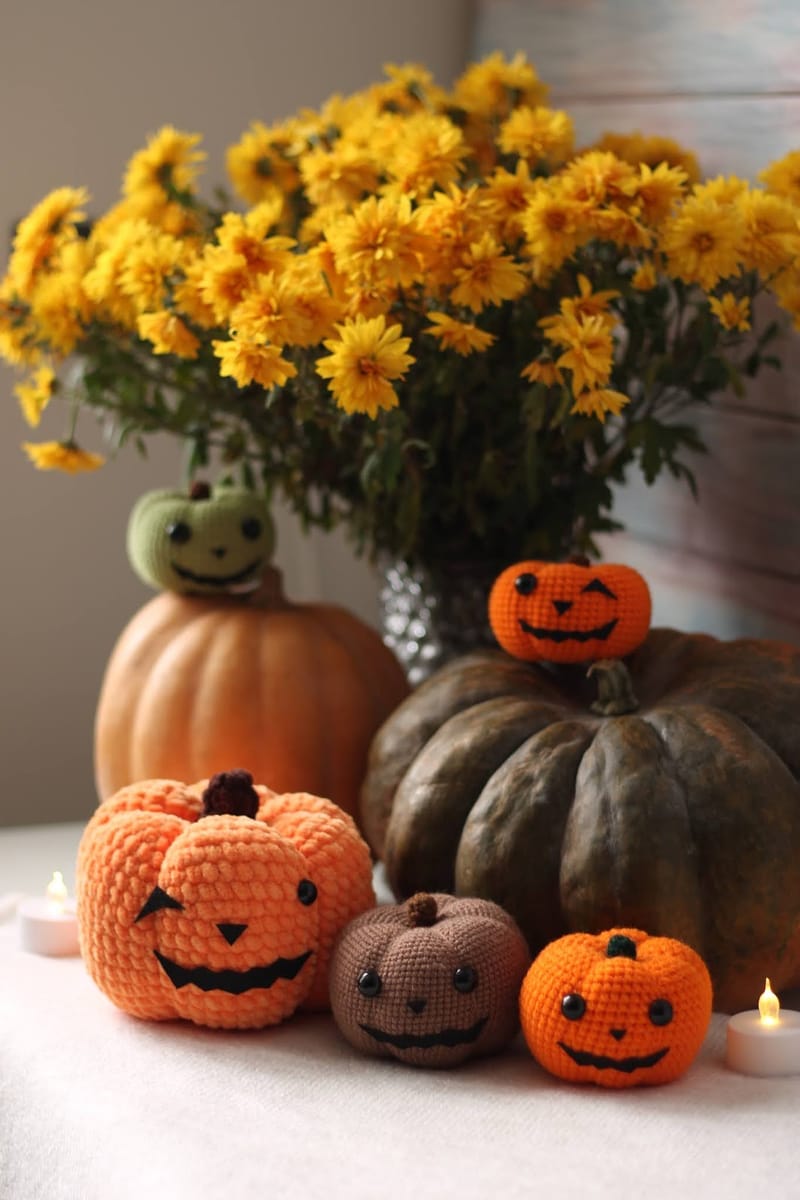
An easy amigurumi pumpkin that works in any yarn — plush, cotton or wool. The perfect first project for autumn and Halloween.
Hello ❤︎
In this article you will find an easy amigurumi crochet pumpkin pattern, which is the best choice for beginners! 🎃
Abbreviations and crochet terminology.
The pattern is written in English, using US terminology.
Skill level: ★
You should know how to crochet:
ch - chain
sc - single crochet
inc - increase
dec - decrease
You also need to know how to crochet in rounds.
RND - round
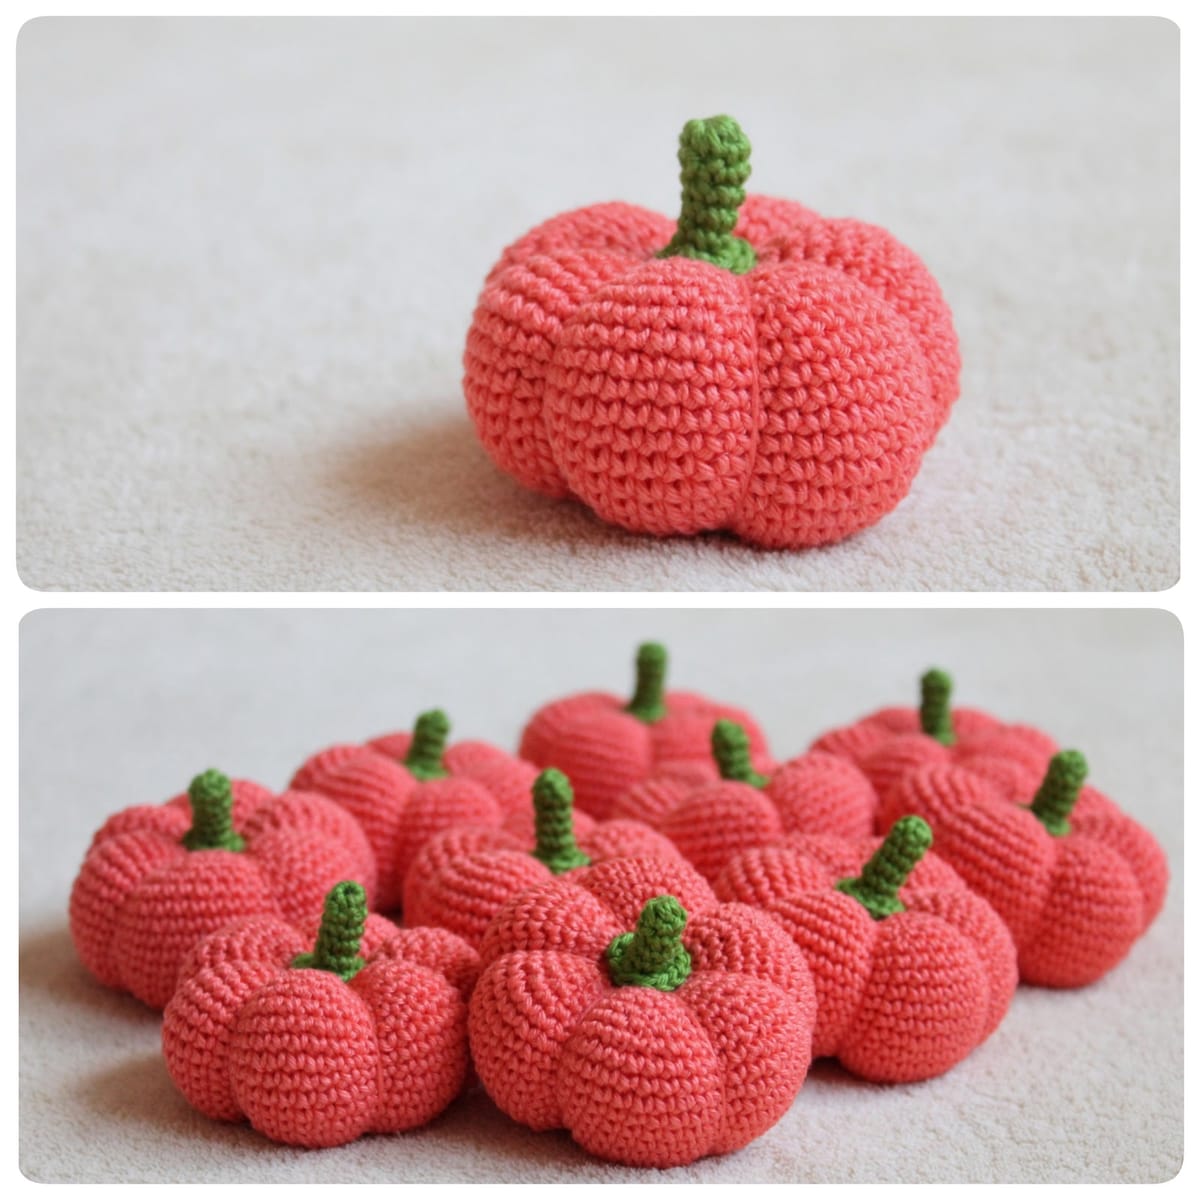
Amigurumi pattern.
We start with the main detail.
RND 1: Make 2 chains. In the second chain from the hook make 6 sc [6]
RND 2: 6 inc [12]
RND 3: (1 sc, 1 inc) * repeat 6 times [18]
RND 4: (2 sc, 1 inc) * 6 times [24]
RND 5: (3 sc, 1 inc) * 6 times [30]
RND 6: (4 sc, 1 inc) * 6 times [36]
RND 7: (5 sc, 1 inc) * 6 times [42]
RND 8: (6 sc, 1 inc) * 6 times [48]
RND 9: (7 sc, 1 inc) * 6 times [54]
RND 10-21: 54 sc [54] - 12 rounds
RND 22: (7 sc, 1 dec) * 6 times [48]
RND 23: (6 sc, 1 dec) * 6 times [42]
RND 24: (5 sc, 1 dec) * 6 times [36]
RND 25: (4 sc, 1 dec) * 6 times [30]
RND 26: (3 sc, 1 dec) * 6 times [24]
RND 27: (2 sc, 1 dec) * 6 times [18]
RND 28: (1 sc, 1 dec) * 6 times [12]
RND 29: 6 dec [6]
Fasten off. If you are crocheting with cotton, acrylic, or wool blend yarn, leave a very long tail. You need the length to wrap around the pumpkin 4-5 times.
If you are crocheting with plush yarn, fasten off and weave in the yarn end. Now you need an additional cut of the cotton or acrylic yarn in the same color as plush and the length to wrap around the pumpkin 4-5 times.
Let’s make “slices”
Insert the needle into the middle of the pumpkin (where we’ve just finished to crochet), and pull it out from the other side (where we’ve started to crochet).
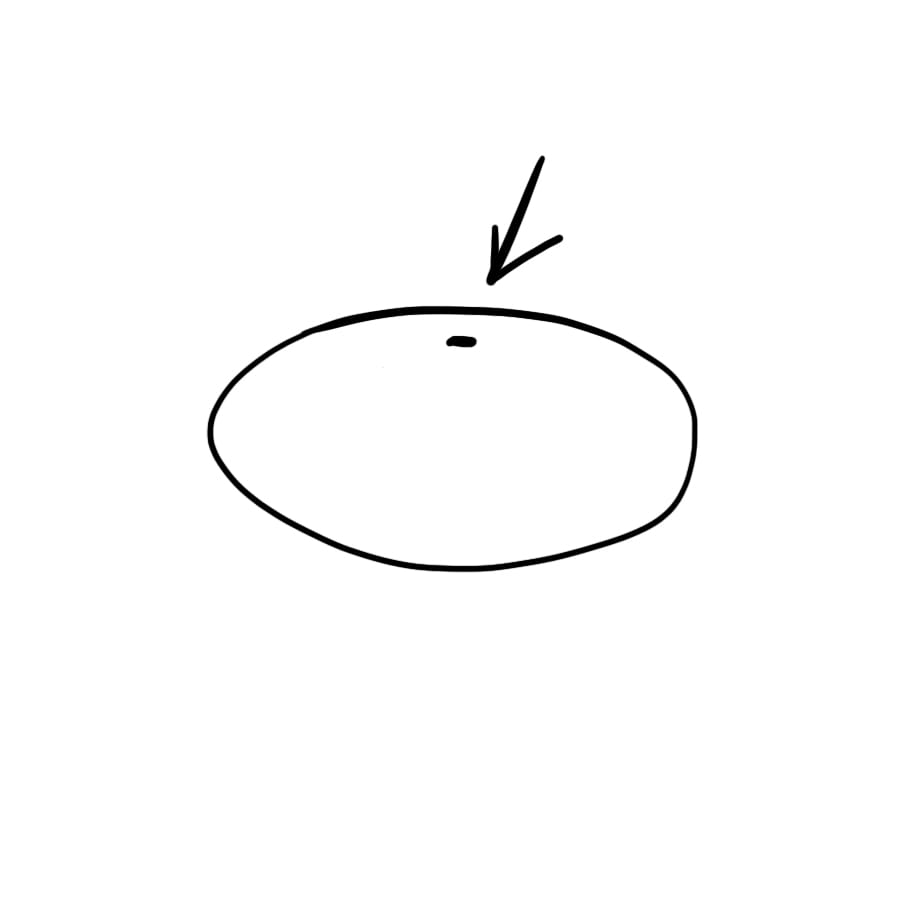
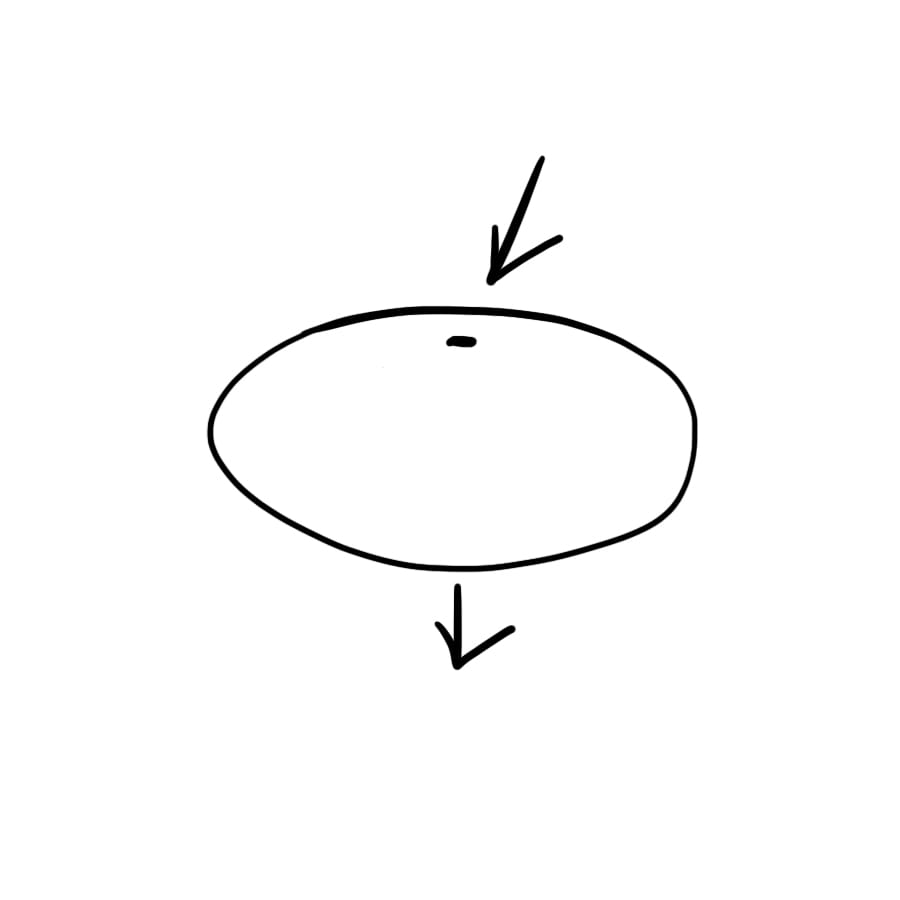
Wrap the pumpkin, and again insert the needle in the same place.
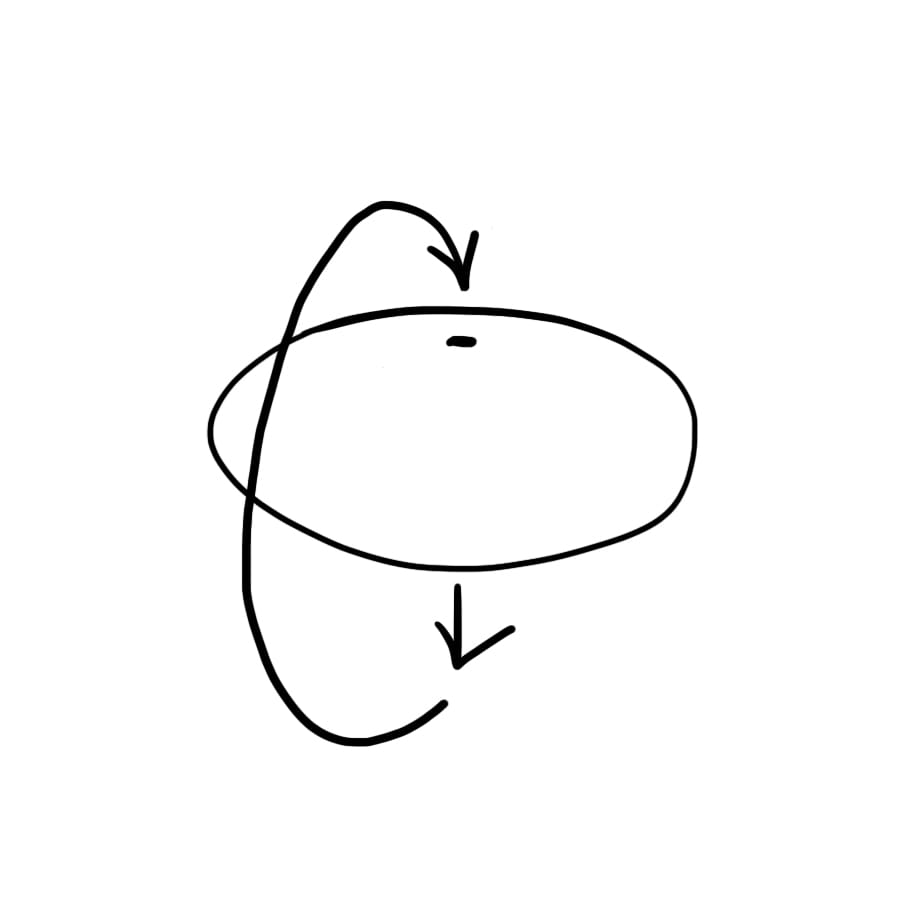
Pull it out on the other side and pull it tight.
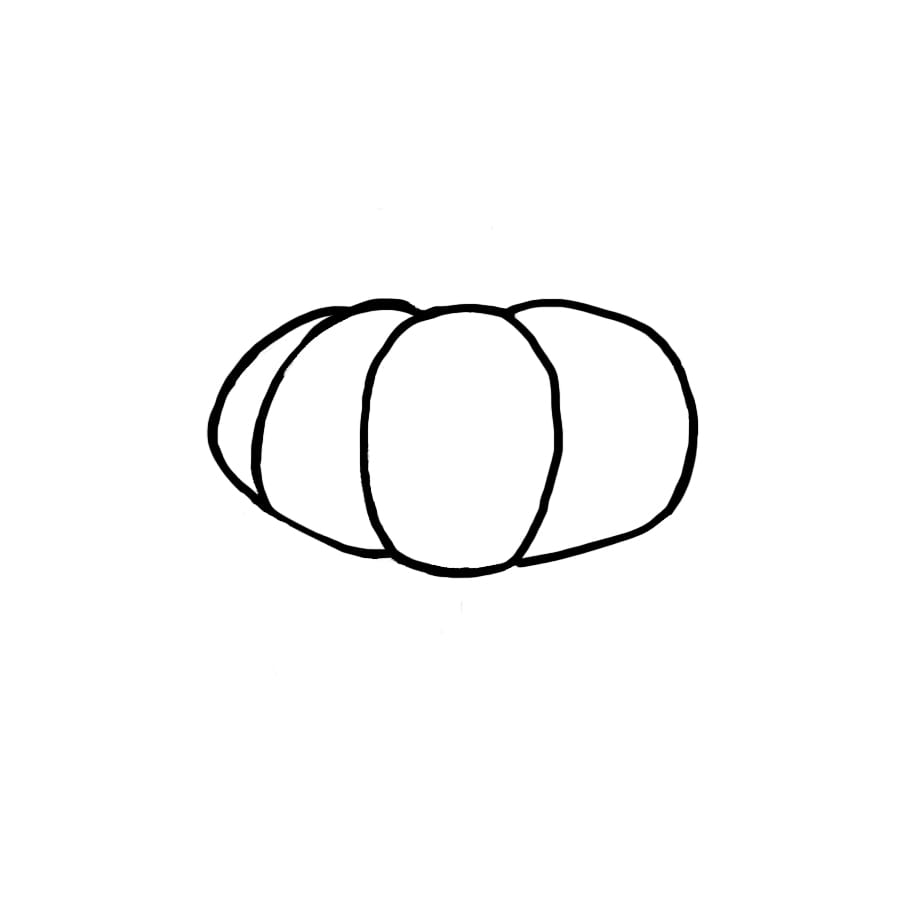
In total, repeat this action 6 times, so we get 6 “slices”.
Fasten off, weave in the yarn ends.
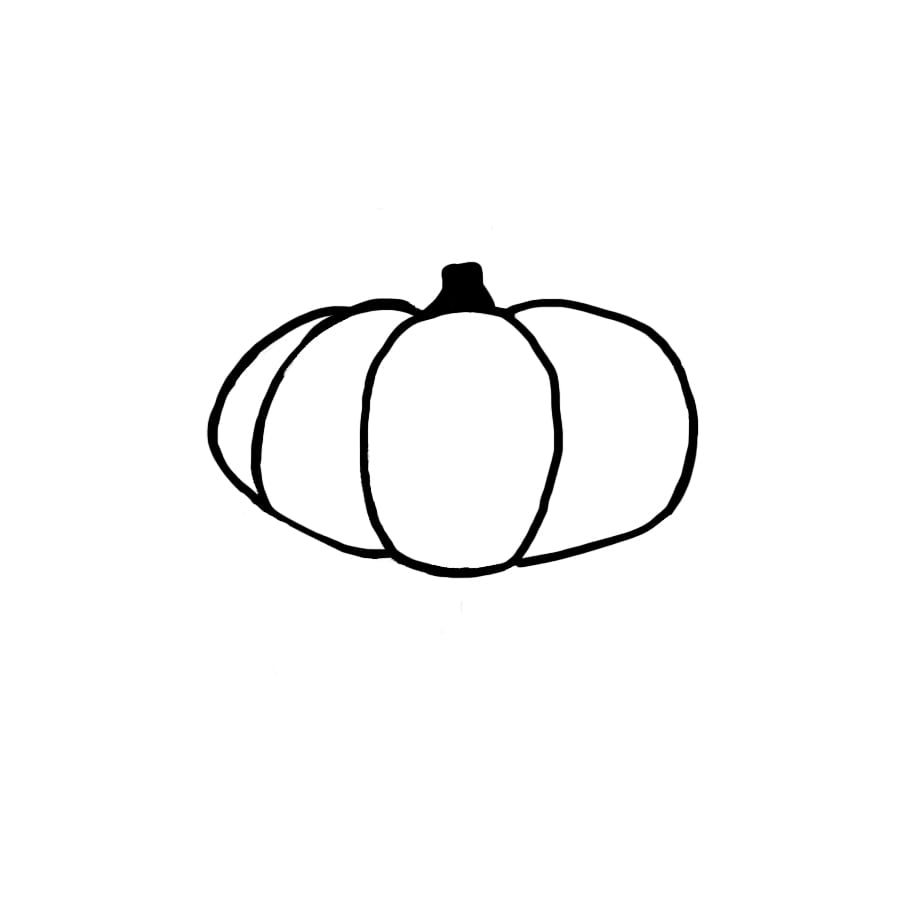
Make a stalk
With an additional color of yarn.
RND 1: 2 ch, 6 sc in second ch from a hook [6]
RND 2-4: 6 sc [6] - 3 rounds
Fasten off, leaving a long tail for sewing.
Sew the stalk to the pumpkin.
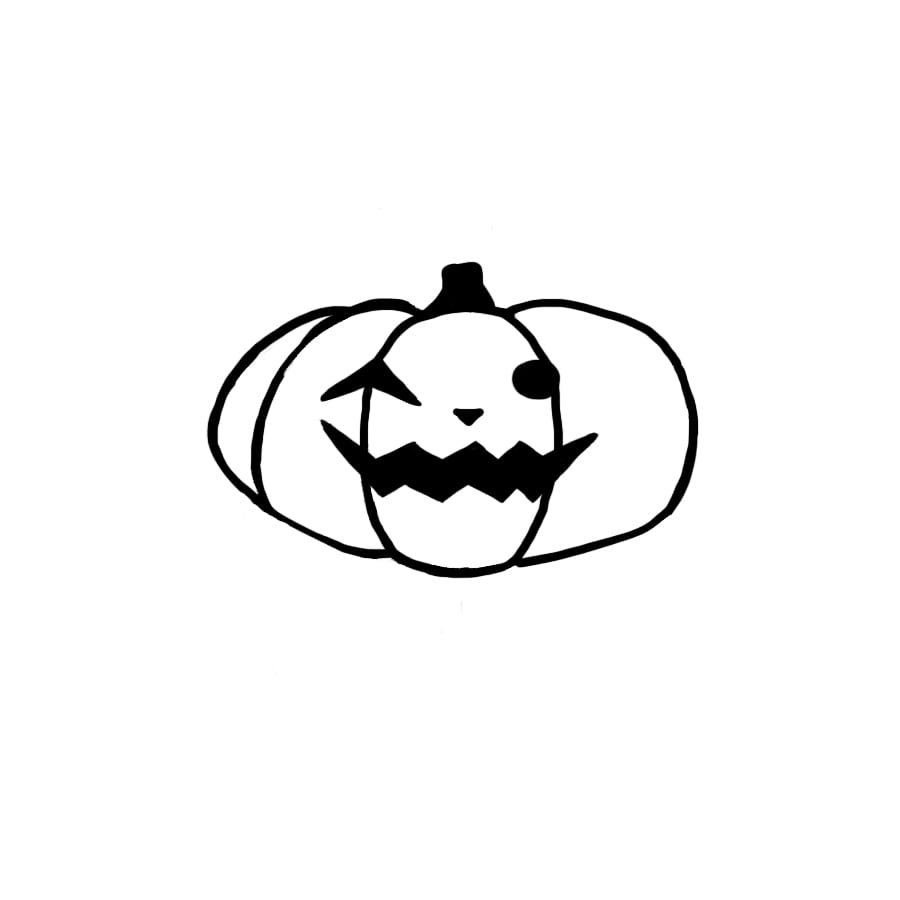
Face
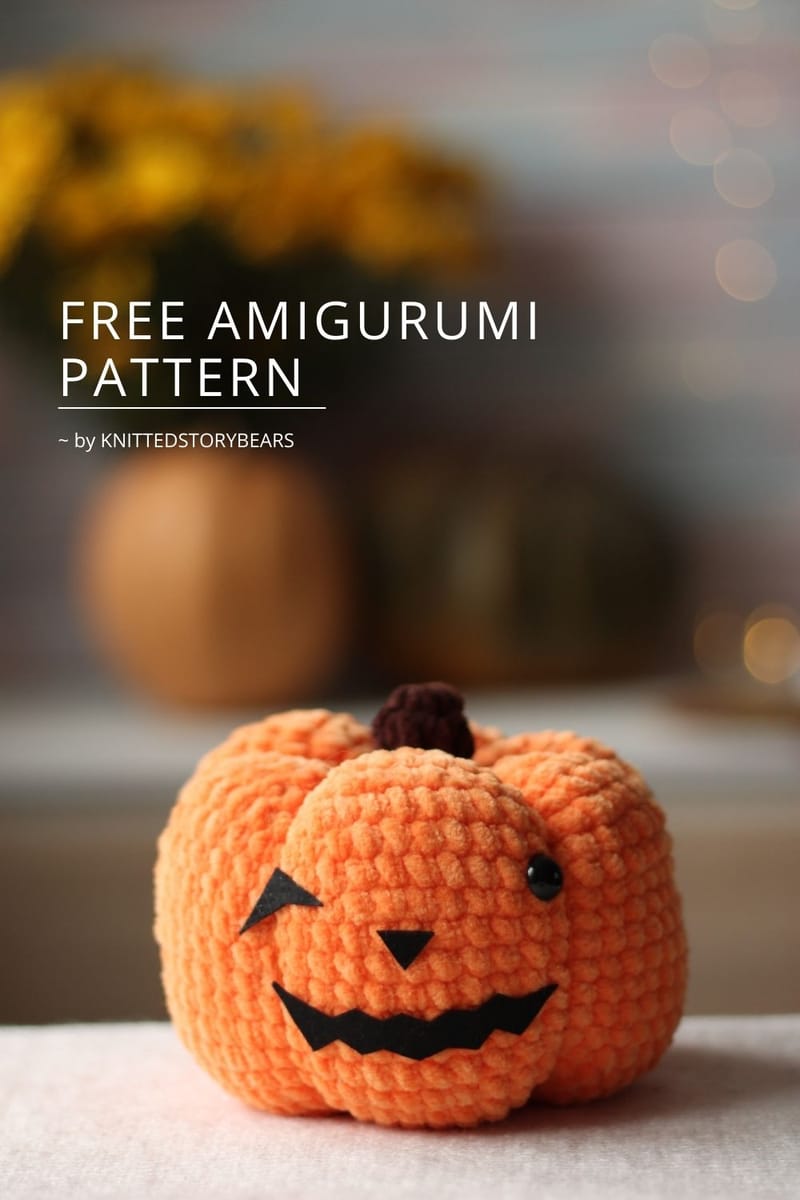
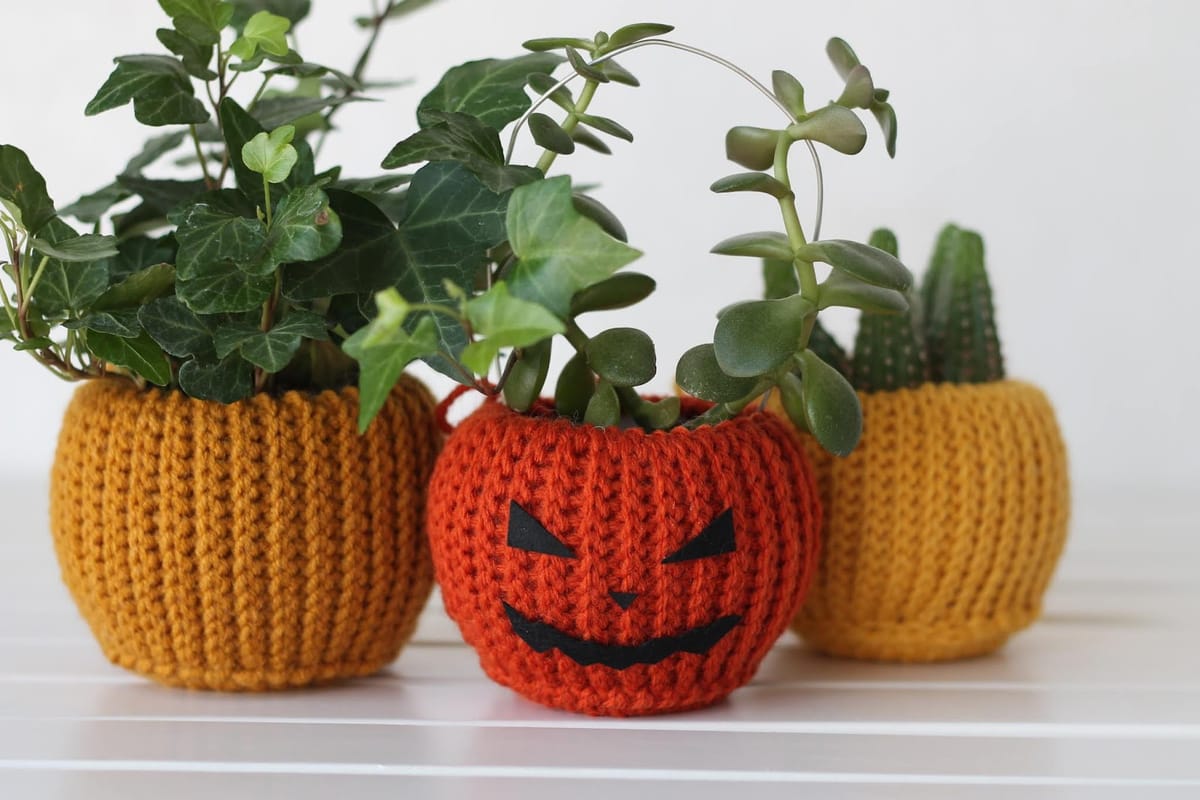
Cut the eyes, nose, and mouth from black felt and glue them to the pumpkin.
You also can use black half-beads as the eyes.

Share your finished toys on Instagram with #knittedstorybears or tag me @knittedstorybears
If you have any questions feel free to ask in the comment or contact form below.
INSTAGRAM | FACEBOOK | YOUTUBE | RAVELRY
❤︎
Comments
Your name and comment are shown publicly under this pattern. See the privacy policy.
Comments couldn't load right now. Please try again later.
1 earlier comment from the old blog
What a wonderful idea for the plants thank you so much for your free pumpkin patterns love them